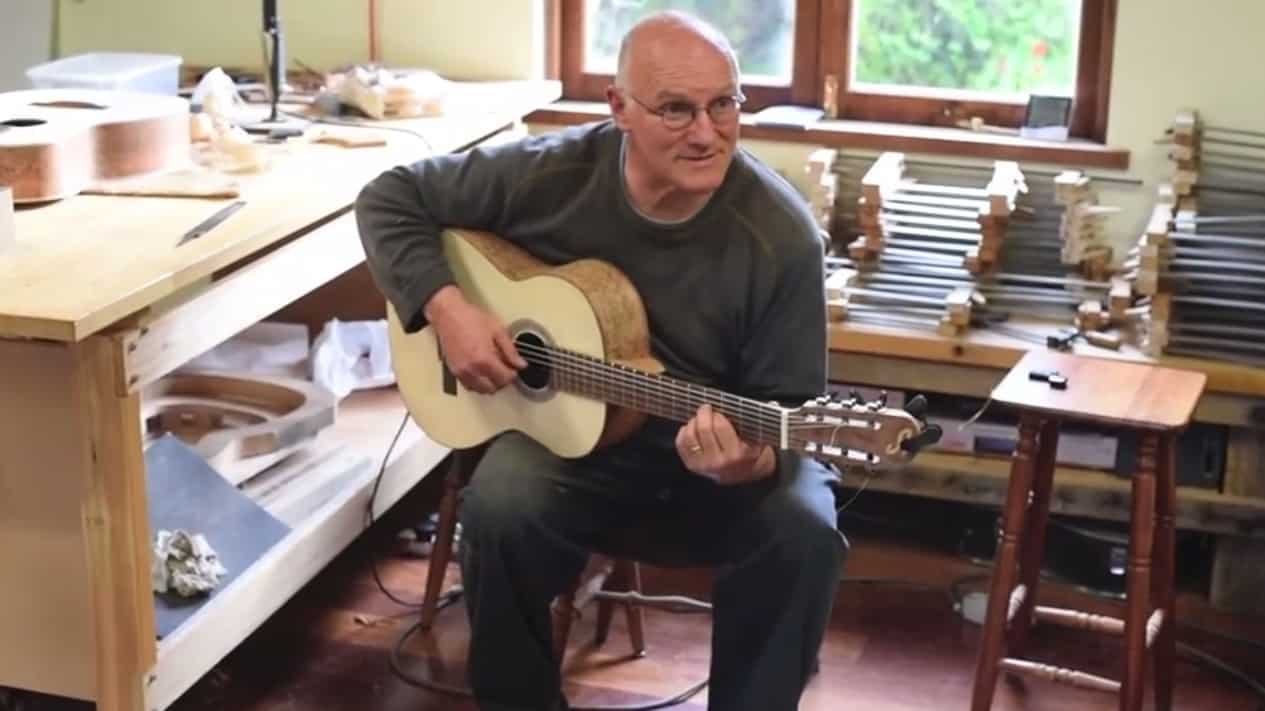
During September and October 2014 I attended a three-week intensive course to build my own acoustic guitar. As people will quite possibly be directed to this website to gain an understanding of the process, I thought I’d cap the experience off with this overview.
Click here to go to the Guitar section of this website, which starts with this overview and then goes on the show each section of the build.
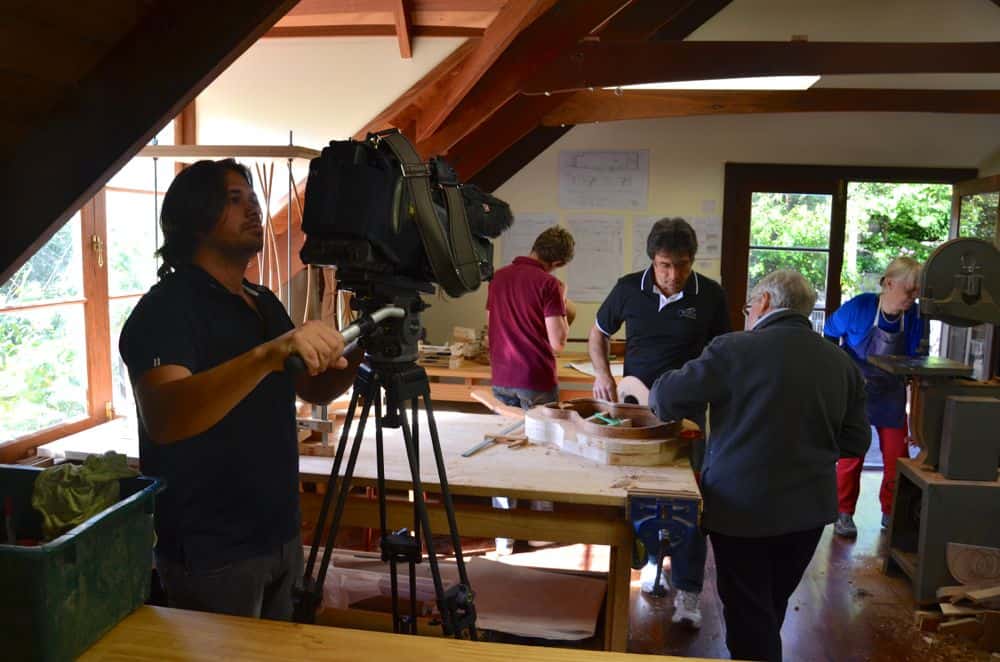
The course was run by the Australian Guitar Making School (AGMS). AGMS was founded in New South Wales and runs schools in several locations that operate on what I’ll call a casual basis. Attendees turn up once (or perhaps more) per week and pay for a session where a luthier helps them to progress their build. Building a guitar this way typically takes eight or nine months.
The course I attended was a three-week intensive course, where you complete your guitar from start to finish within those three weeks. Attendance was six days a week for the first two weeks and the course finished on Friday of the third week.
This intensive course is run once a year in Tasmania and there are plans afoot for other AGMS schools in Australia to run similar intensive courses. The thoughts written below are specific to the intensive course. I have no experience with the ‘casual’ long term build.
——
Let me say straight up that I have received no financial or other incentive. I paid full price for my course and intend to pay full price should I do the course again (which I plan to do in 2016). I documented the build simply as a record. I knew it’d be fun for me to look back on it and figured it might be useful for others, too.
——
The following are some objective facts and subjective thoughts on the course that might be useful for anyone contemplating doing it:
Cost
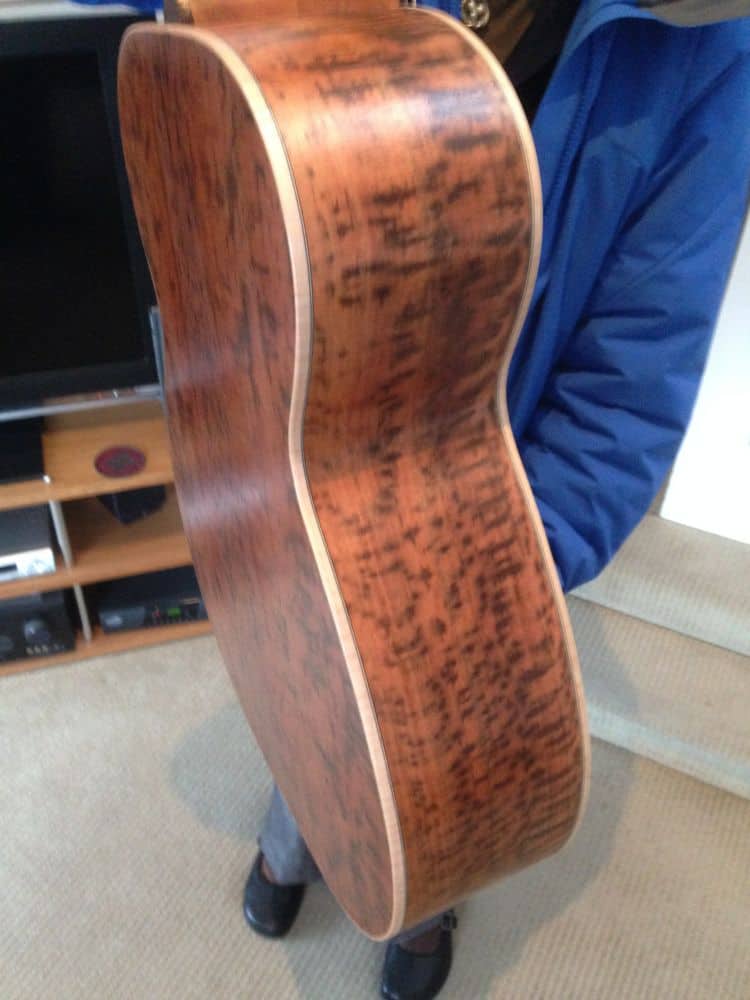
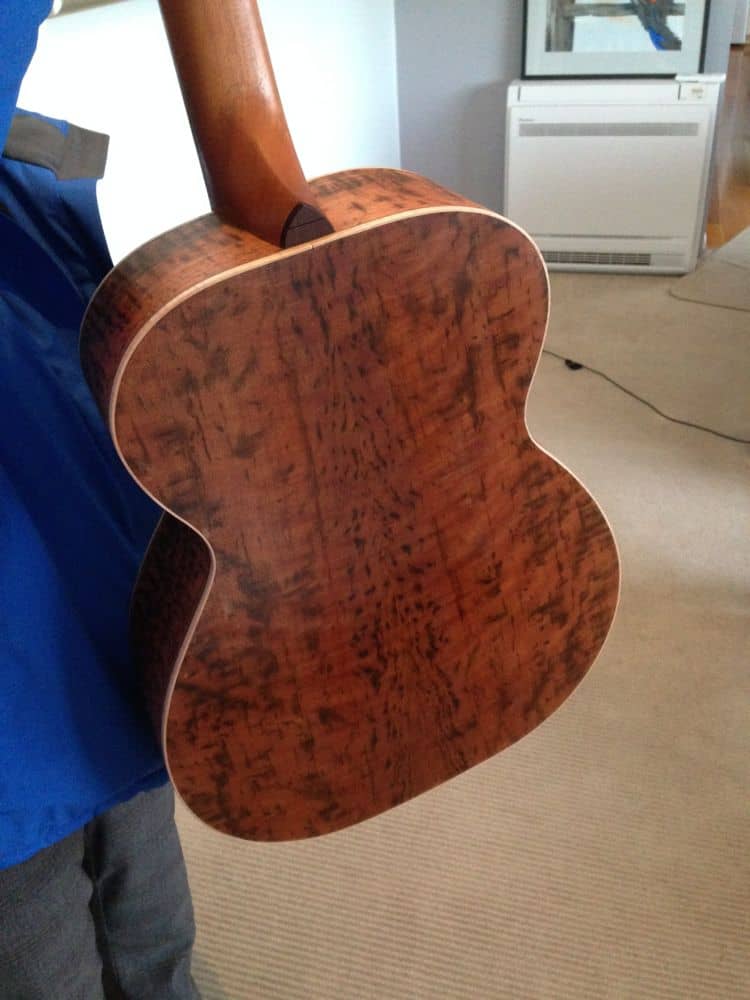
My three week intensive course cost $2,800 plus $350 for the timber that I used and $140 for the Schaller tuners. There were less expensive options in terms of timber, but I wanted to use tiger myrtle because I understood it would have good sonic qualities, because it’s now in limited supply and because I liked the look of the timber. 3 out of the 4 other participants doing the course with me also chose tiger myrtle. I chose the Schaller tuners from a wide variety of options available at StewMac (luthier supplier based in the US).
This cost is not insignificant and I think your perception of value will depend on a number of factors:
- Quality of instrument
- Value of education
- Value of experience
Note: As mentioned above, the basic cost of my course was $2800. The 2015 course has already had its price raised to $3,700 but this includes all materials, including a case!
—
Quality of Instrument
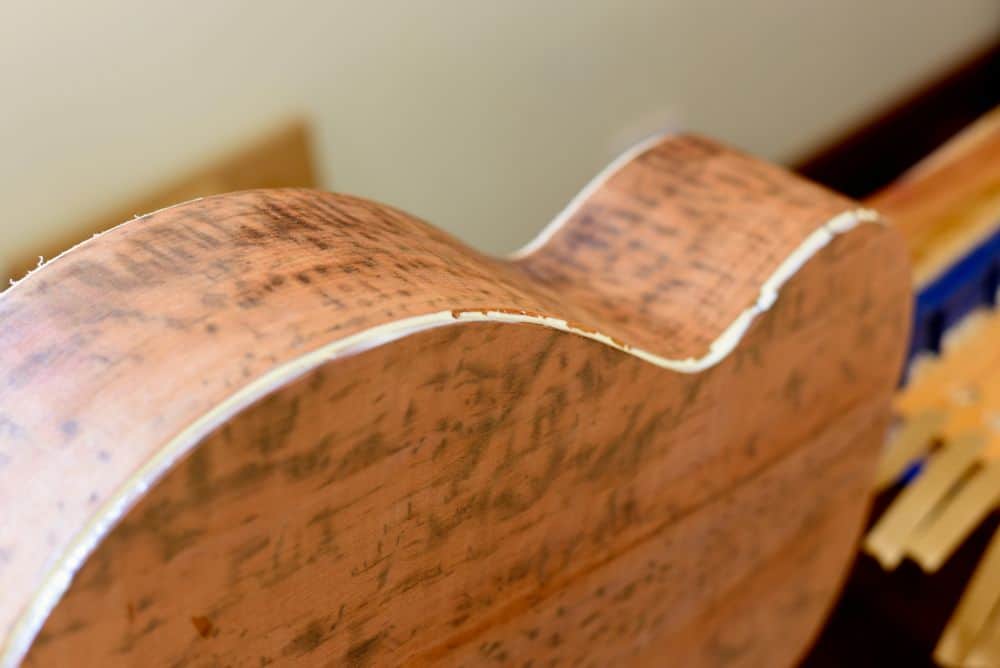
The sound quality of your instrument will primarily depend on two things – the grade and species of timber you use and your construction method.
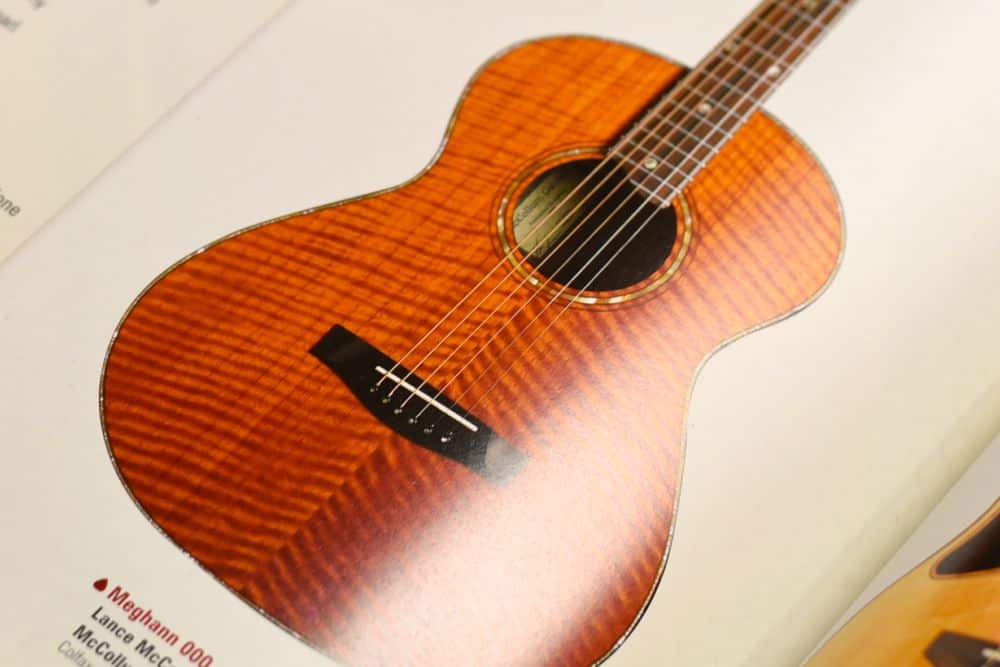
I’d be happy to compare my guitar with anything you can buy from a music store, right up to your ,000-and-above Martins, etc. All the timbers used were top grade and the construction methods could not be more contemporary, fundamentally sound or stringent.
What’s more, you’ll know exactly what’s gone into crafting every element of your instrument because you did it yourself.

—
Value of Education
Do you want to learn how to make a musical instrument? Do you want to learn quality woodworking by learning to use the most basic and fundamental hand tools?
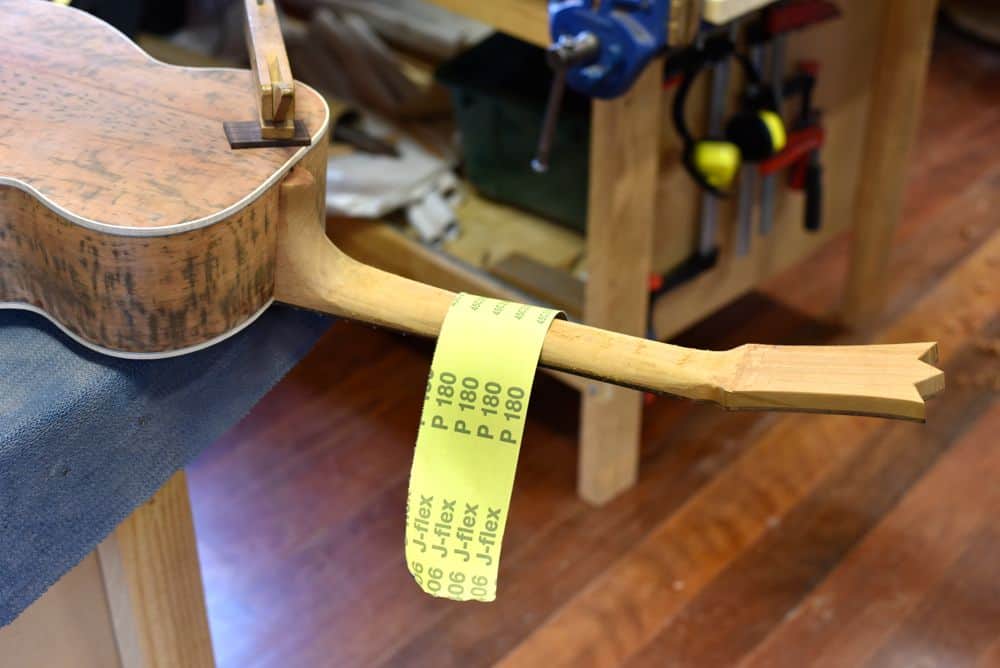
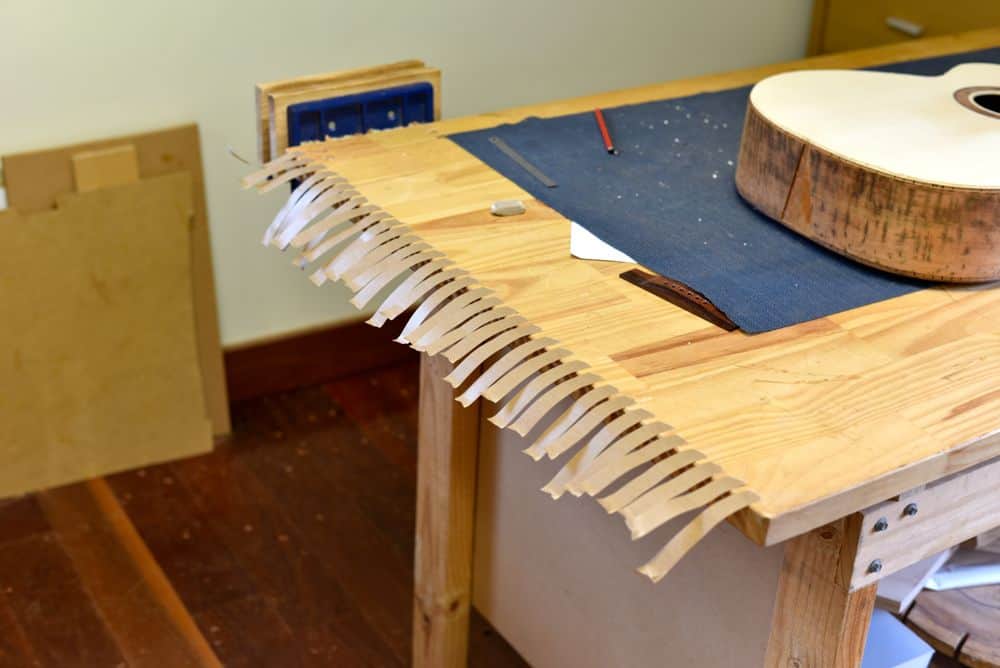
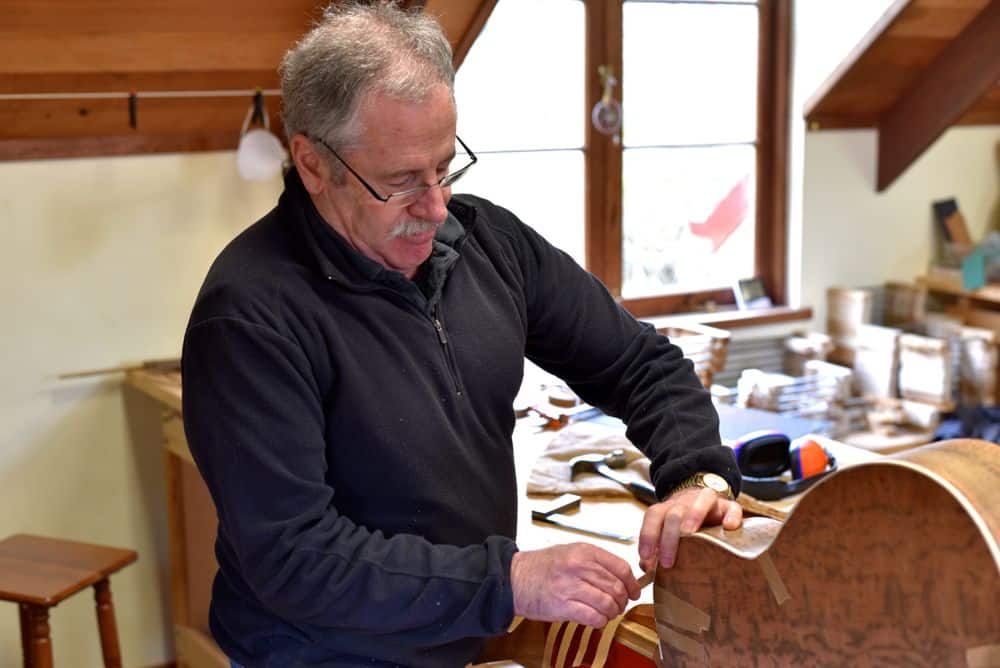
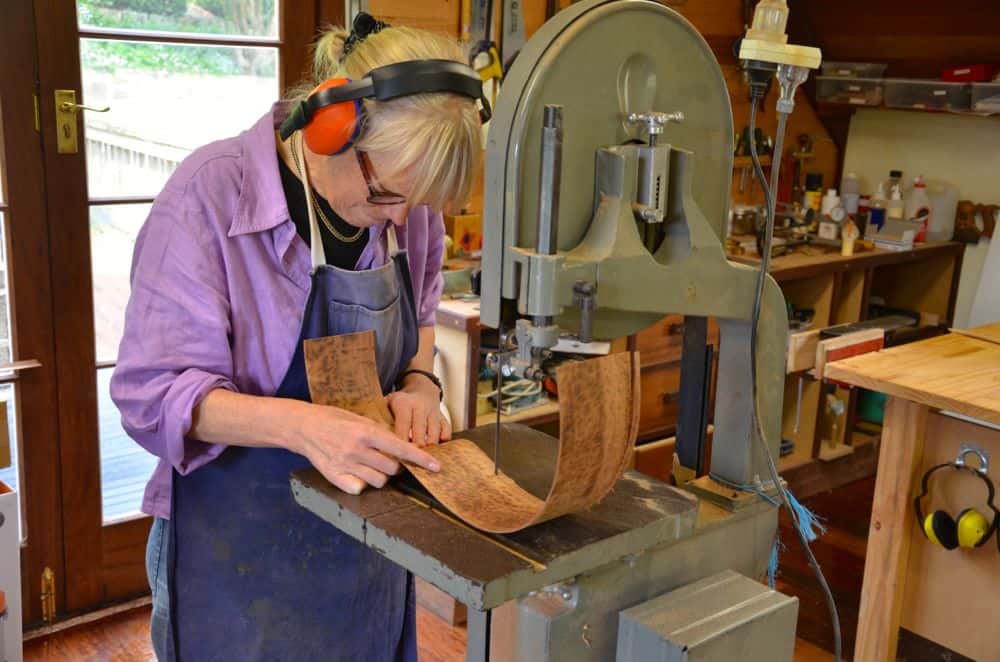
If you do, this course will give you that. I’ve made a couple of timber pieces for our home but they are very, very basic in construction and I used power tools at every opportunity. We used power tools during this build, too – a router, drill press, band saw, dremel and cordless drill. BUT, I would estimate that in three weeks we spent maybe 3 hours in total using power tools and 60% of that would have been the band saw.
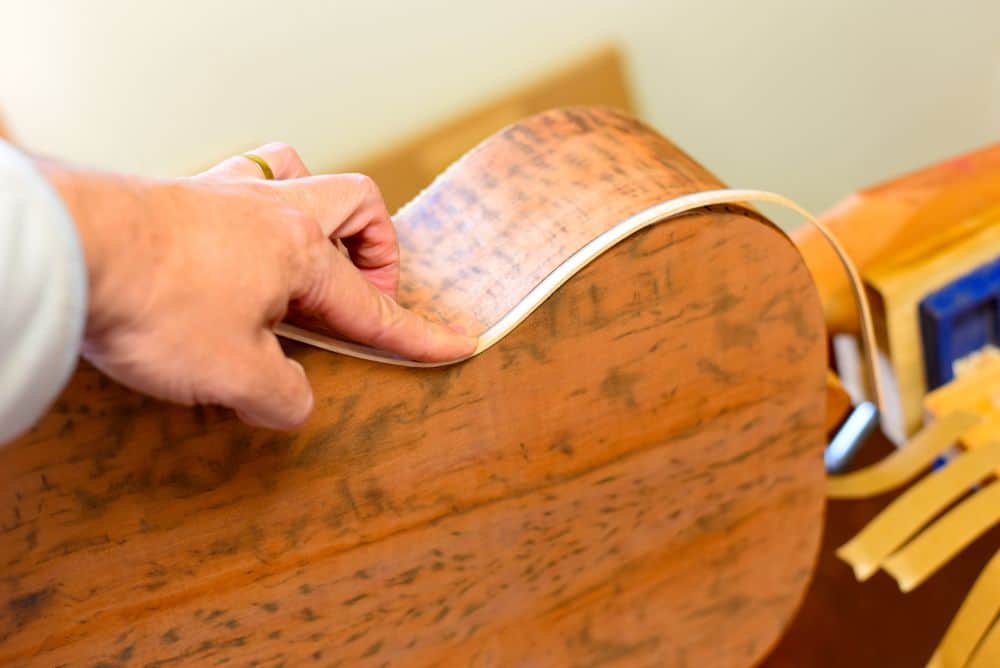
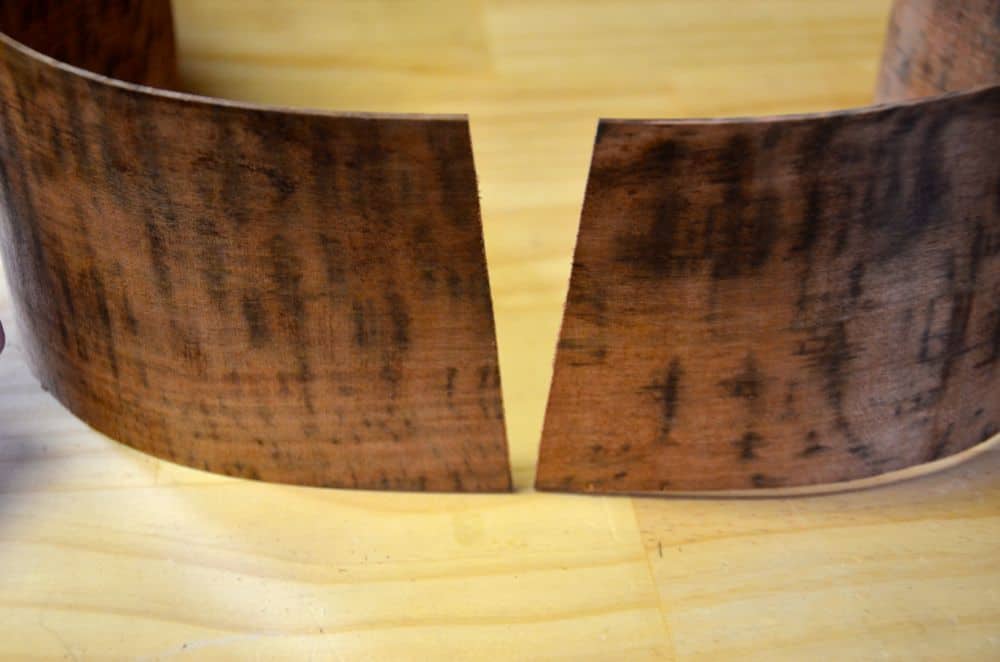
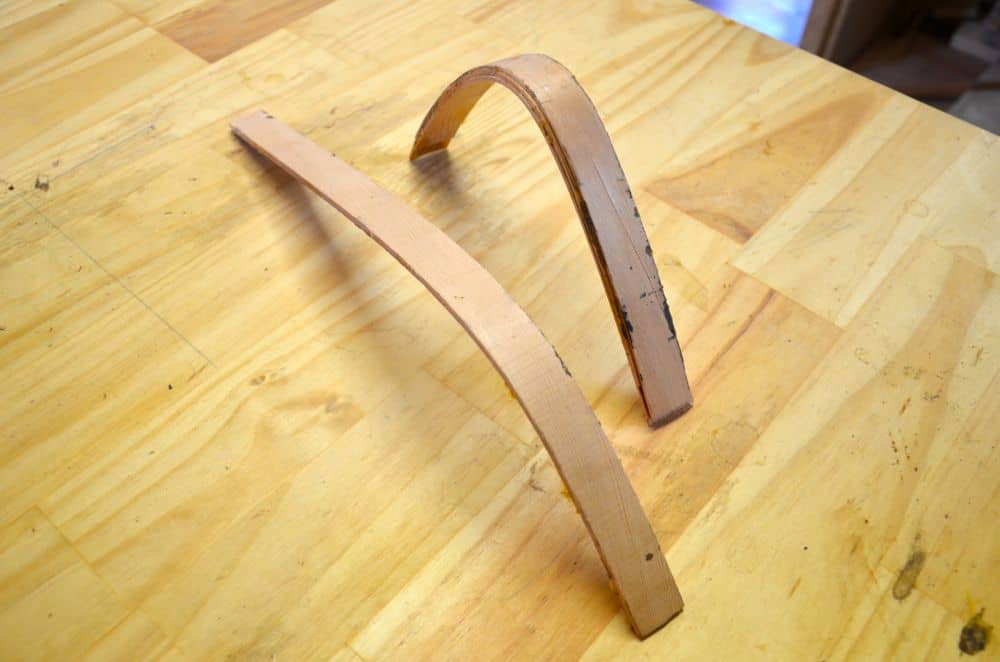
We also used an electric heating iron for bending timber but I’m inclined to count that more as a learned skill than a convenience.
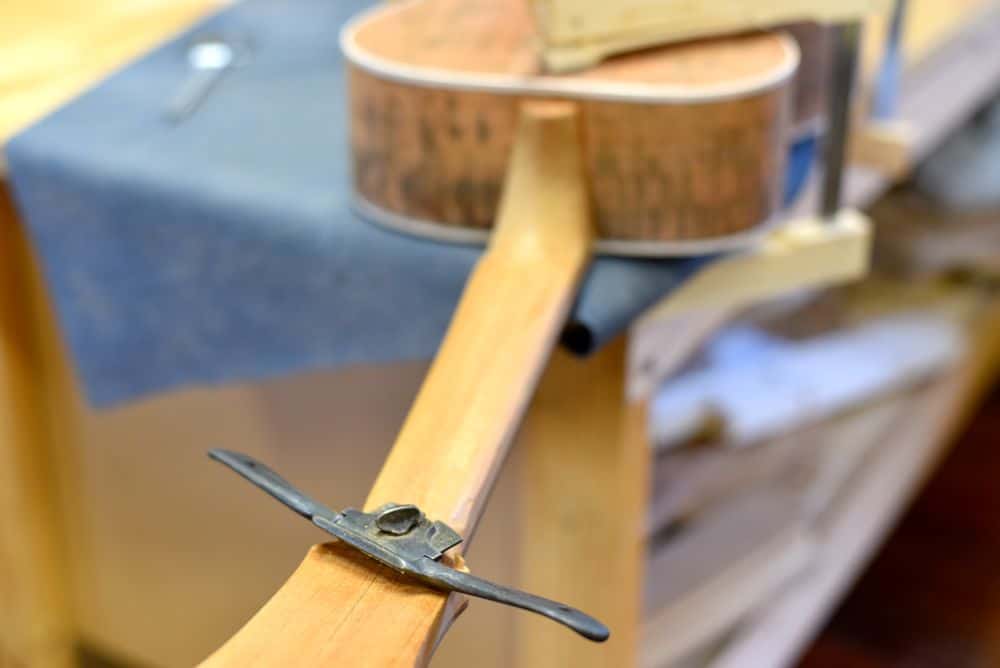
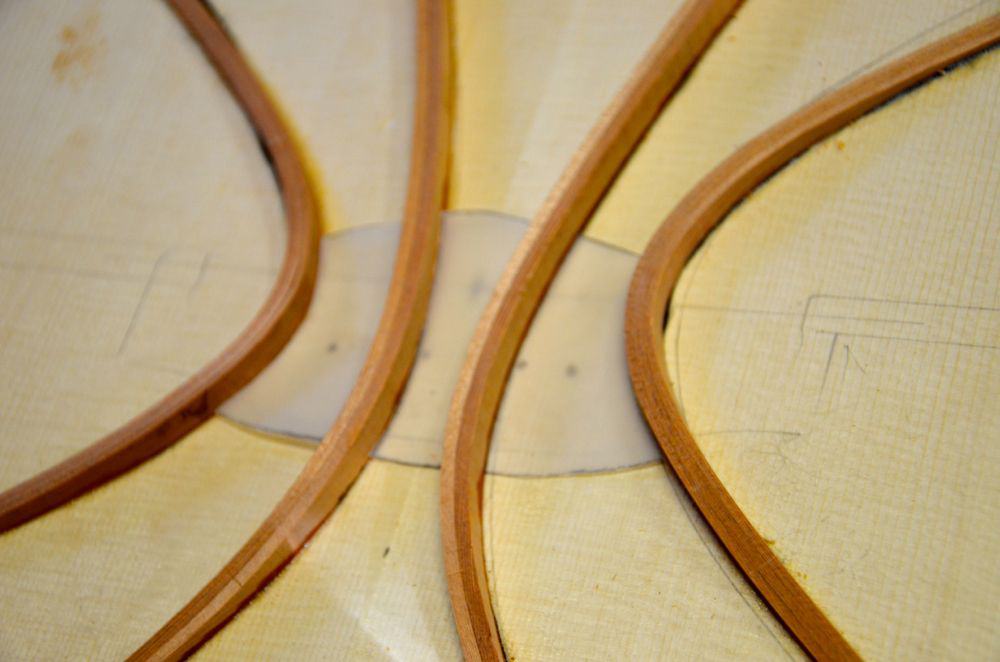
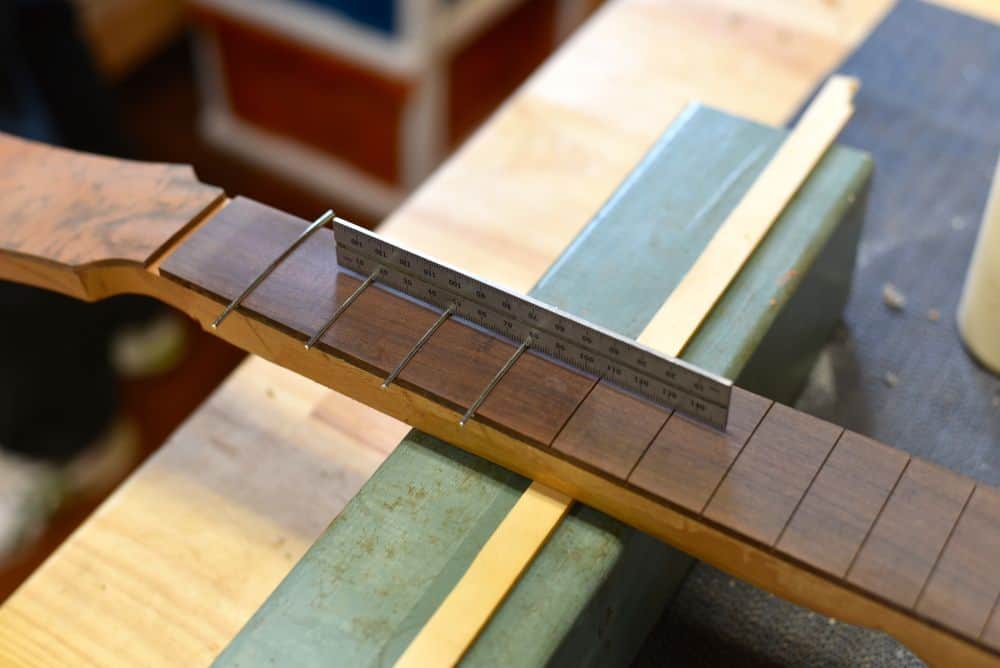
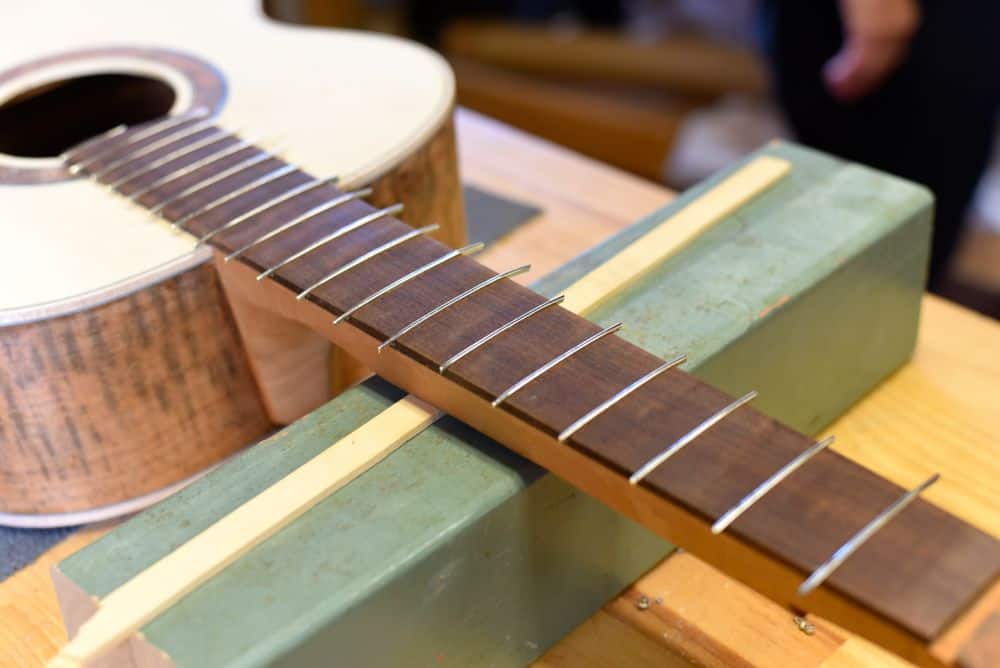
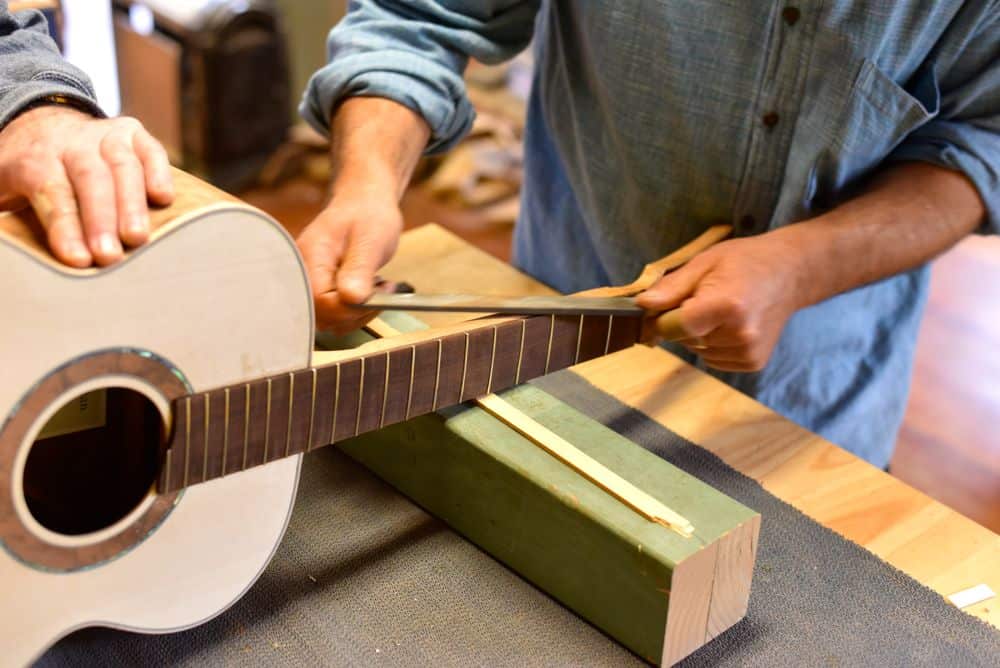
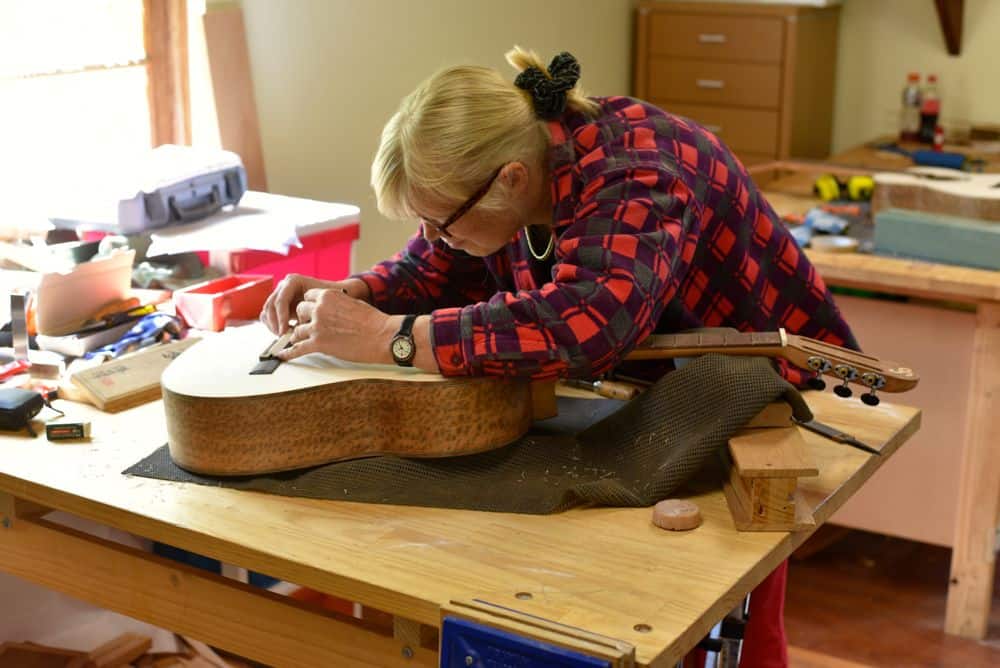
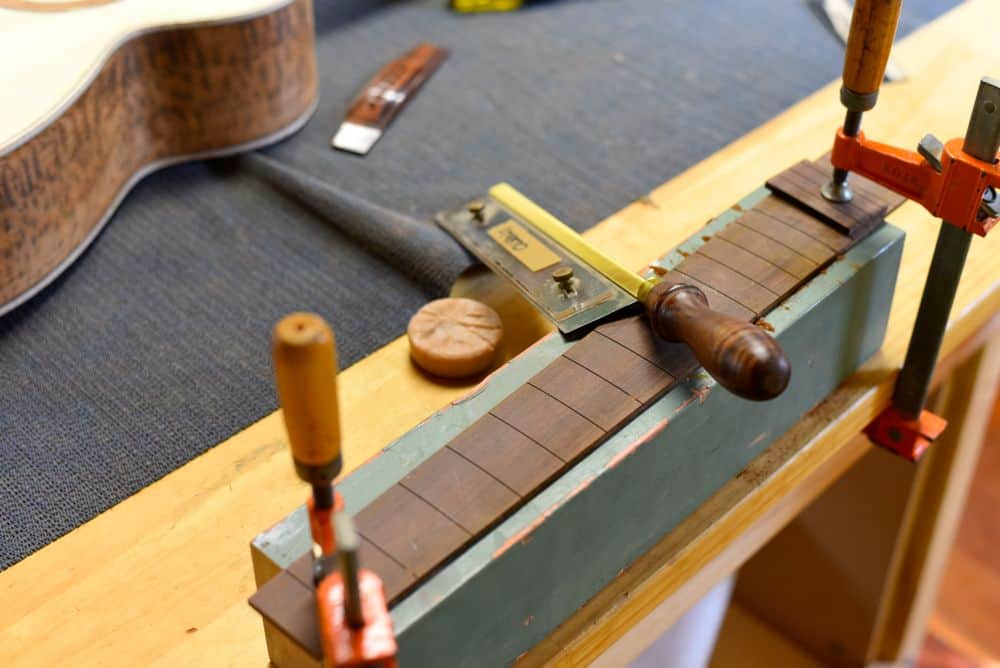
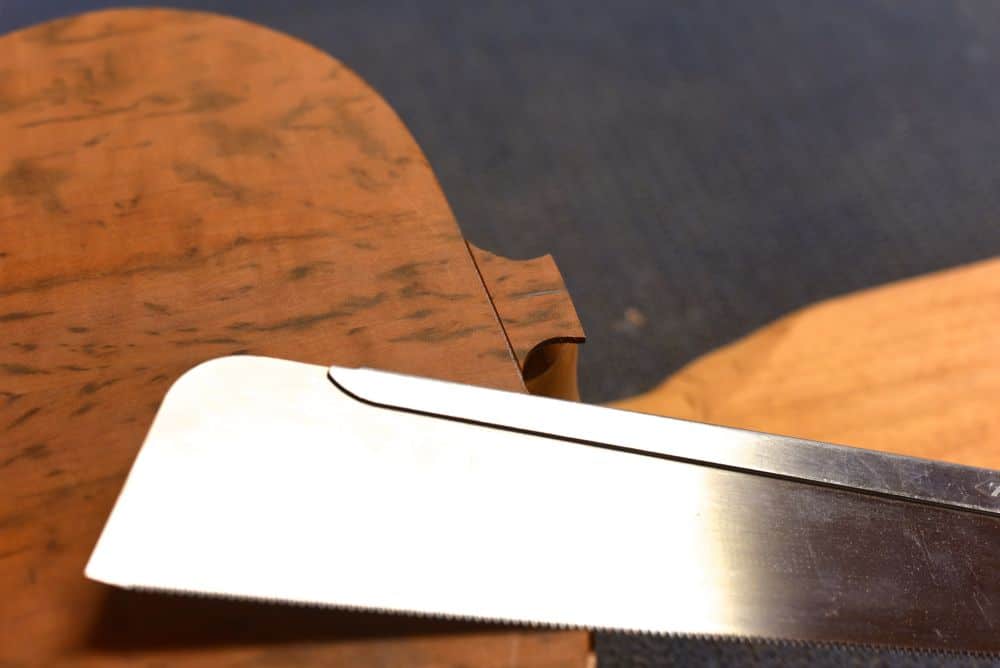
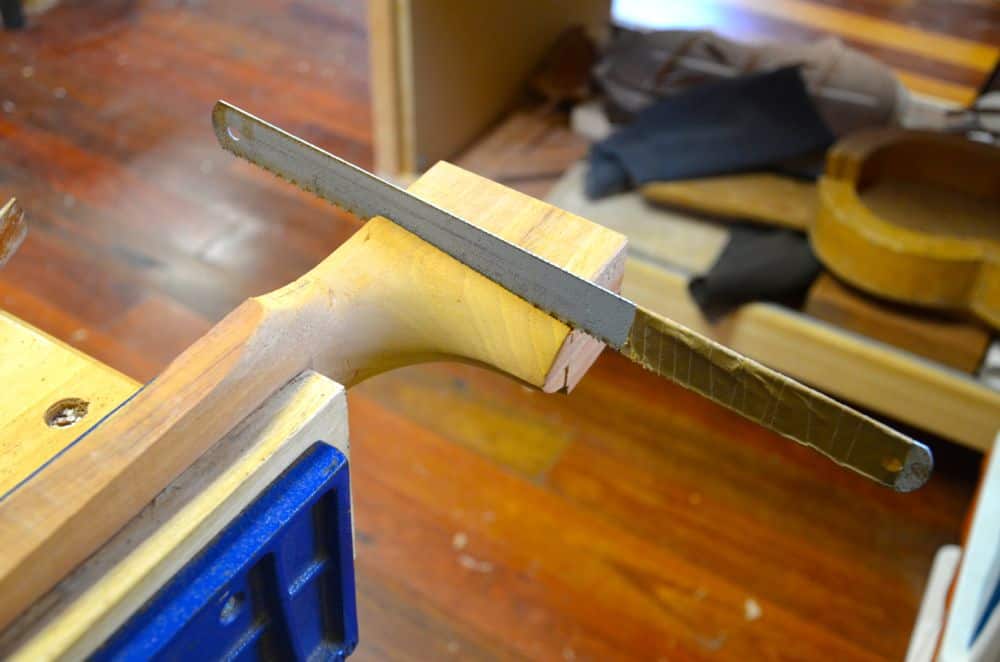
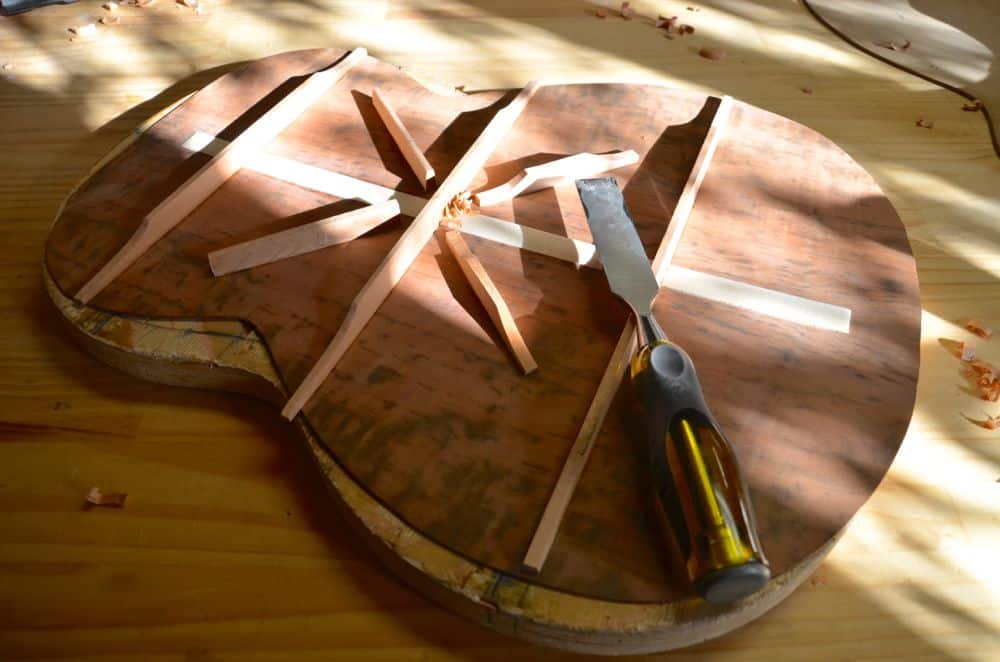
The rest of the course involved the extensive use of various chisels and planes as we took what were essentially six pieces of wood and transformed them into a beautiful musical instrument.
As mentioned earlier, I’ve only made a few basic items from wood up until now. I’m going to use the skills that I learned during this course on an ongoing basis. I found this kind of ‘work’ to be extremely satisfying. It gave me a totally new appreciation for craftsmanship and what can be achieved with a little skill and a lot of patience.
If you value an education like that, then this course is for you.

—
Value of Experience
You get a great instrument. You get an eye-opening education.
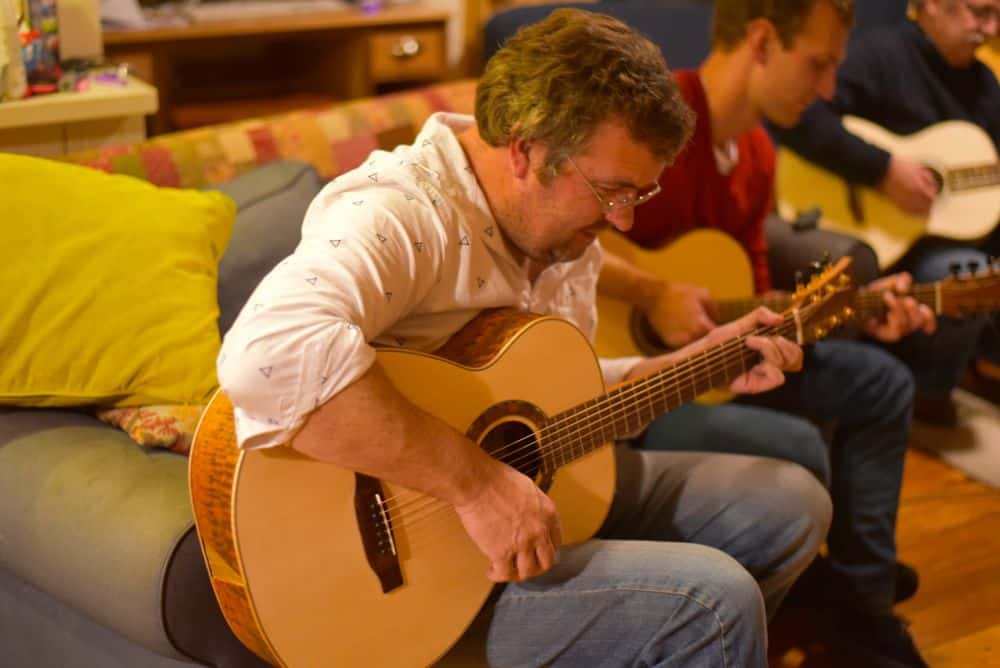
You also get the satisfaction of creating your own musical instrument in a very positive environment with great people around you. Of course, there are no guarantees you’ll always have great people doing it, but the type of person who chooses to do something like this is likely going to have more in common with you than not.
The other wonderful benefit of this experience is the confidence you’ll gain in your own ability. You really can complete this course successfully with NO previous experience. You’ll be amazed at what you’ll learn about yourself. You’ll be amazed at what you can do with the right instruction.
For my money, $3K plus change is a very fair price for all of that.

——
What You’ll Be Doing
Easy answer – building a guitar. Right?
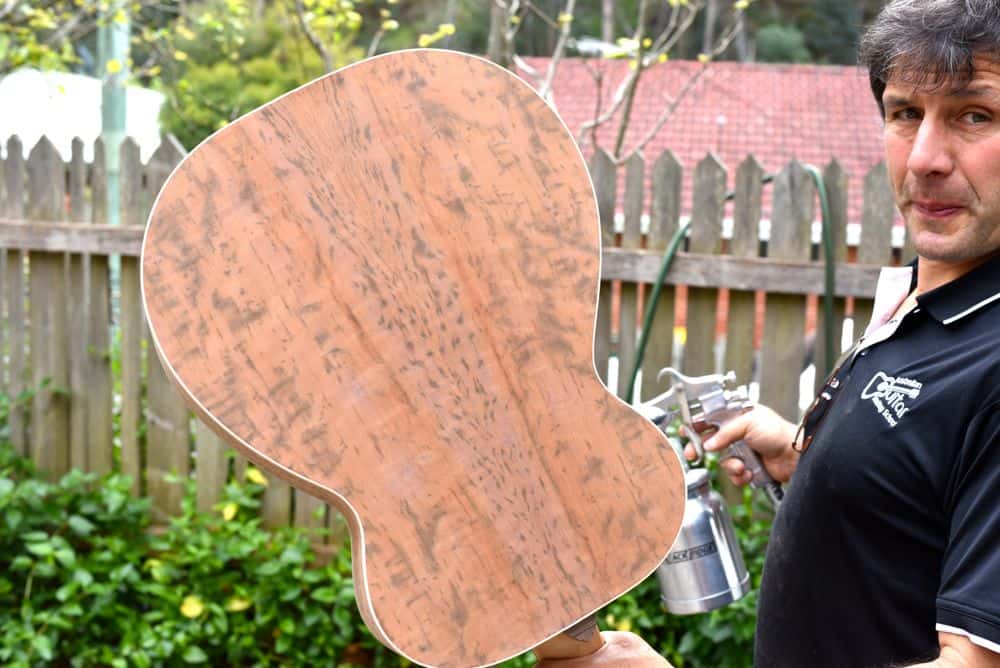
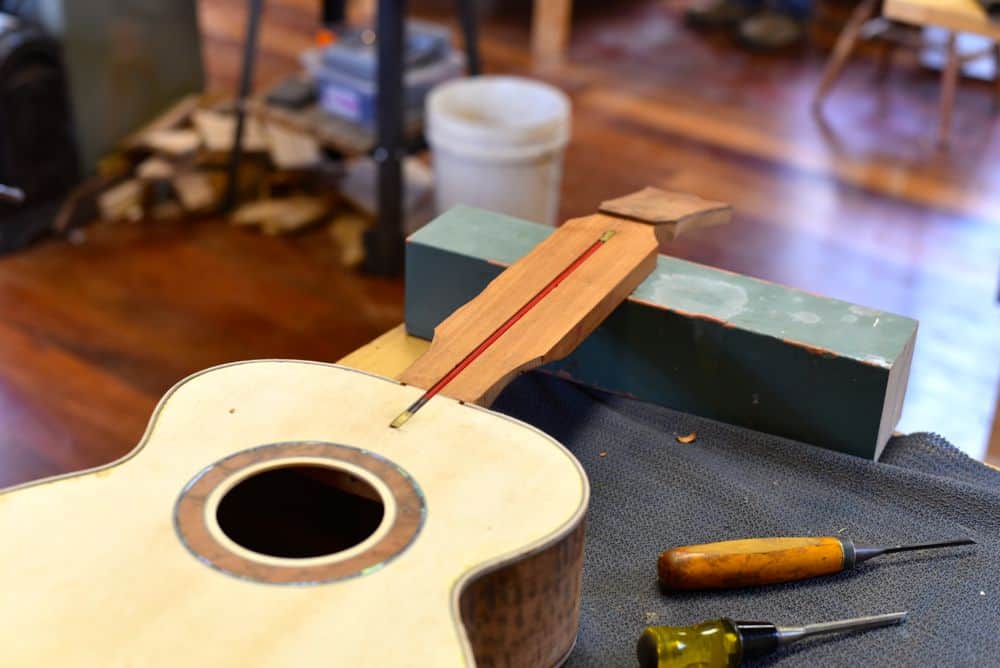
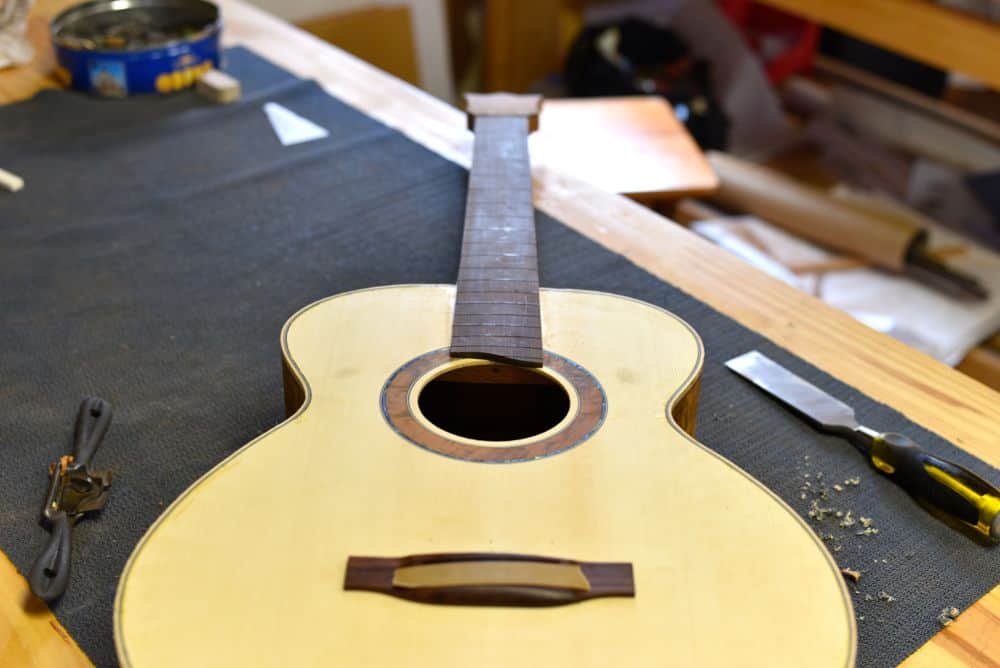
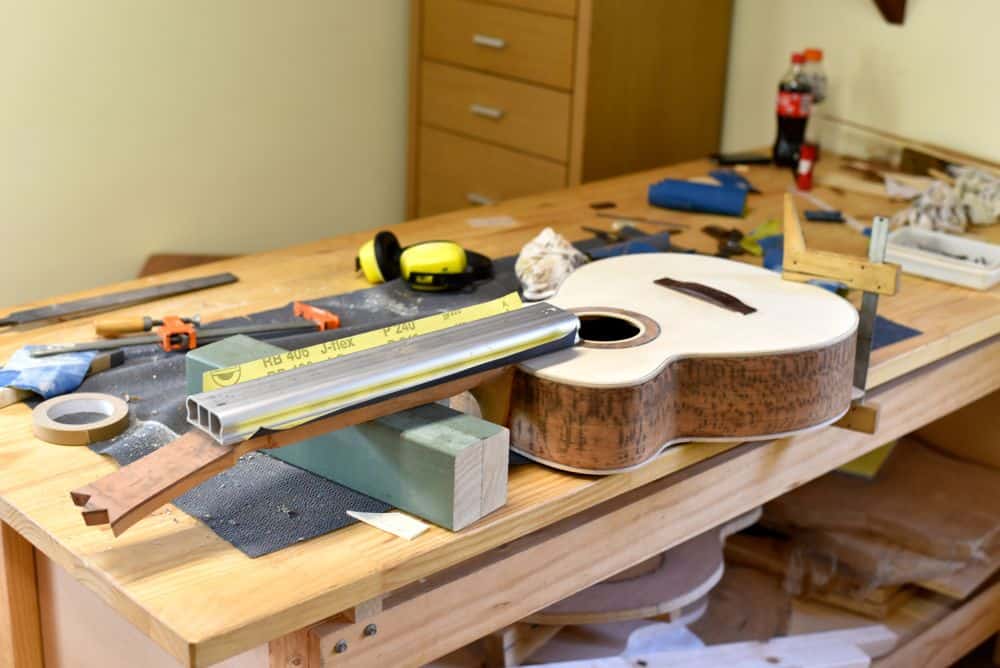
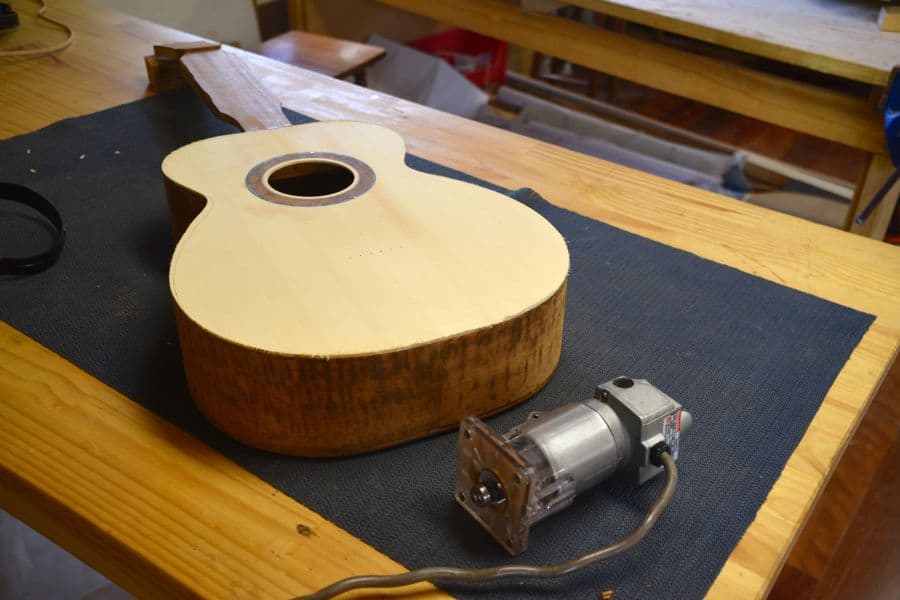
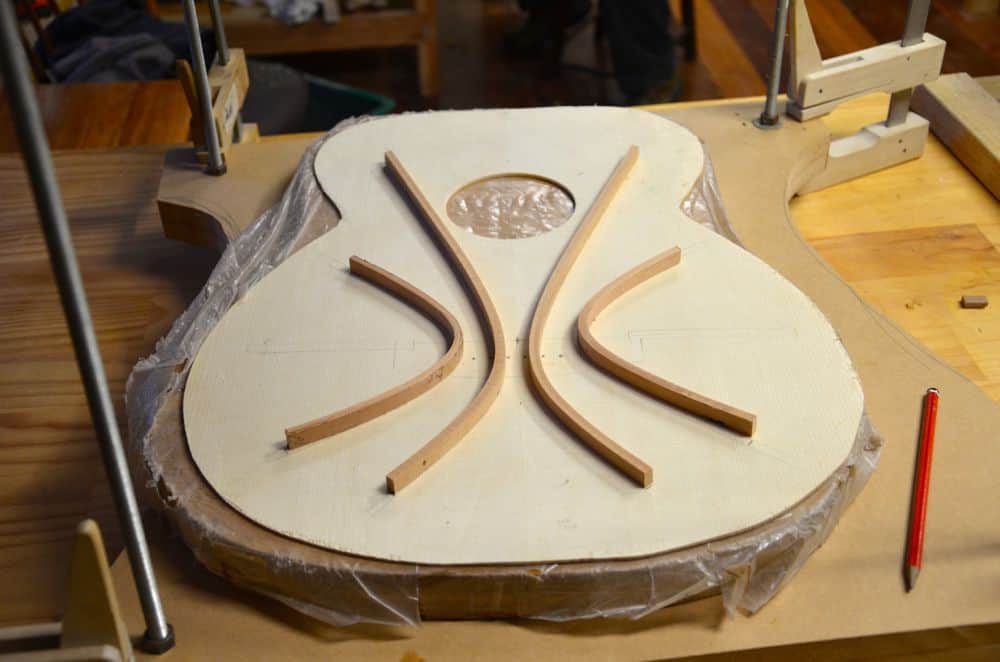
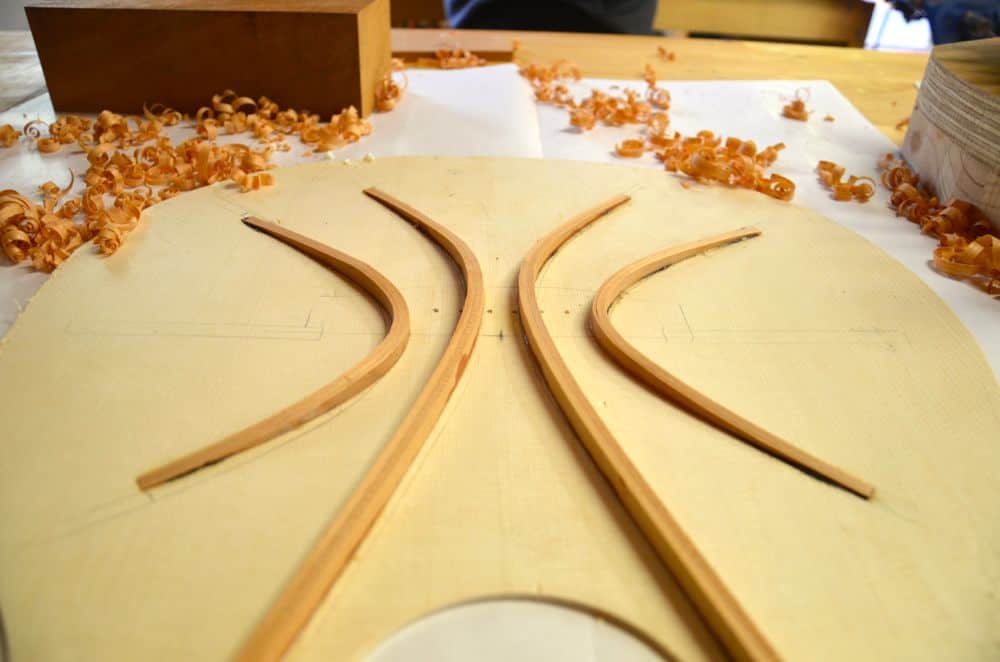
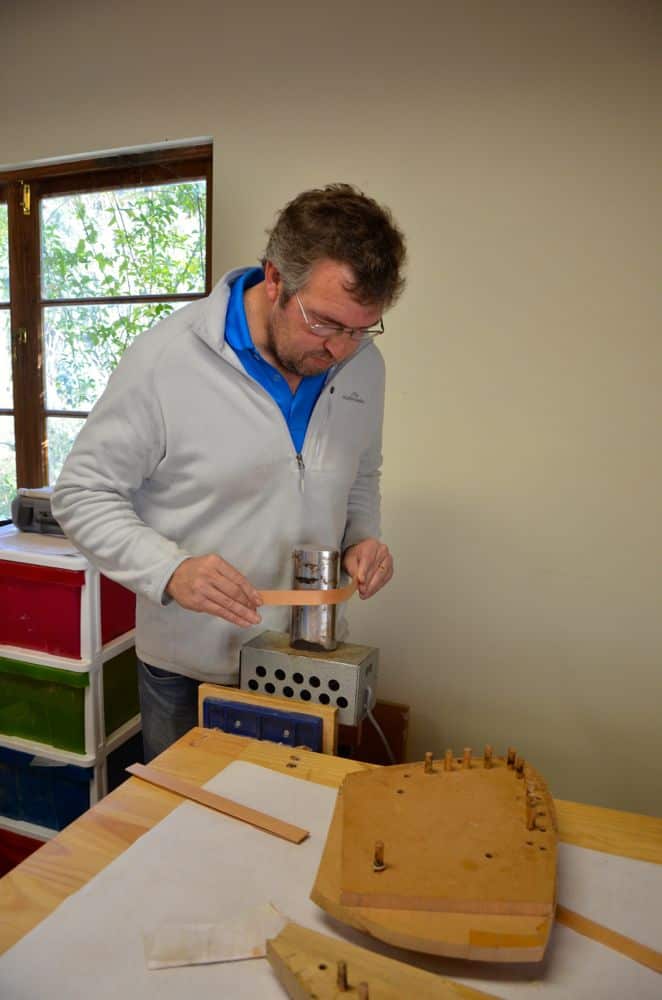
Longer answer – you’ll be building a guitar from scratch using mostly hand tools and expert tuition along the way. This is what we started with….

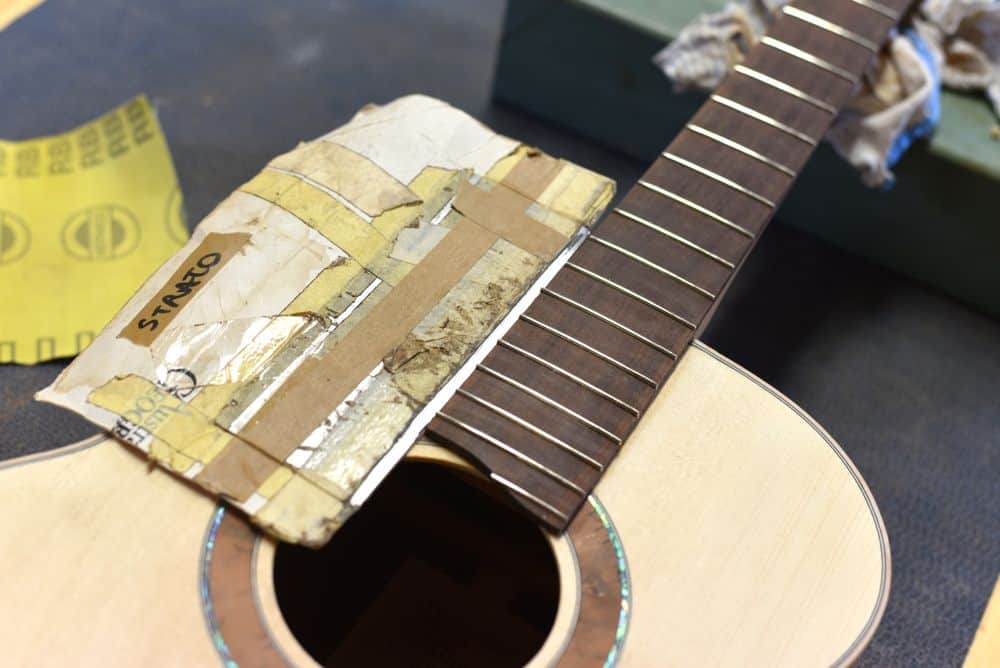
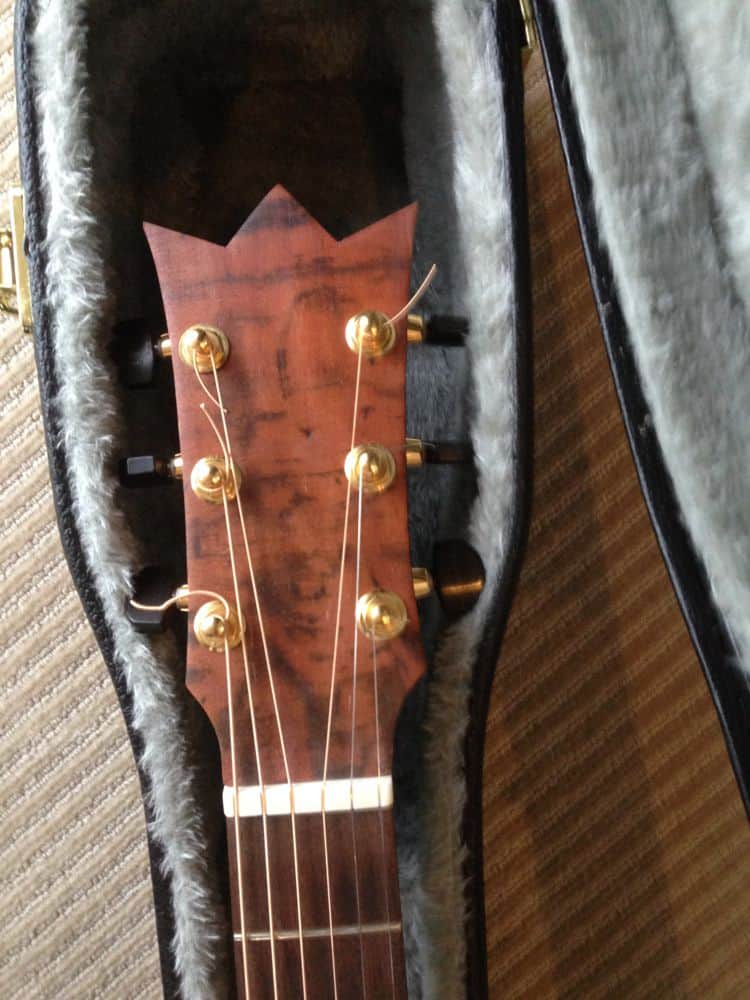
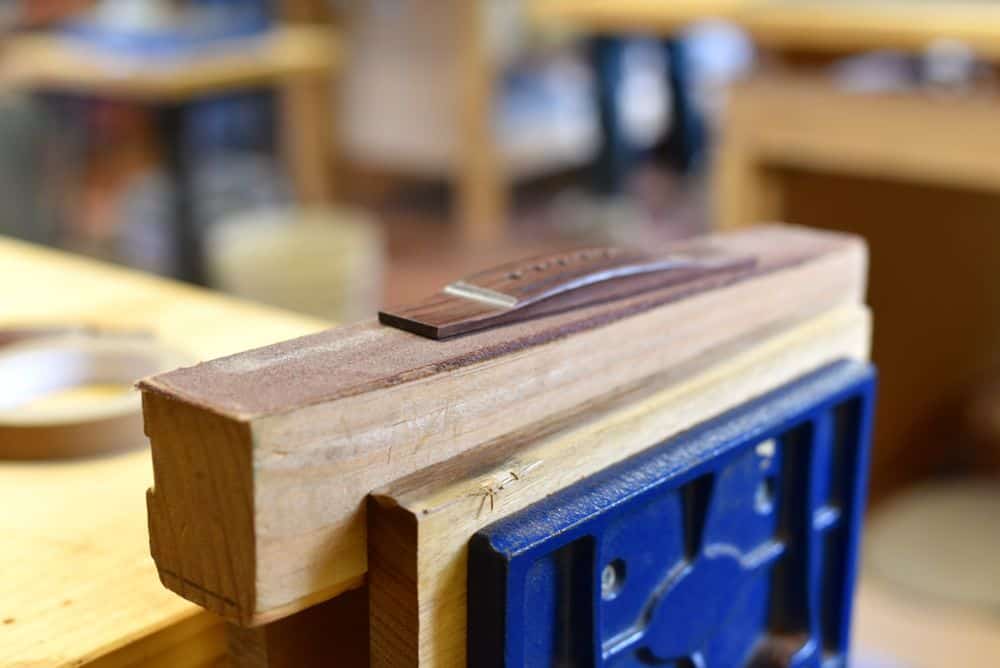
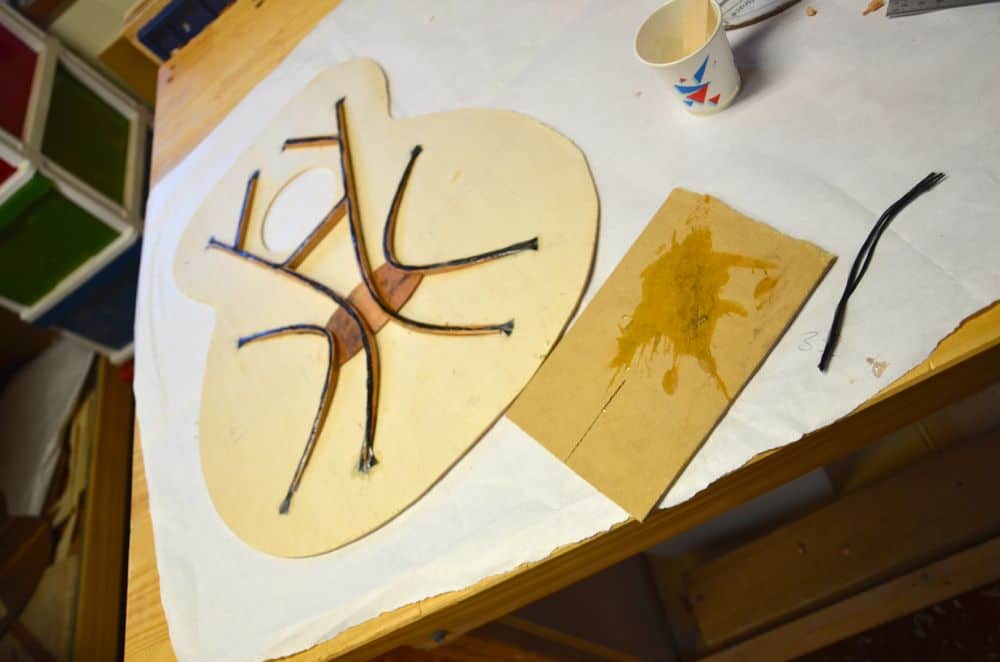
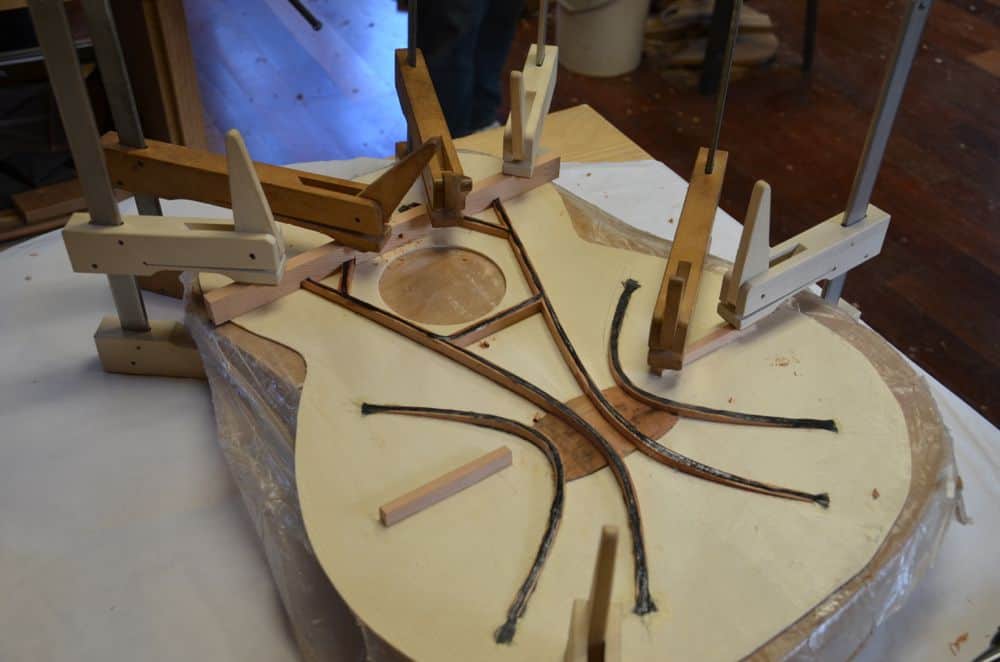
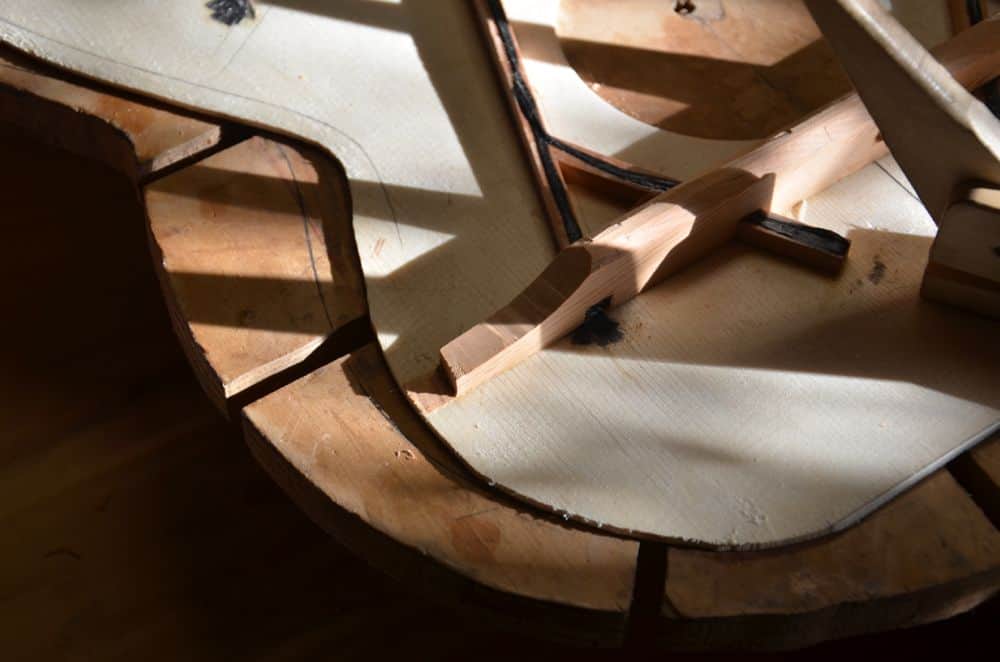
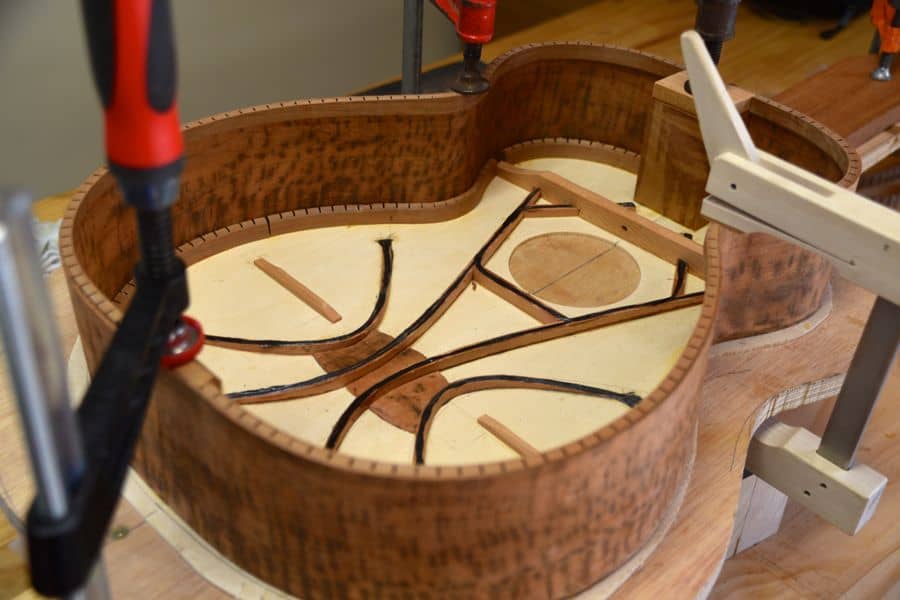
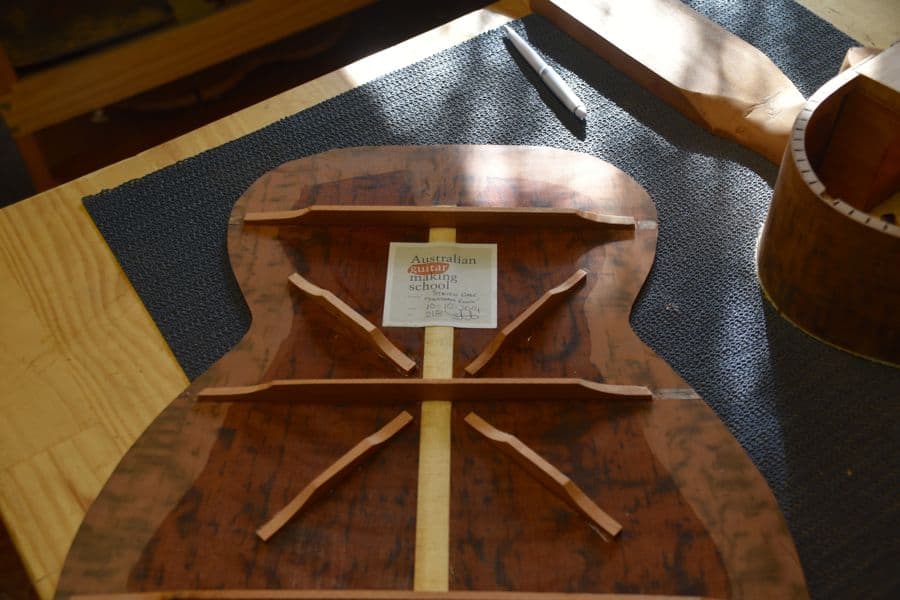
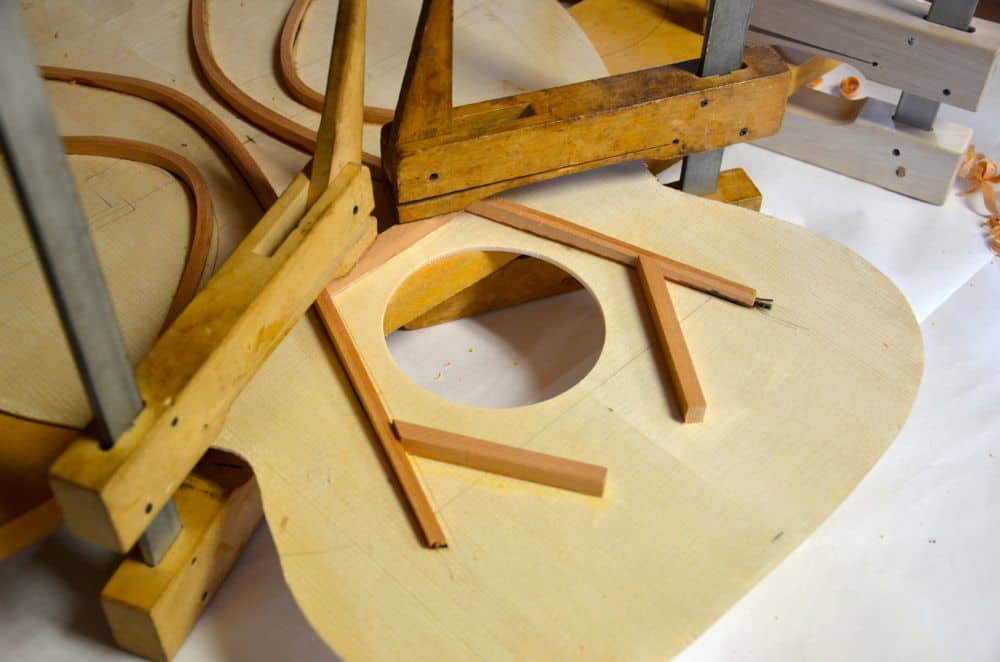
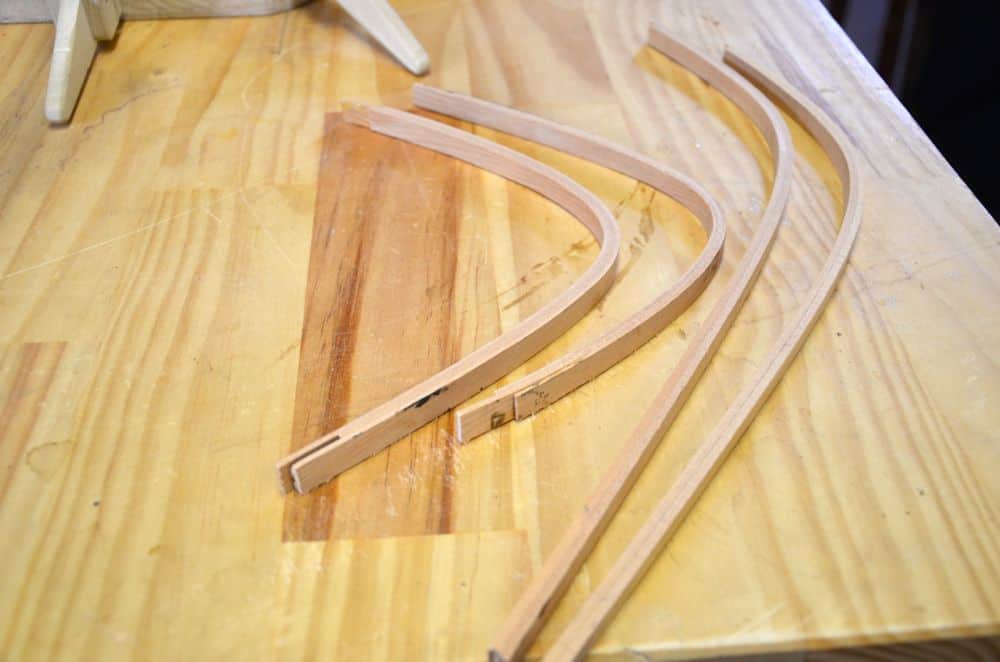
What you see in that photo is the top (spruce), back and sides (tiger myrtle) as well as the neck (mahogany) and fingerboard of the guitar. Plus the tuners in the box. We also used a few strips of King Billy Pine used for the bracing, and some leatherwood used for kerfing. The parts that you can’t see there are the bridge, bridge pins, nut, saddle and fretwire. All of those are supplied.
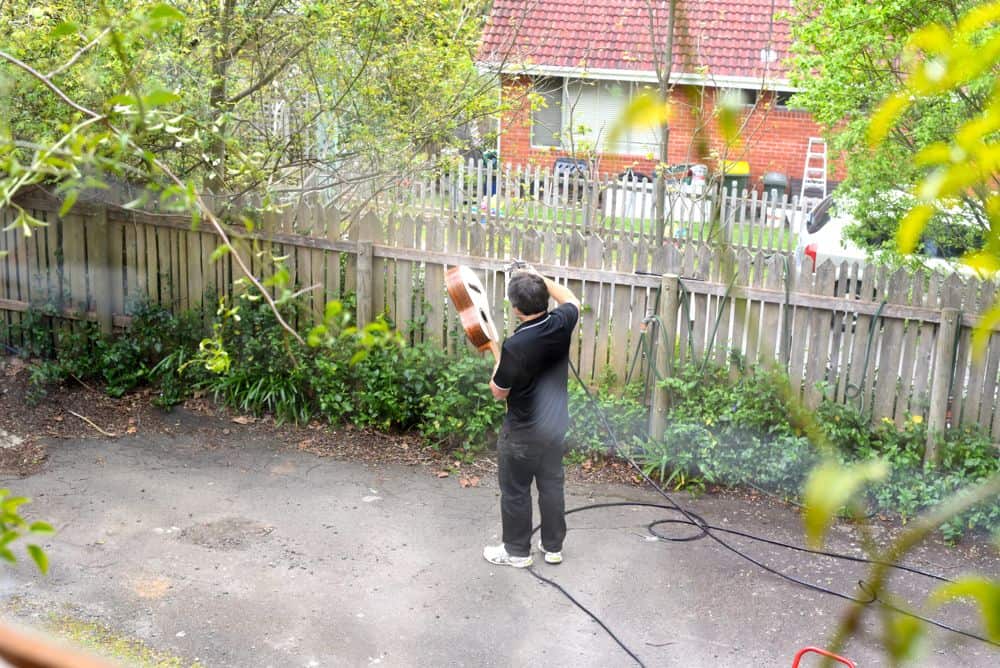
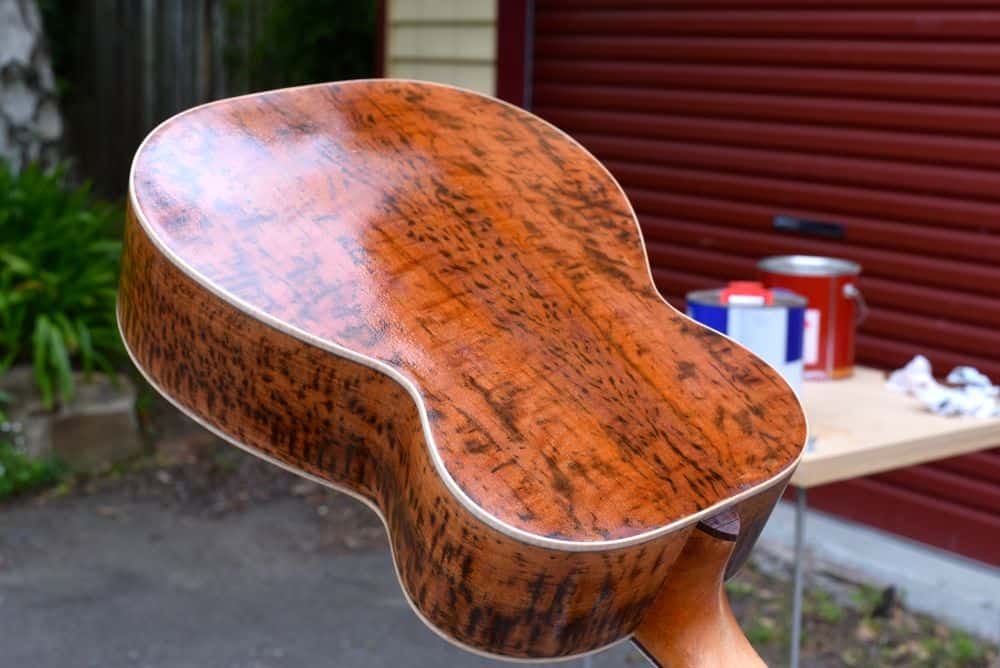
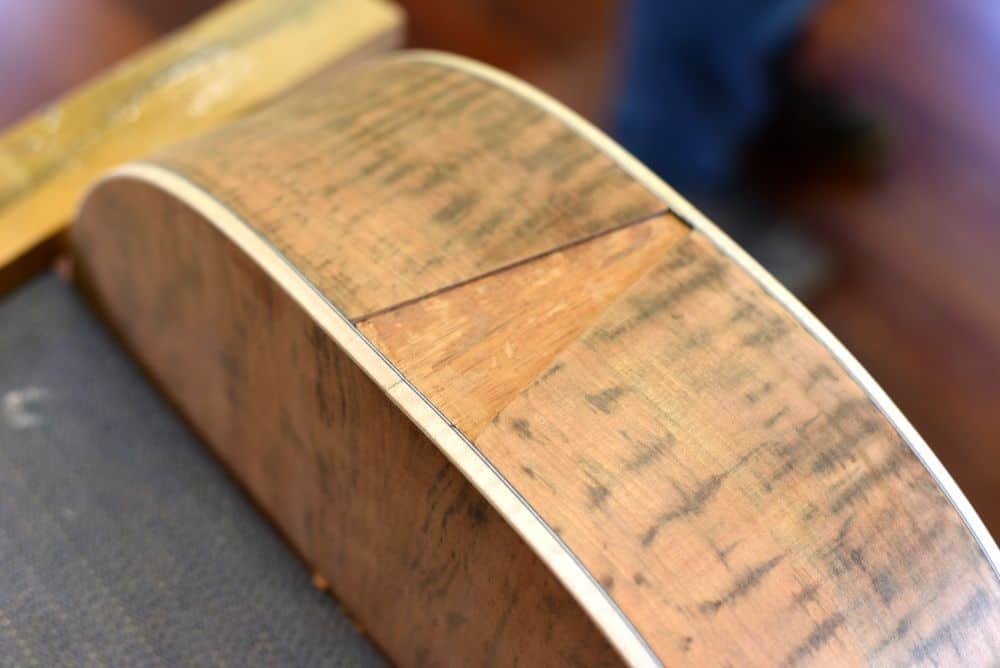
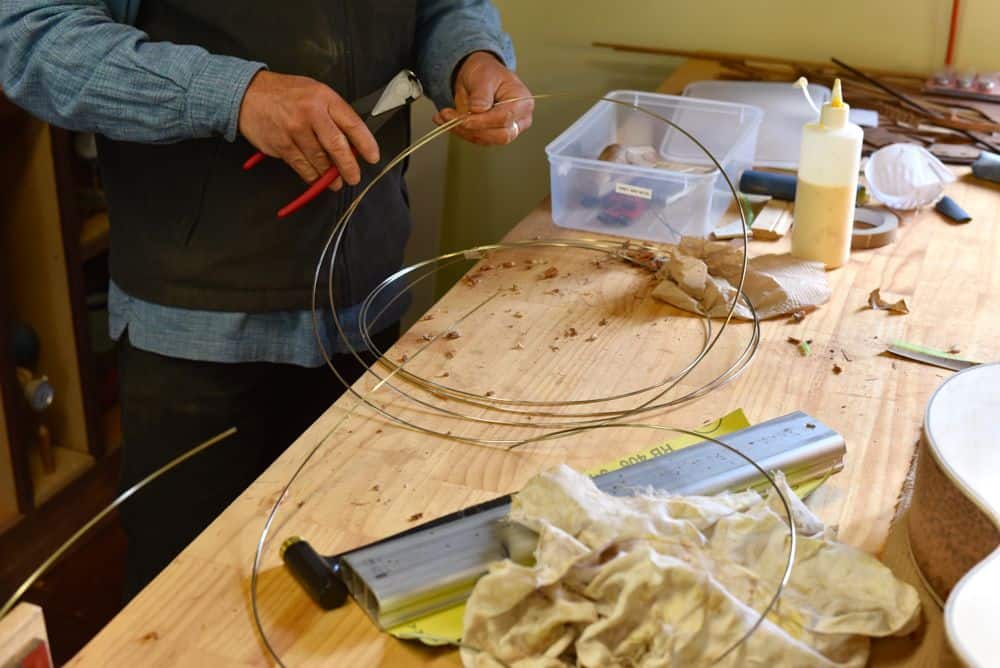
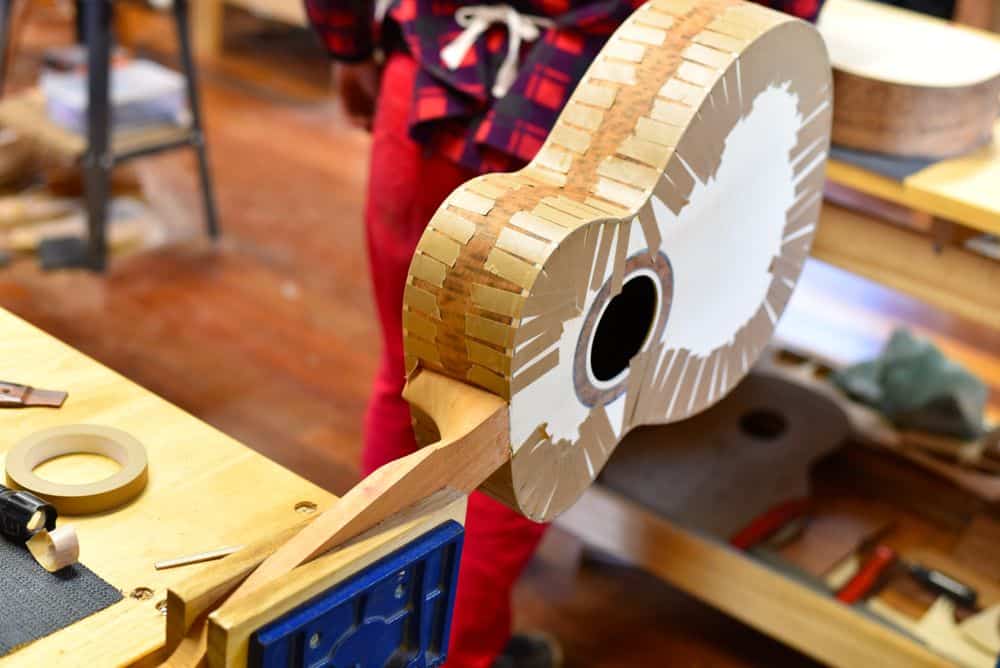
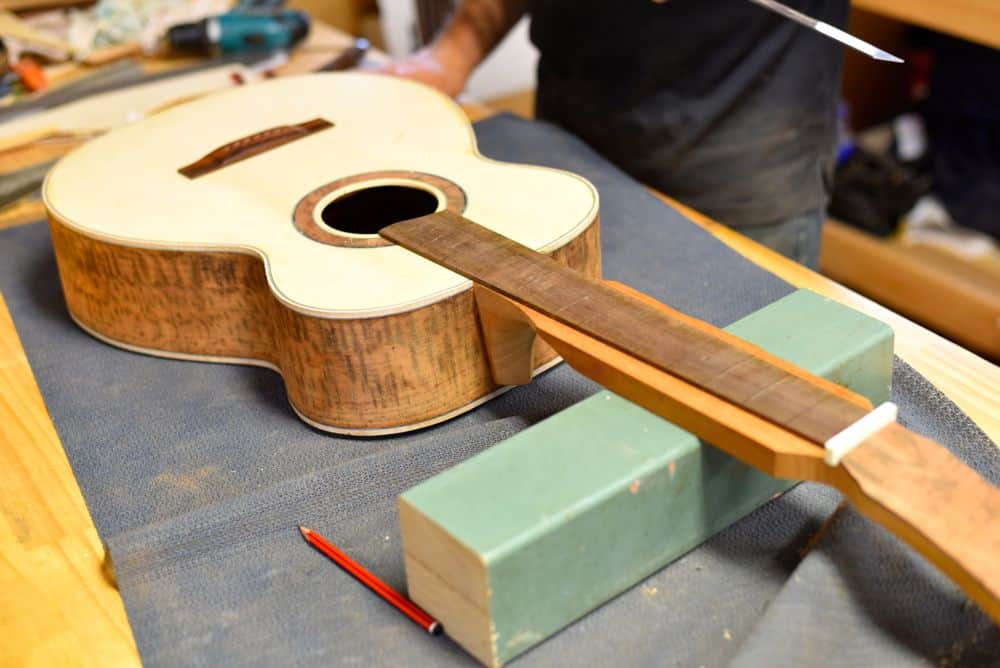
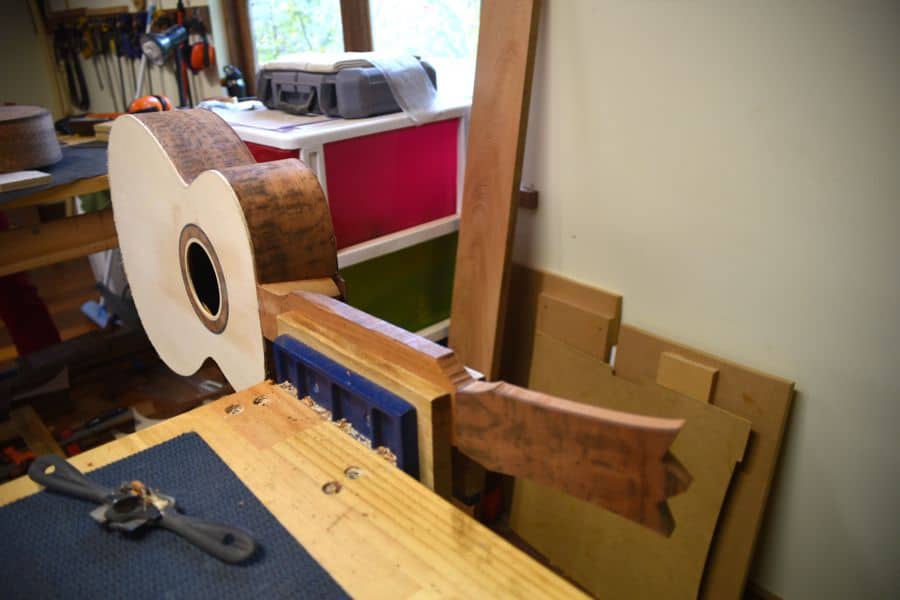
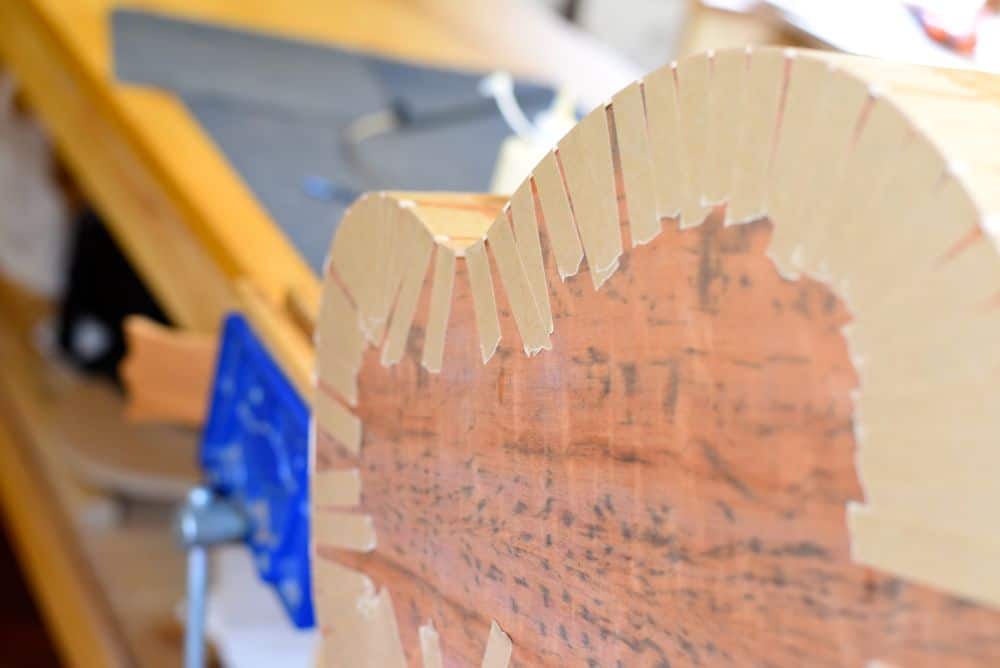
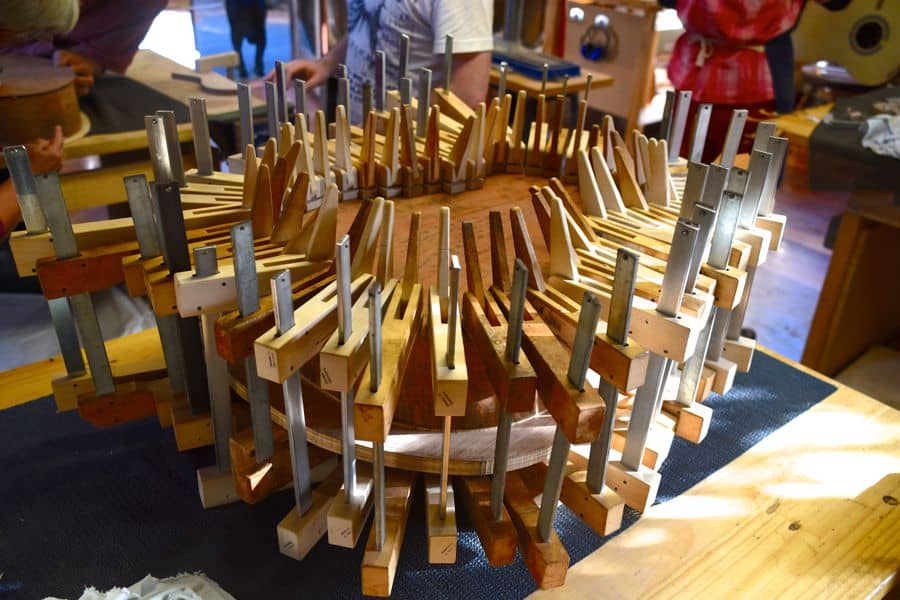
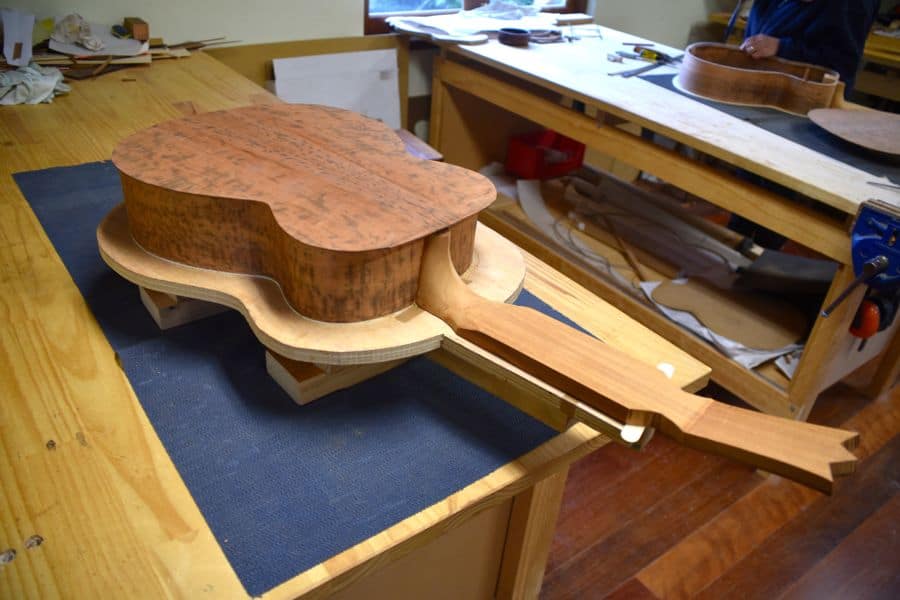
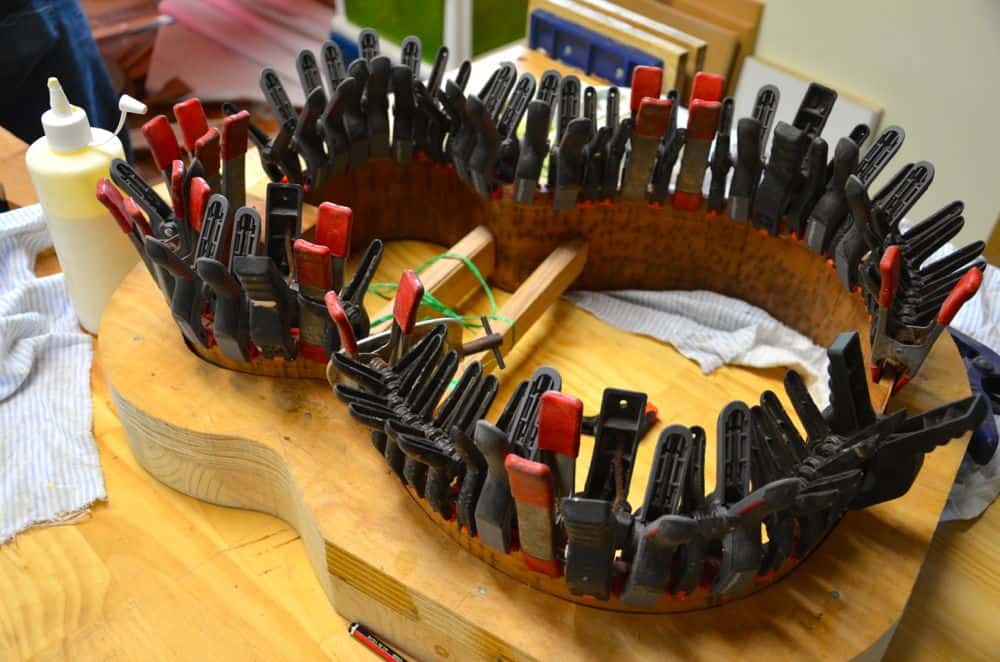
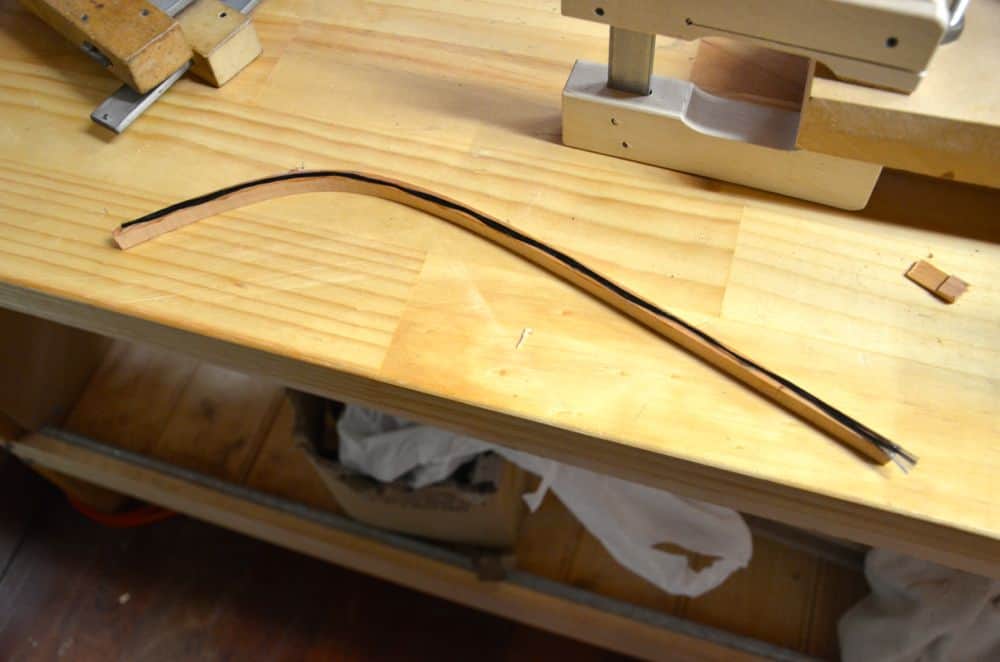
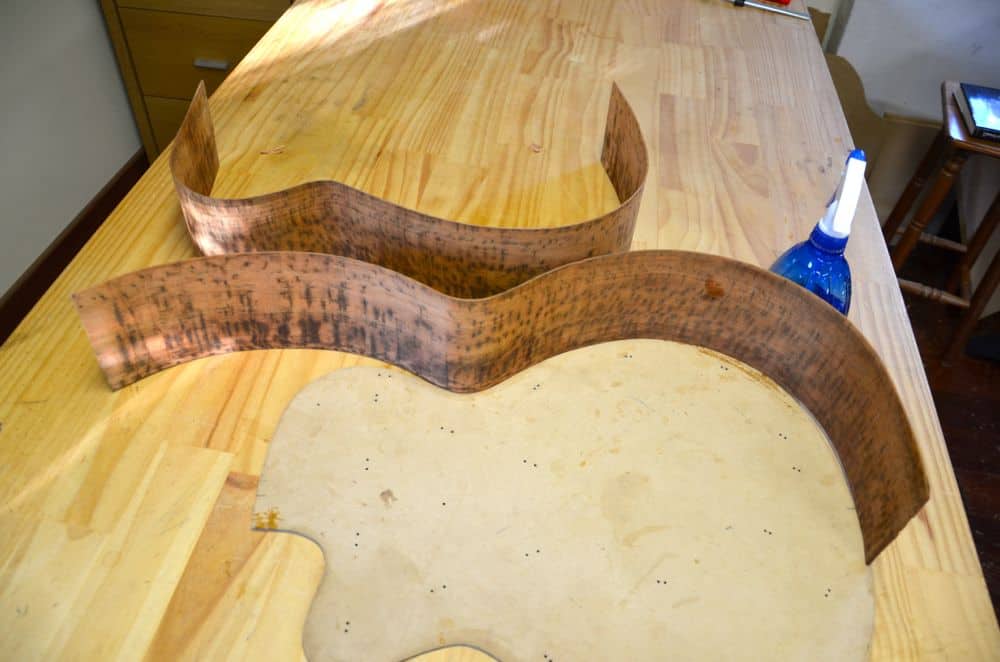
During the course you take the raw materials shown in the photo above and you cut, plane, chisel, bend, glue, clamp and sand them until you end up with something beautiful, like this:

You’ll learn how to use a bunch of tools you’re probably unfamiliar with and you’ll be amazed at what you can do with those tools when you have the right instruction and a little bit of patience.
——
Things to be aware of….
More costs
I’ve mentioned the initial cost, but be prepared to spend more. I’ve recently had to buy a case for my guitar ($280) and a groovy little clip-on tuner ($35). I’m also going to pay a specialist to complete the setup of my guitar, which I’m expecting to cost at least another $150.
I didn’t do it, but a couple of the guys in our course bought pickups for their guitars. And if you’re going to do that, you might want to buy an amplifier, which also adds up to the cost.
Take all such costs into account before building your own guitar. Make sure your estimated price is in line with that of other guitars on the market. In cases where the difference is significant, you can purchase a guitar of your favorite brand from a local store. Searching the internet for terms like “Gretch guitars omaha” can help you locate nearby stores.
The escalation of costs and the addition of new gadgetry is something every musician will understand 🙂
Go Hard Early
I’d encourage you work as diligently as you can in the first few weeks because I can guarantee that you’ll find plenty of details to touch up at the end. Best allow plenty of time at the end by working hard at the beginning.
Exhaustion
Yes, you CAN build a guitar from scratch in three weeks. It’ll cost you more than money, though. Be prepared to be thoroughly focused the whole time and completely exhausted by the end of the course.
The Waiting
I don’t know if it would be practical or financially viable, but it’d be helpful if there was more duplication of some tools in the workshop. The workshop we used generally had two of each important tool for use. Sometimes three, but generally two.
When there are five (and sometimes seven) of you working on building instruments, you need access to tools. Most of the time we were all at slightly different stages and access to the right tool was OK. But if there were three working on a similar stage of the build, it sometimes meant waiting around for a tool you could use to do the job.
The other side of The Waiting is the fact that there will be times when you’ll not really know what you’re doing. Or better put, you won’t know if you’re doing it right and you’ll be worried about doing it wrong. At those times, you’ll probably have to wait a little bit for assistance. Even with an excellent teacher-student ratio of 1:5, there’s some waiting that has to be done.
—
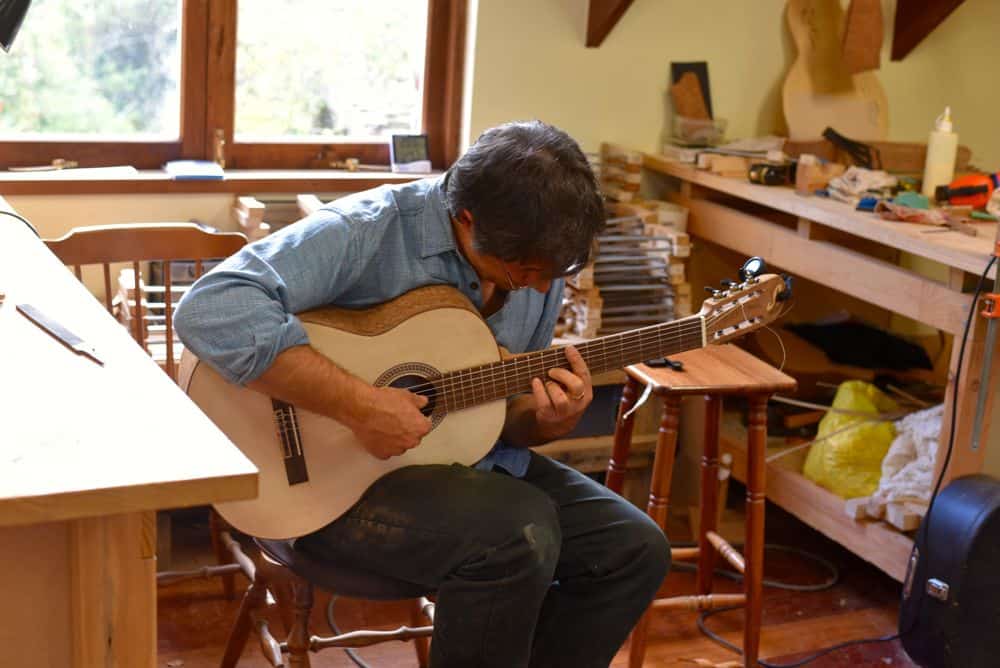
Conclusion
This is a unique experience. Our teacher, Strato, was superb. I asked him to sign the inside of my instrument and he questioned this, saying “but you’re the one who made it”. My response – “I might be the one who made it, but you’re the one who made it good”.
I can’t recommend this course or this experience highly enough. If it’s something that you’ve been contemplating then my advice is to pull the trigger and go for it. You’ll be so glad you did. The satisfaction of building something so beautiful and so functional is immense.
Perhaps the best recommendation is that the 2015 3-week intensive Tasmanian class – which is only held once a year – is already sold out. Most of the places for 2016 are taken, too.