So…..
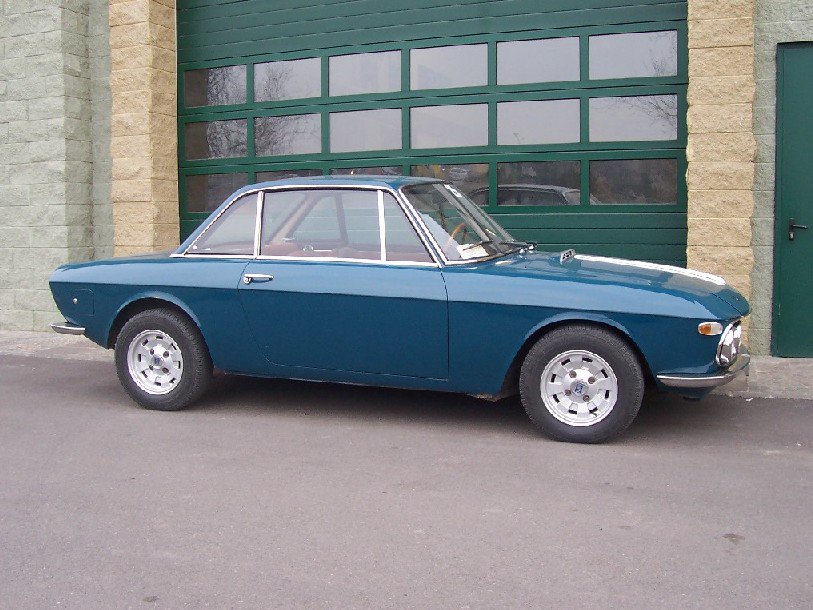
I didn’t just ponder the colour of my car on Sunday. I actually did a little work, too.
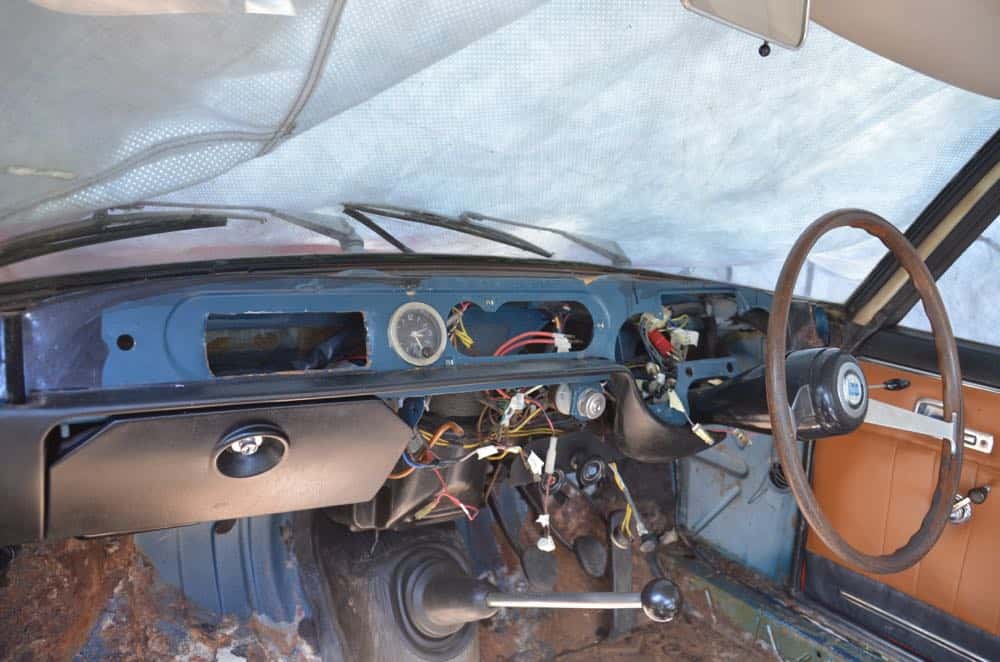
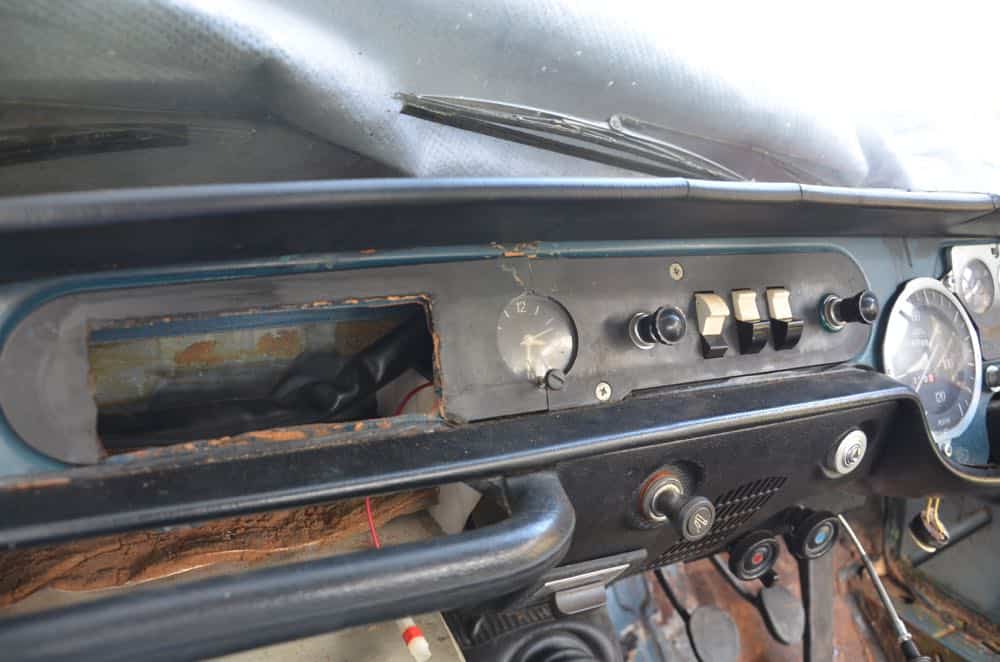
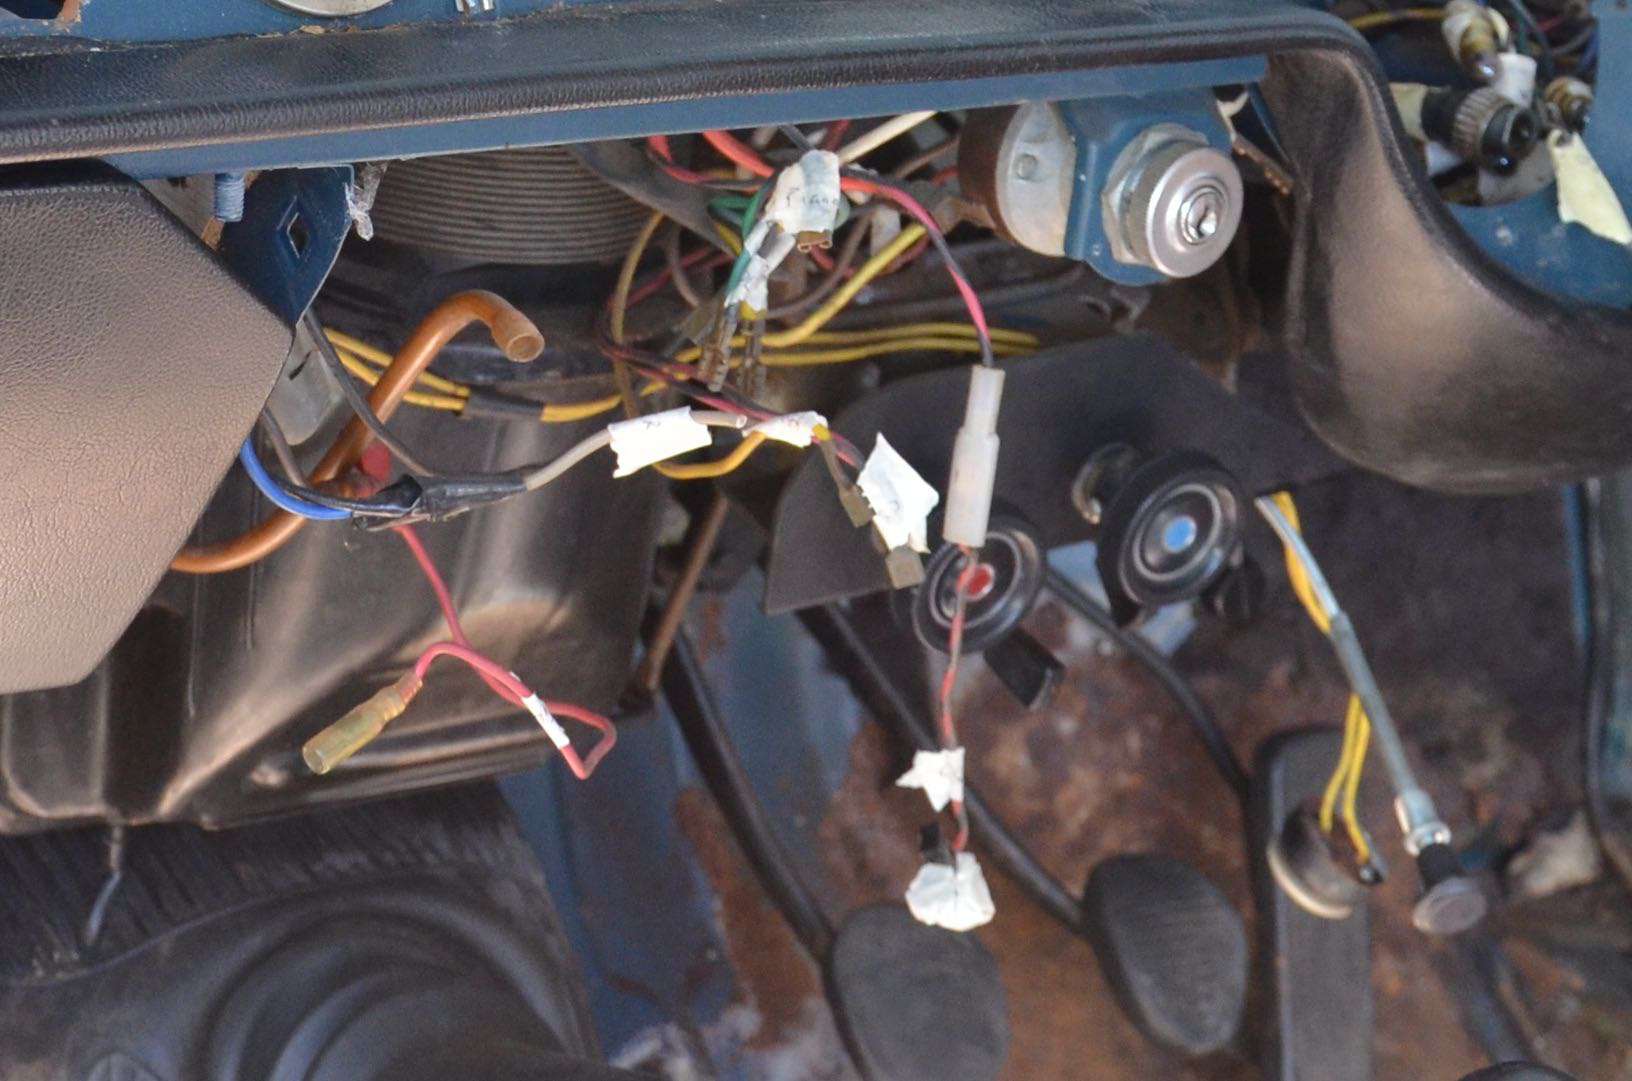
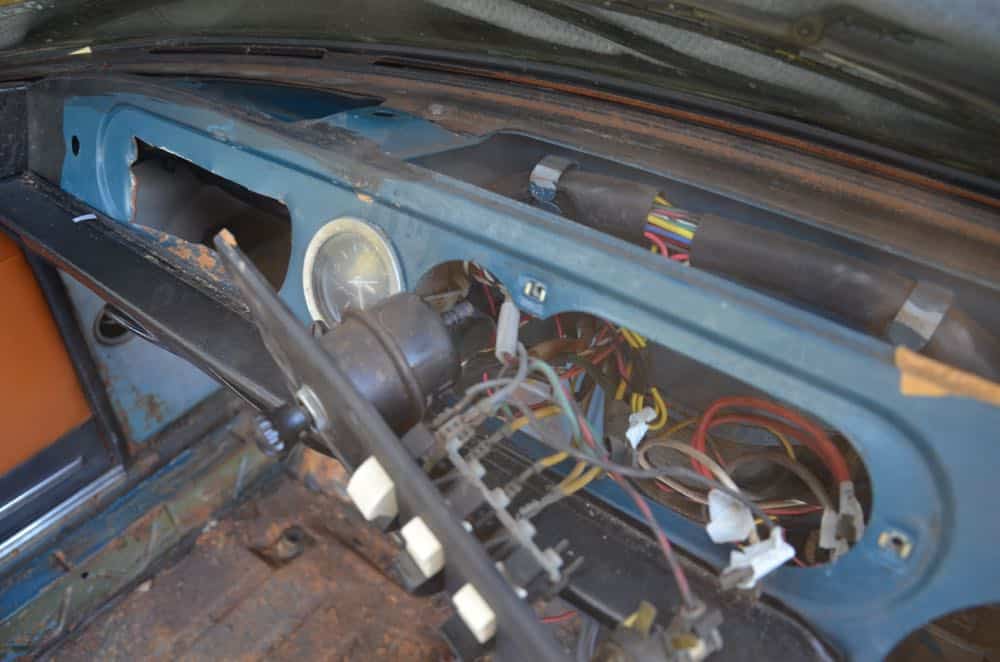
My first job was to remove the clock from the dashboard, something I couldn’t figure out initially but took all of about two minutes once I saw the fixings at the back of the bracket. The dashboard is now completely clear of instruments and is just a mess of wires. And heating stuff.
Remove Pitting From Chrome
While I was inside, I decided to have a crack at some of the pitted chrome. Most of the metalwork on the Fulvia – especially the outside trim – is actually stainless steel. No problems there. There are some old fashioned chrome pieces, however, and these have succumbed to pitting over time.
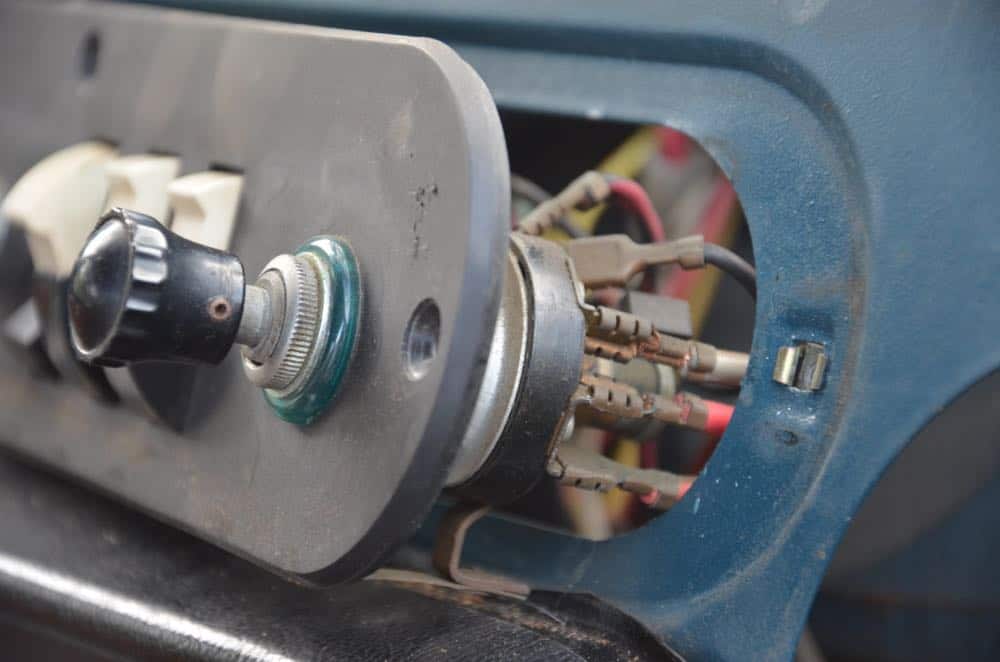
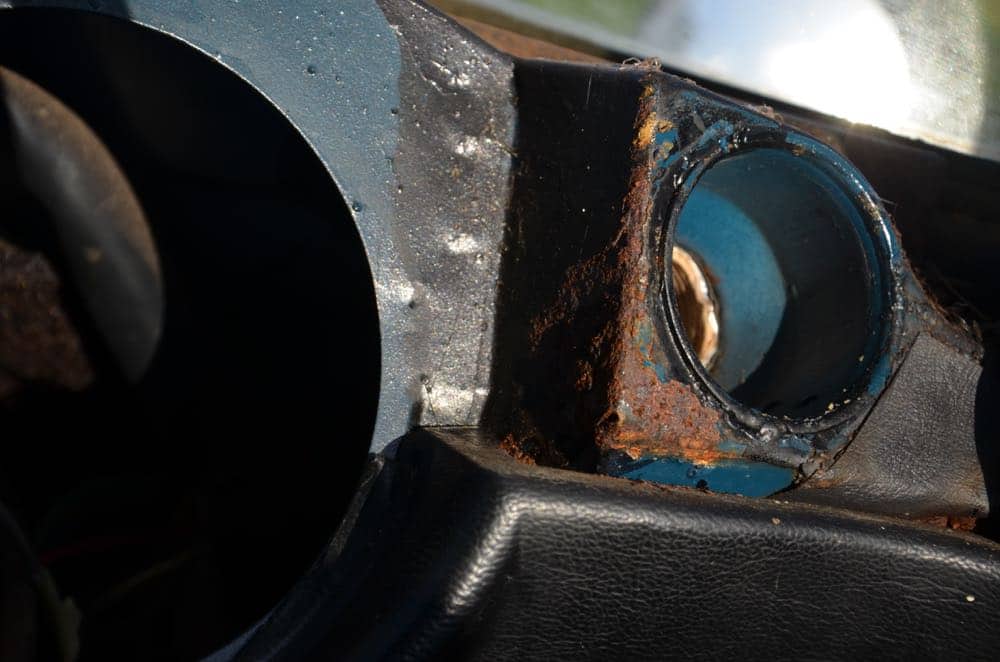
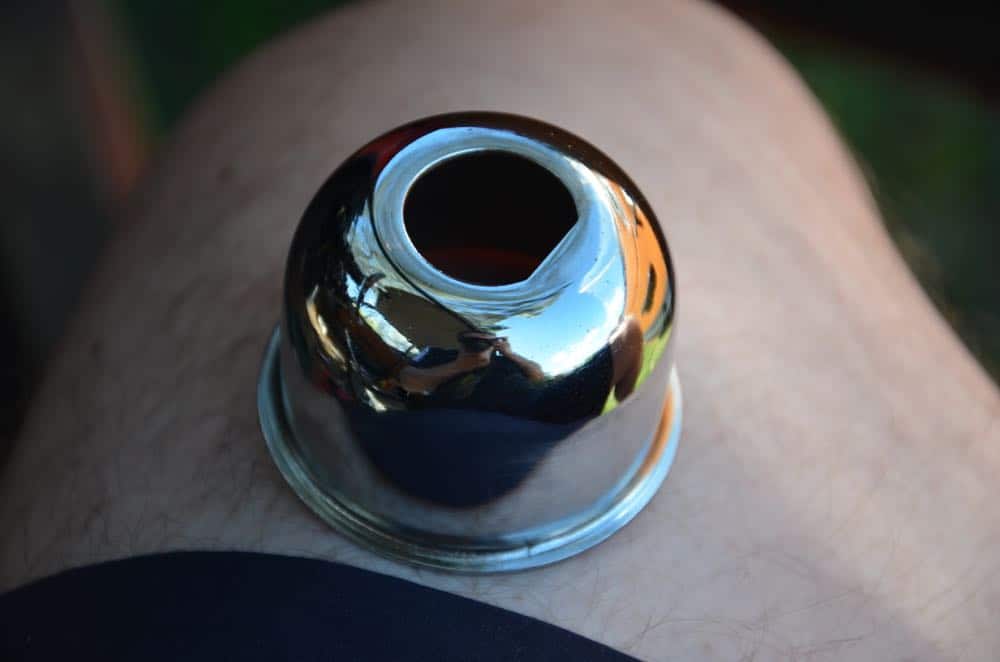
Here’s the housing for the indicator stalk, for example:

I looked up a few resources for advice on how to remove pitting from chrome and I was amazed at how quickly and easily you can treat this. It isn’t a permanent fix, of course. You’d probably need to get things re-chromed to have yourself a real long-term solution. But this quick fix will most likely last quite a while.
The solution I found: aluminium foil and a little bit of water.
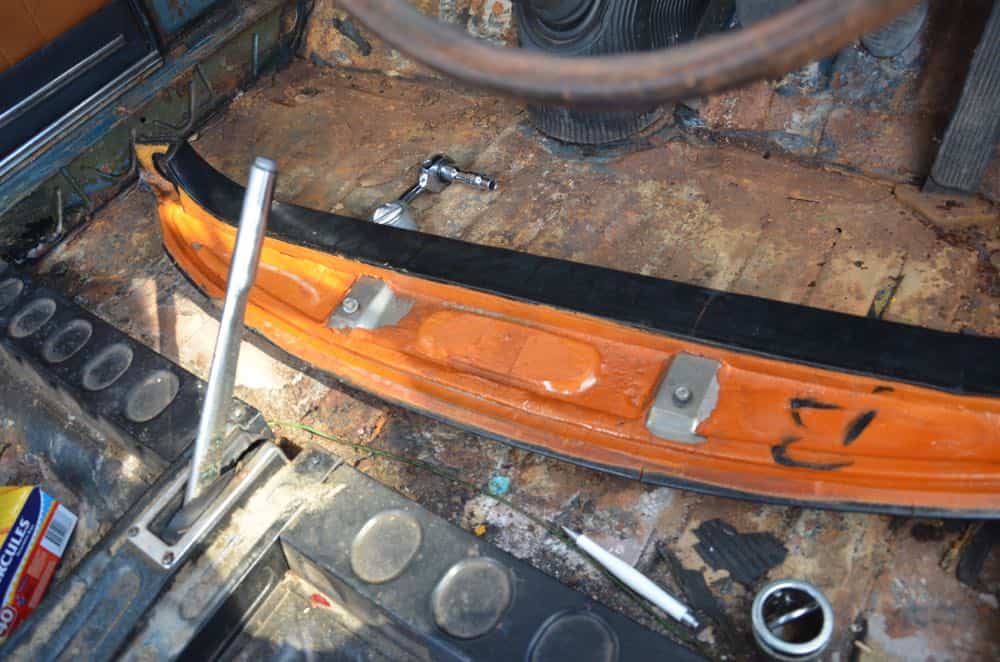
I simply tore a strip of aluminium foil about 5 inches wide, folded it to make a suitable sized square, added a little bit of water and rubbed the piece until it looked almost like new.

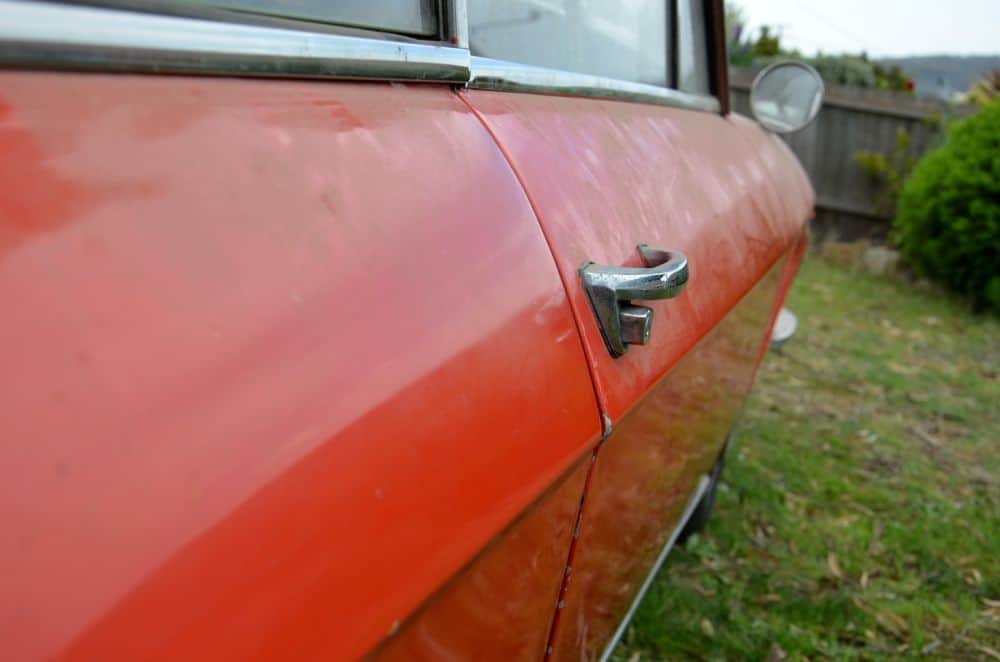
It took all of about 10 minutes to clean the majority of it up. The grooves around the edges will need a little more work but it was good enough to screw back on for the photos above.
I found this handy tip here. Go there for a fuller explanation, but in short….
The aluminum oxide that is created by friction when you rub the surface of the chrome leeches the rust away and when combined with the water you added creates it’s own polishing compound so you end up with a clean, smooth, shiny surface.
I could still see evidence of the pitting after I’d done this so I’m sure it’ll get ugly again after a while but for the moment, it’s looking good.
——
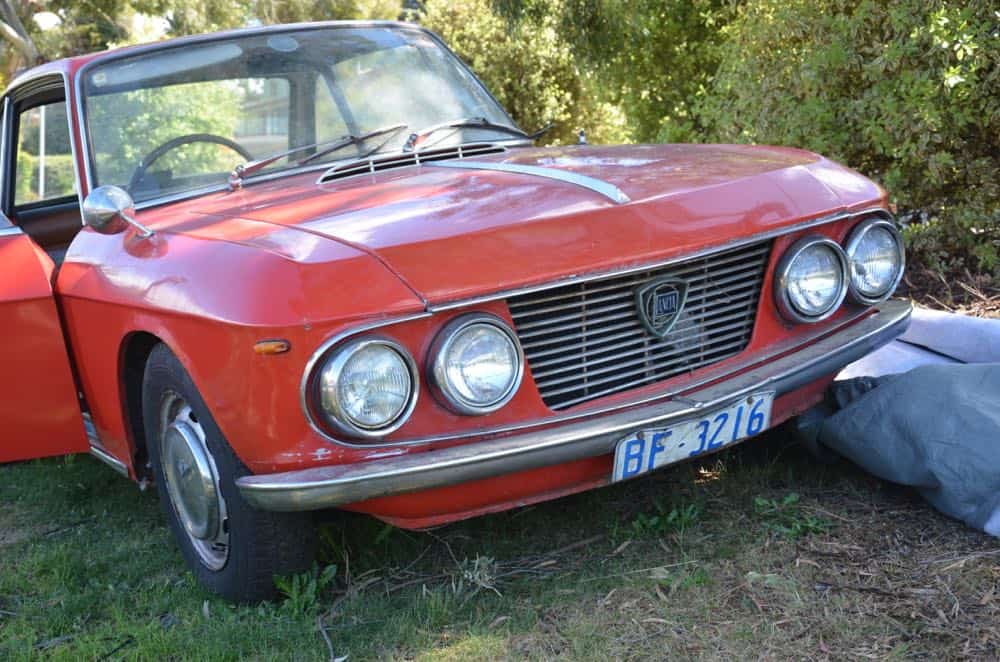
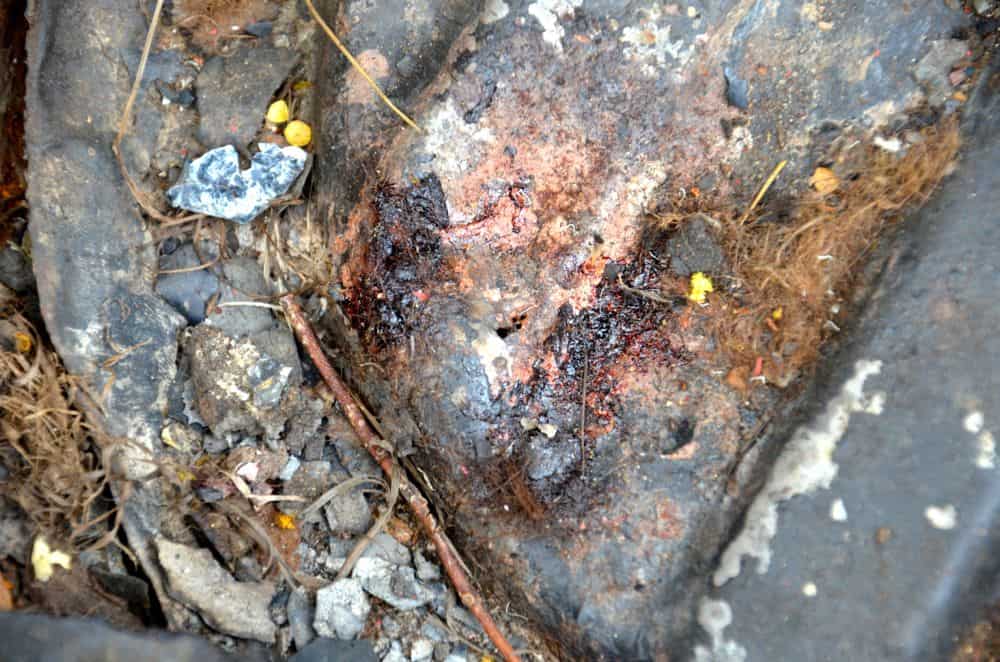
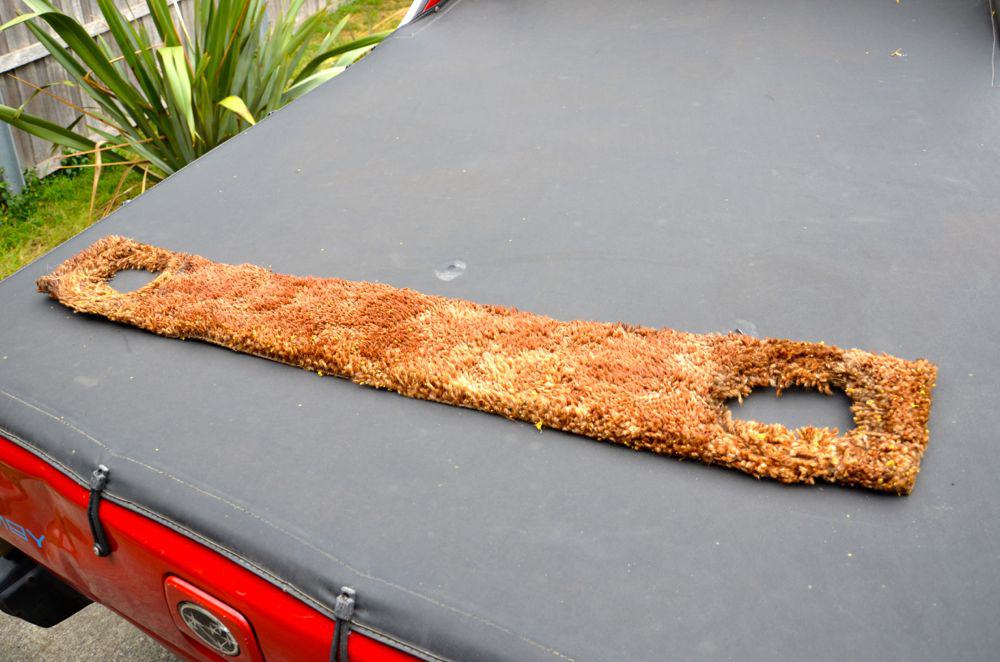
Headlamp Covers
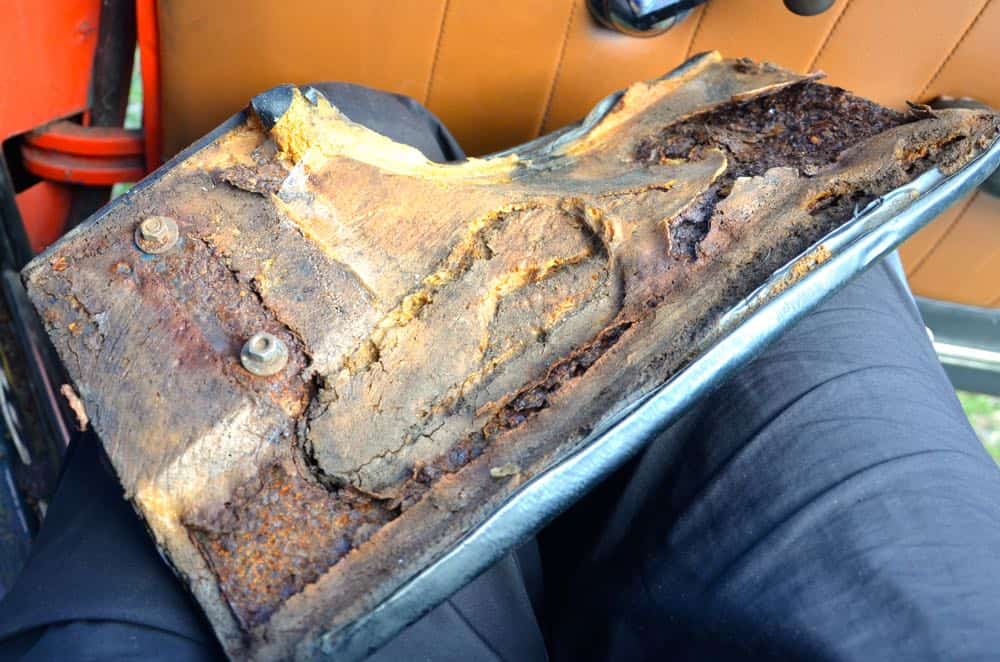
This was a small job that I couldn’t get finished. These headlamp covers are secured by just one screw each but three of the four screws were rusted on and attempt to get them off just rounded the hexagonal head of the screw. The headlamp surrounds are stainless but the fixings aren’t.
These screws are the first items I’ve come across that have been difficult to remove. I might have to get out the drill to get them off. The one on the left in the second photo is the only one that came off.


——
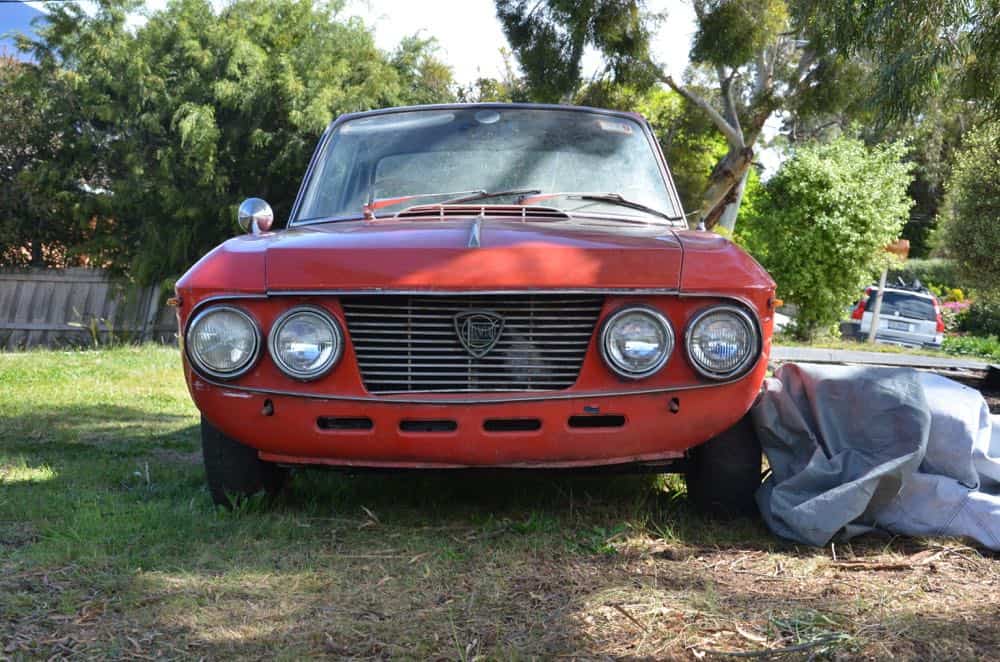
Radiator
While I was at the front of the car I figured I might remove the grille and take some more photos of the slanty front end. To get the fixings for the grille, however, I have to remove the radiator.
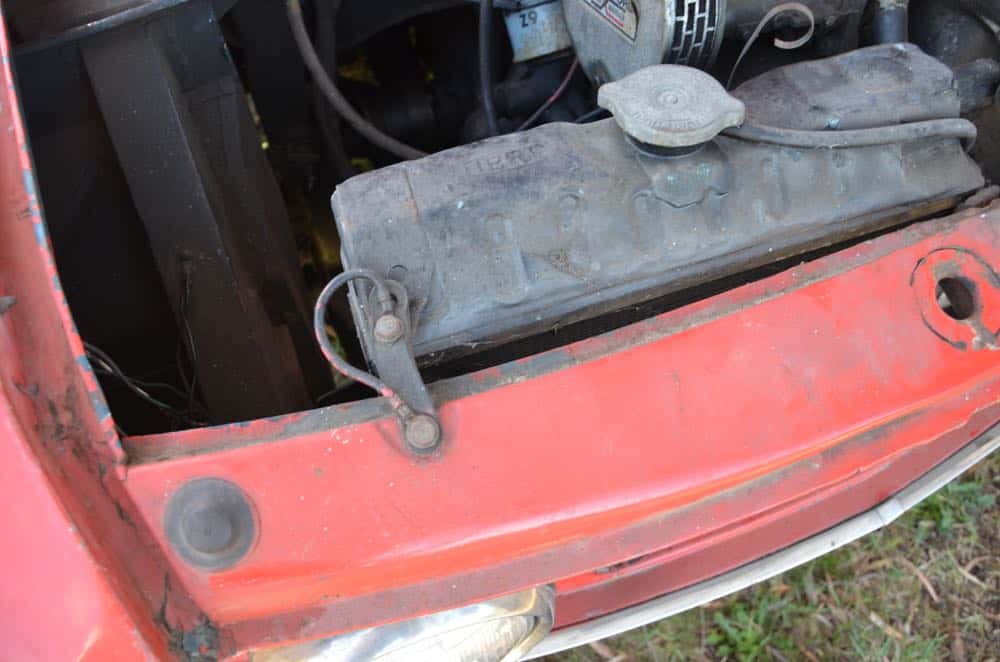
The top hose was very squishy but yielded eventually. The little strap bolts to the left came away easily enough. There are four more fixings at the bottom, however: Two bolts and two more hoses. I got the bolts out quickly but we had to go to the movies so the two hoses are still attached (we saw “Finding Vivian Maier” and it was good).
——
It feels like I got next-to-nothing done while I was tinkering on the Fulvia yesterday but I guess that’s the way it goes sometimes.