Lancia Fulvia Update – Nov 24

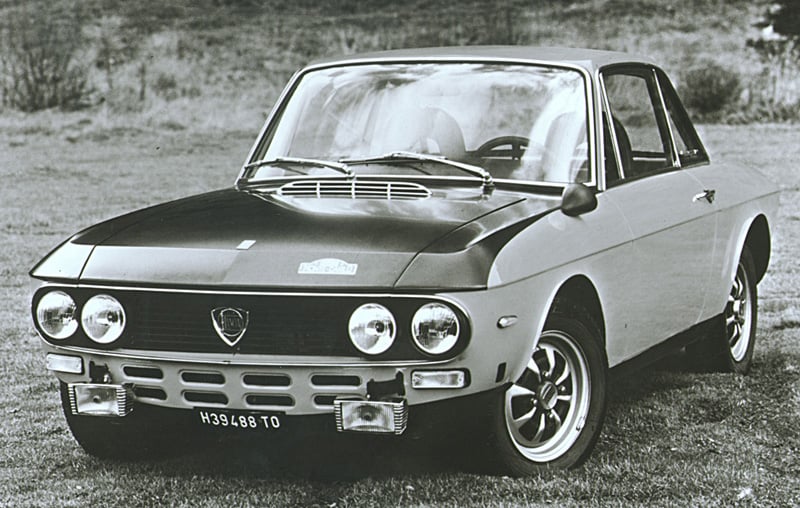
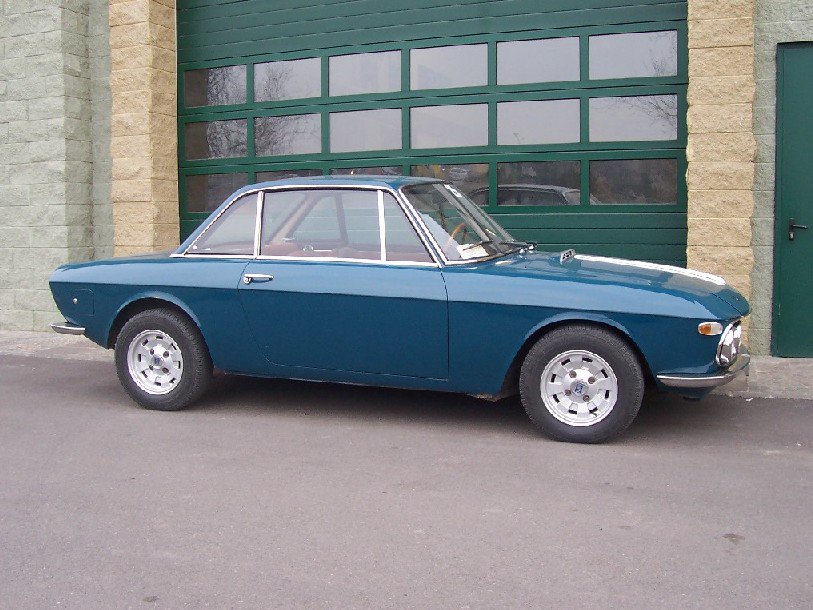
At the last Lancia Fulvia Update, I’d started removing some exterior trim. The job continued today and true to form, I got over some previous frustrations and discovered some brand new ones!

Last week’s frustration was the headlamp surrounds and a fresh air intake for the heating system. Let’s tackle those first….

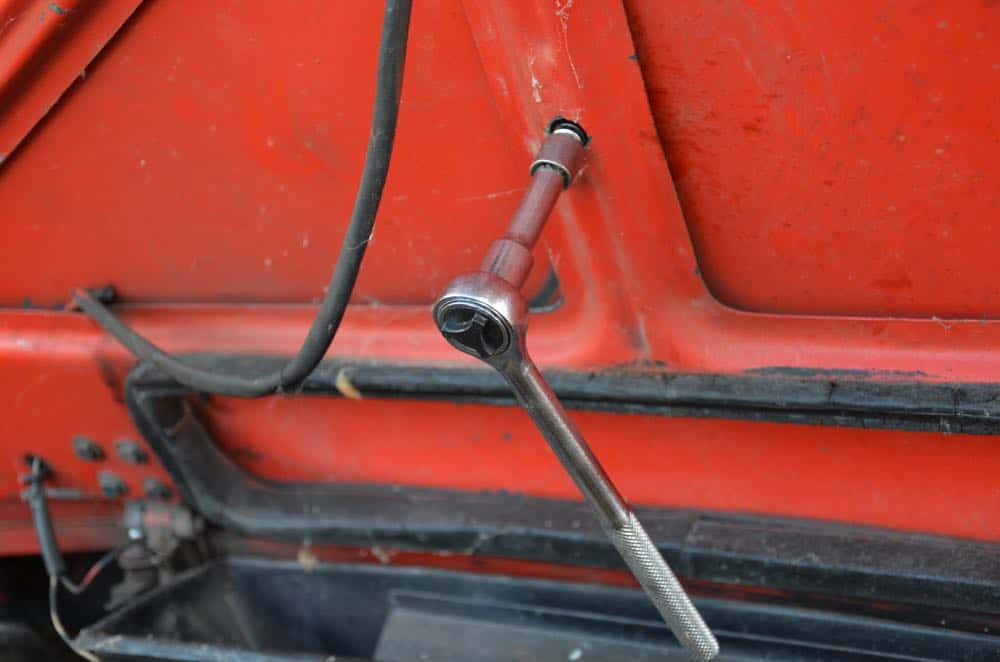
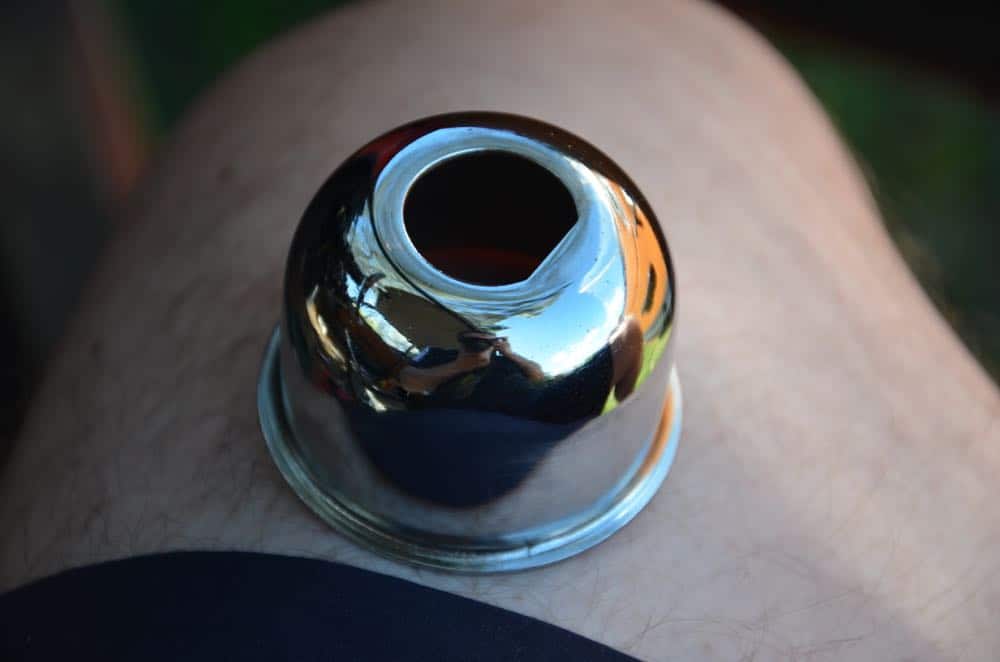
I managed to get one headlamp surround off but the bolts holding the other three in were round where they used to be hexaganol, and rusty where they should be smoothly threaded.

One off, three on….

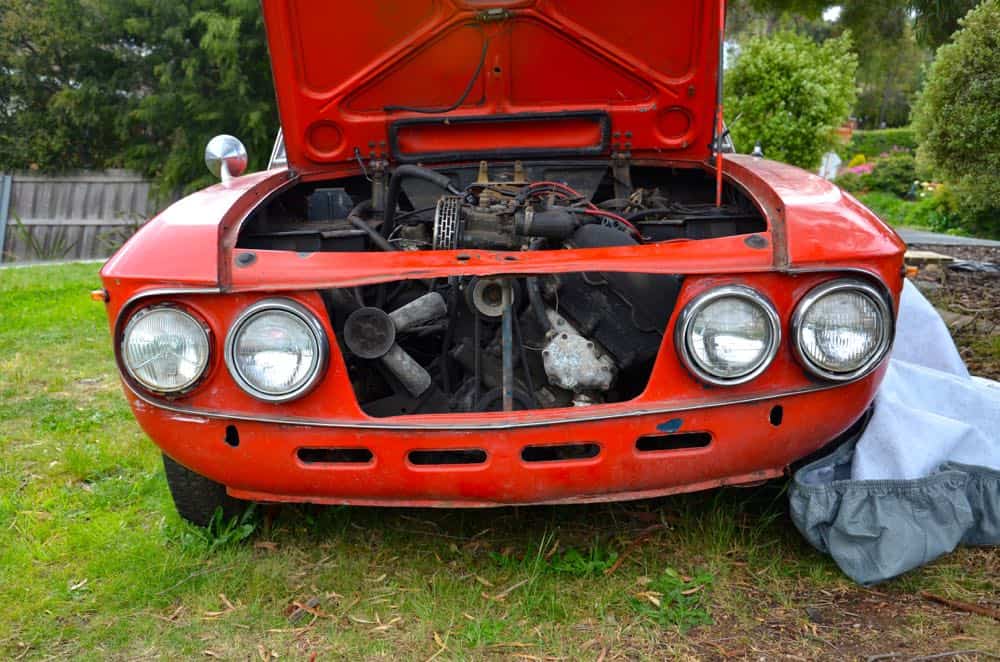
And this week, all of them removed and then the headlamps out, too.

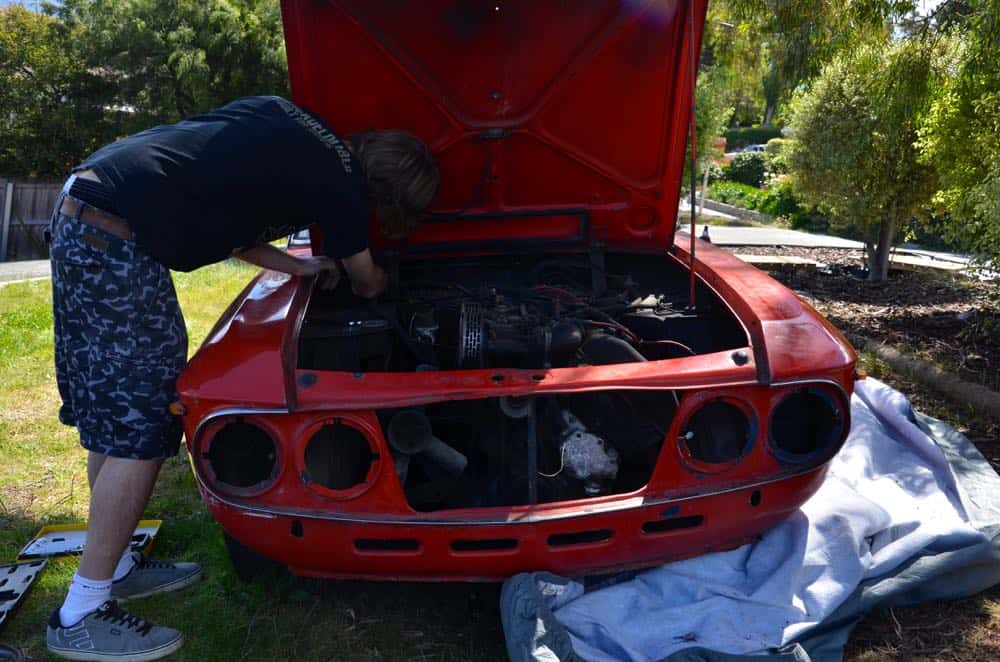
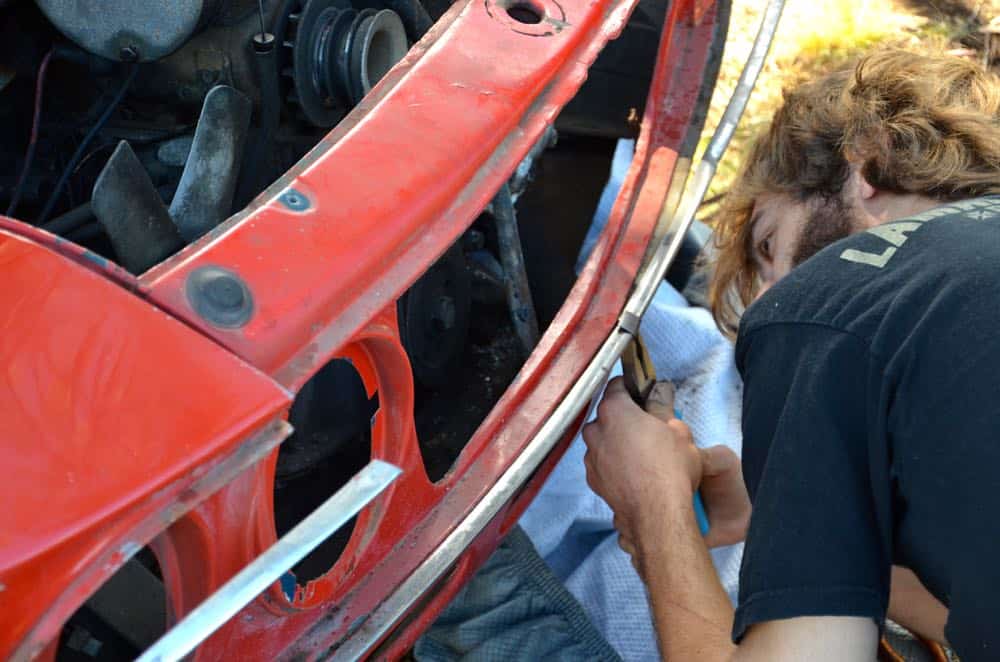
That’s Geoff working on something or other inside the engine bay. Geoff managed to wrangle the headlamp surrounds out thanks to a liberal dose of penetrating fluid and some mighty big pliers from his van. It’s handy having an electrician around, sometimes 🙂

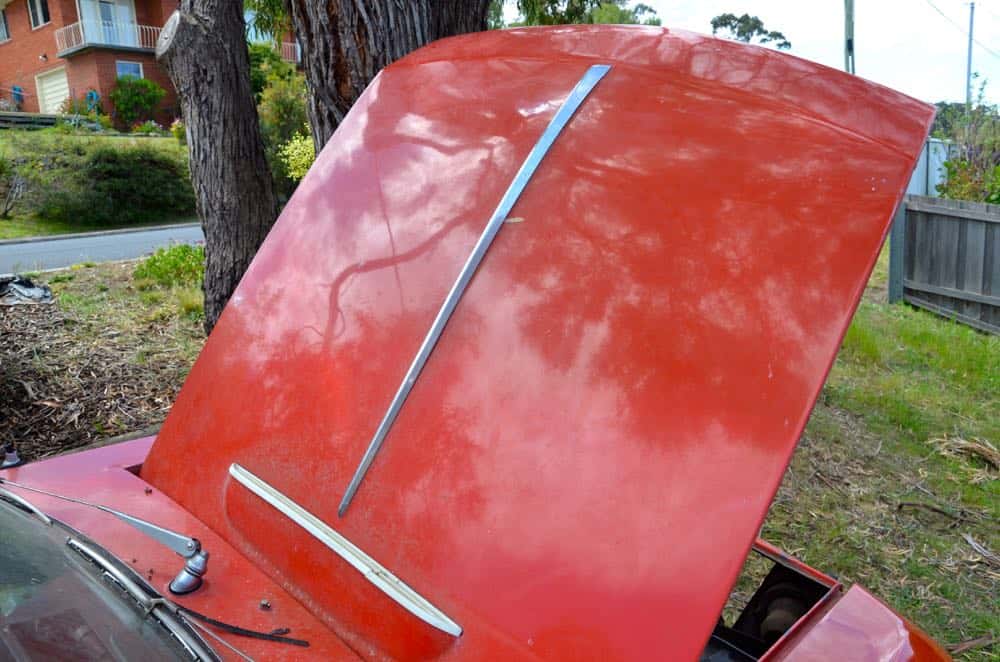
It’s worth remembering that the end goal for everything that’s happening right now is to get all the little bits and pieces off the body of the car so that I can rub the paint off before sending it away for rust repair and new paint.

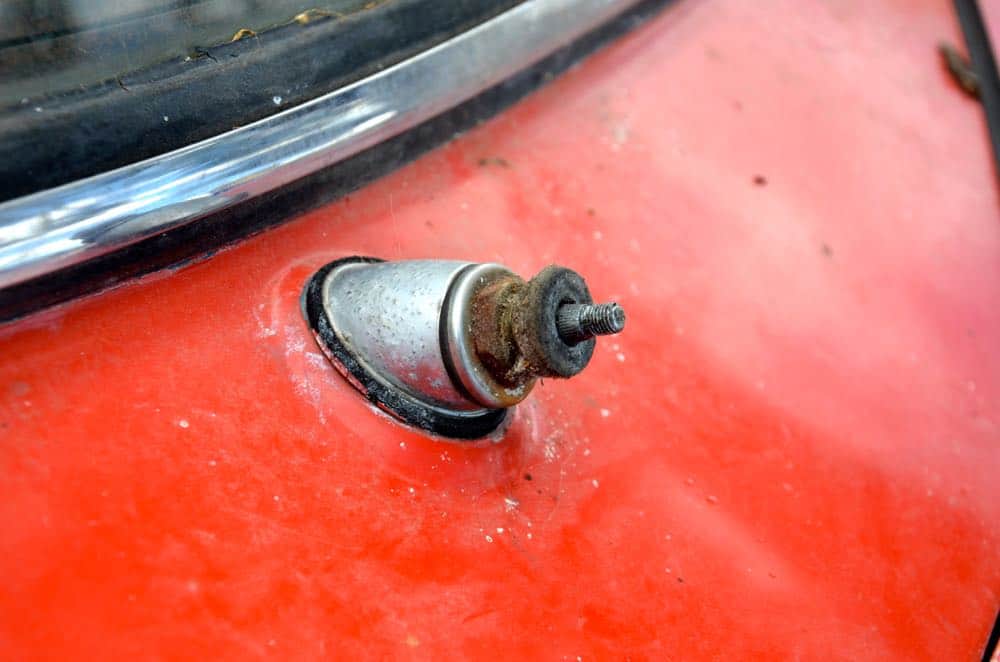
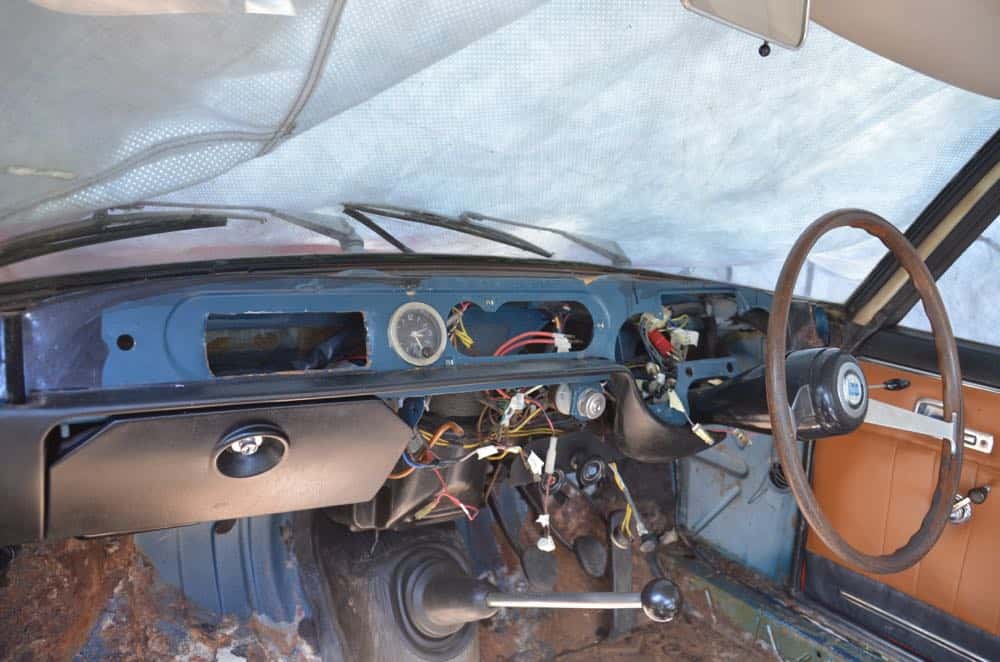
A few weeks ago I started removing the windscreen wipers but the little pokey-uppy bits that the wipers attach to won’t go until I get all the mechanicals out from underneath.

Here are the pokey-uppy bits (it’s a technical term).

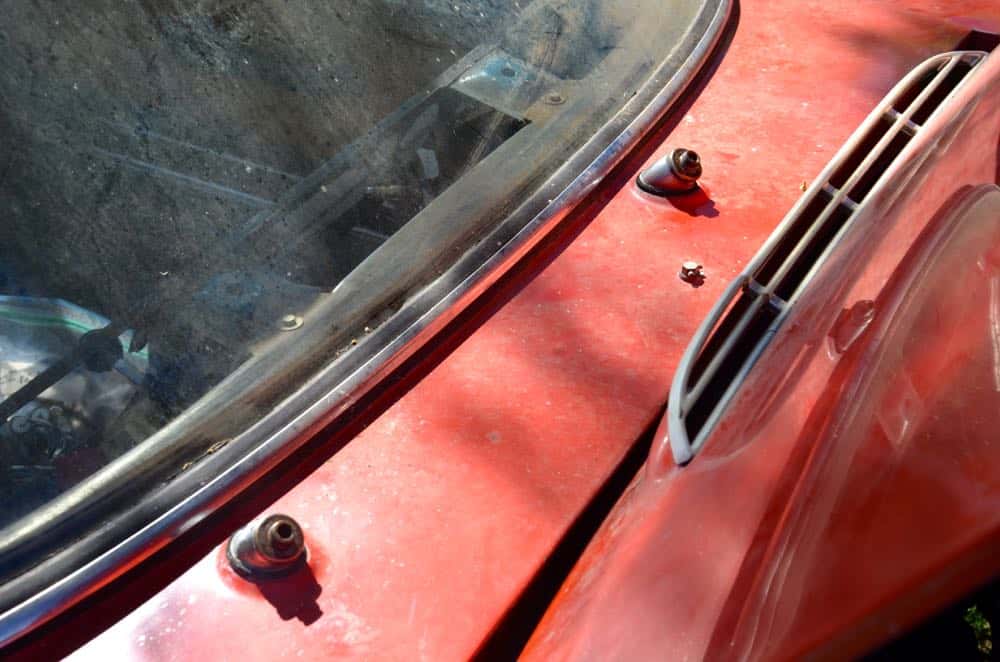
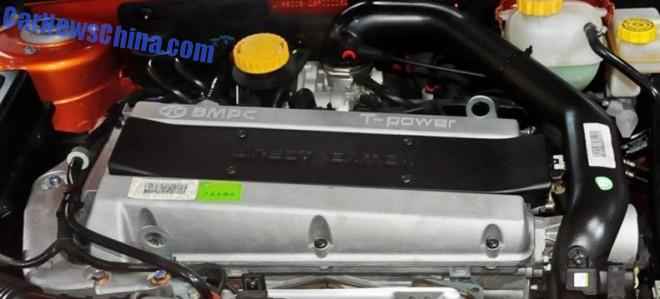
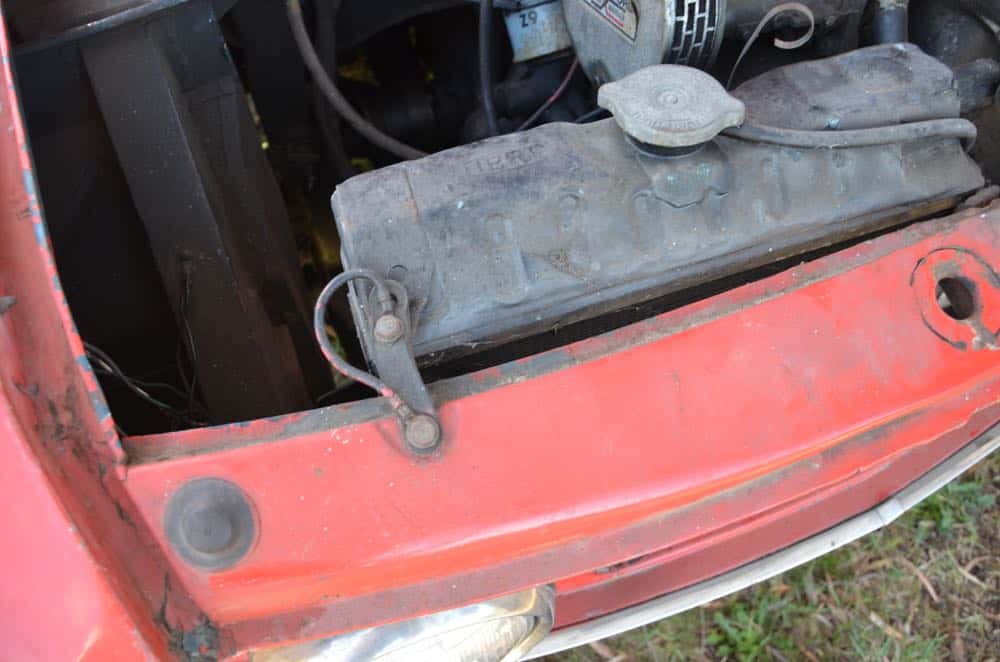
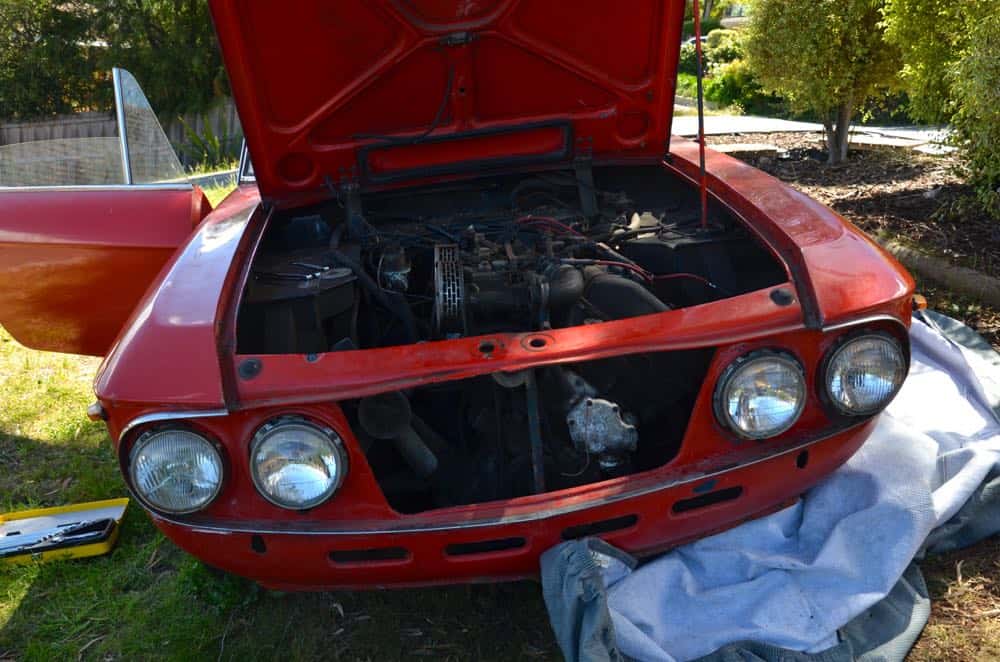
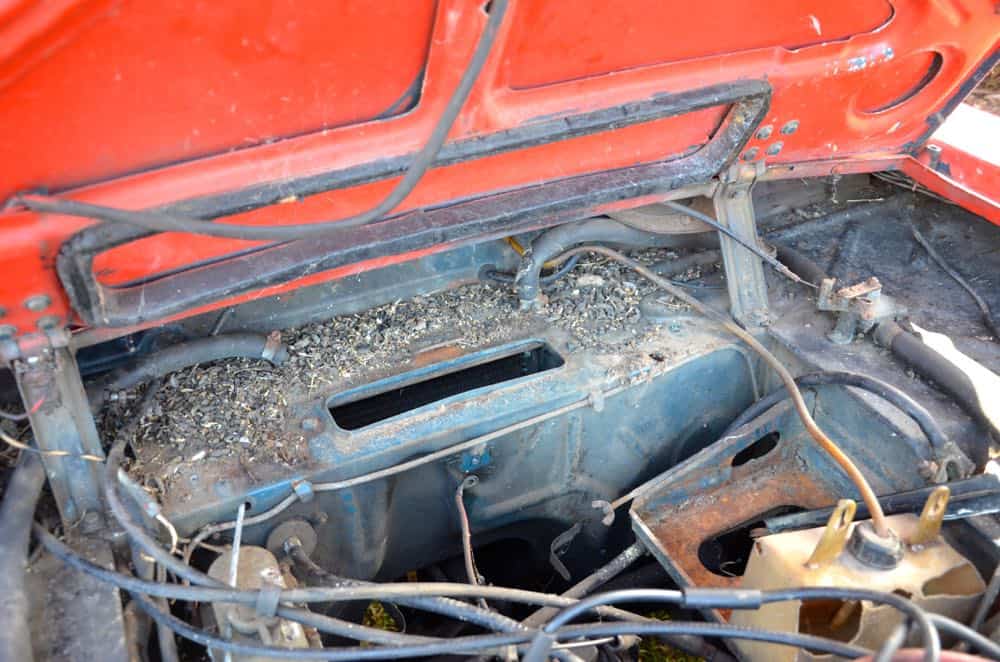
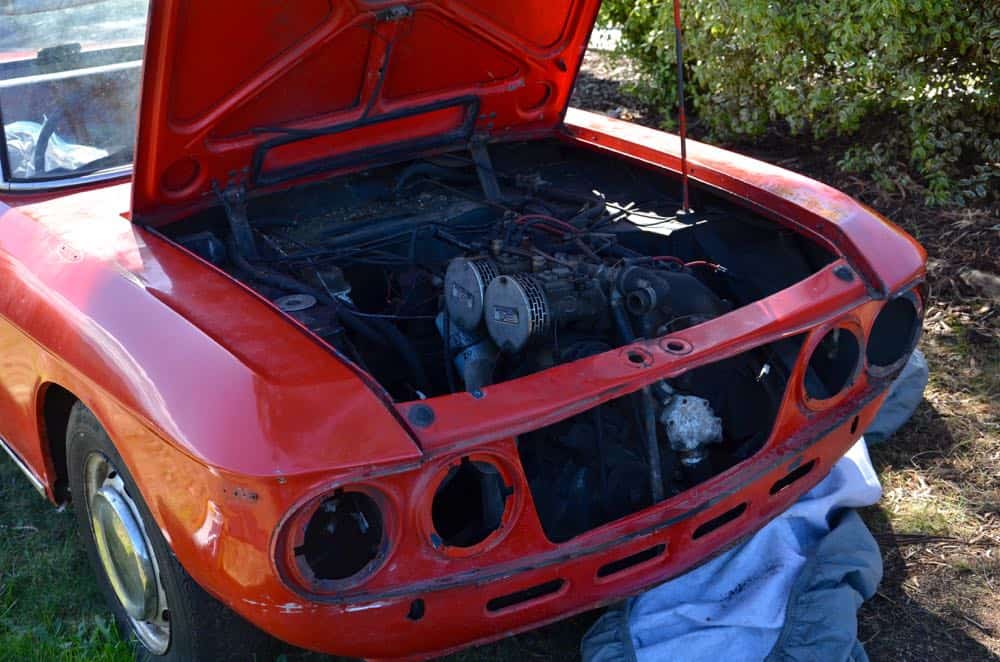
The mechanical bits underneath are hiding behind the fresh air intake for the heating system, which is the long black box you can see at the back of the engine bay in the photo below.

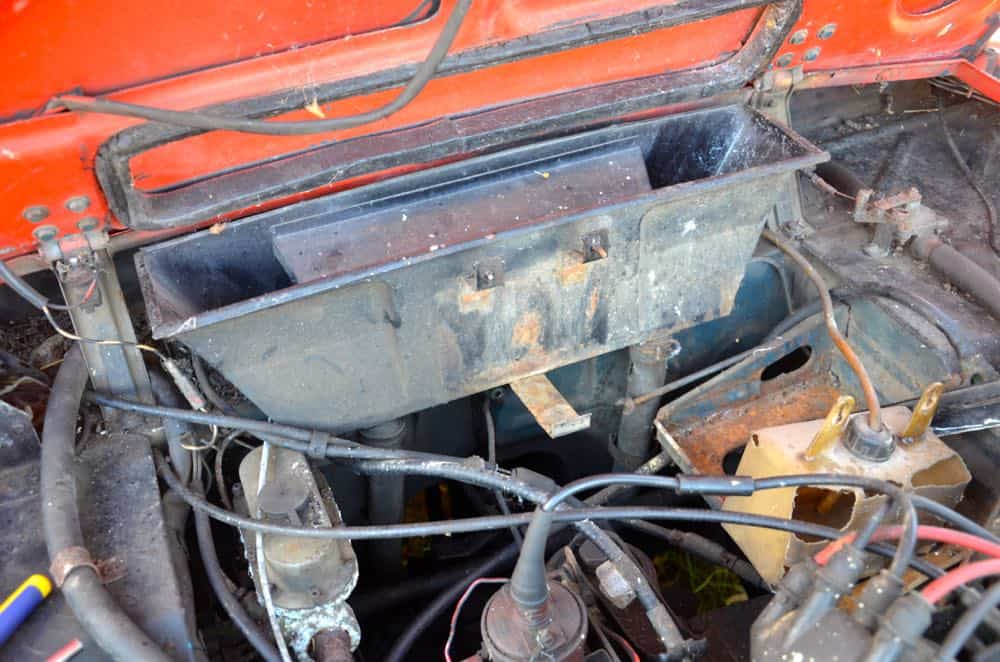
I’d removed one fixing last week but couldn’t find the others, which I assumed were on the inside of the car. A helpful gent in comments pointed out that there were two more fixings in the engine bay, one either side of the intake box. I hadn’t seen these due to the abundance of rat poo covering them!

One, and then the other.

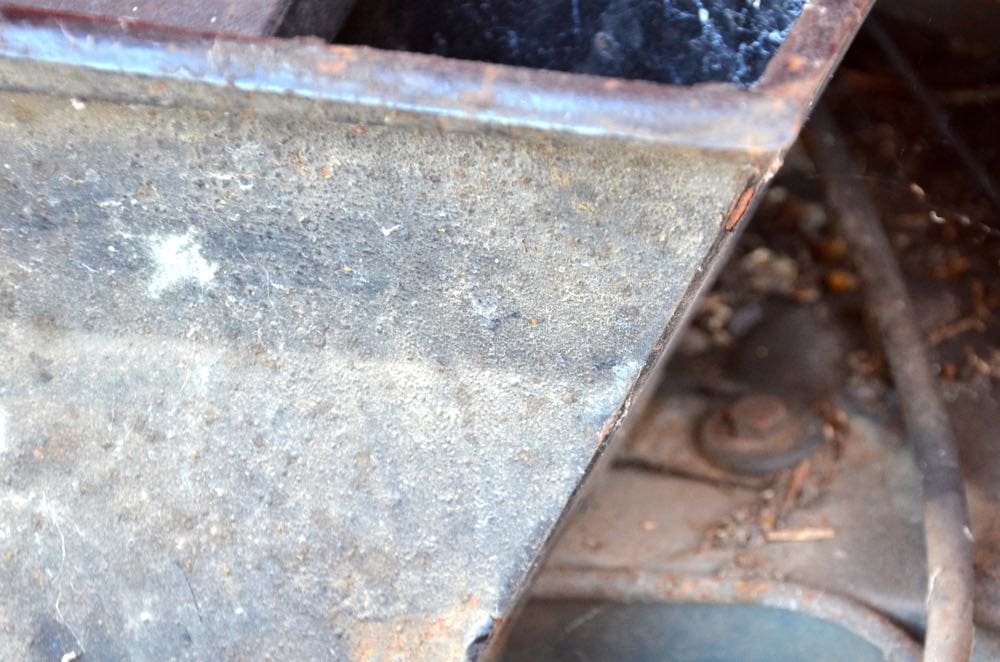
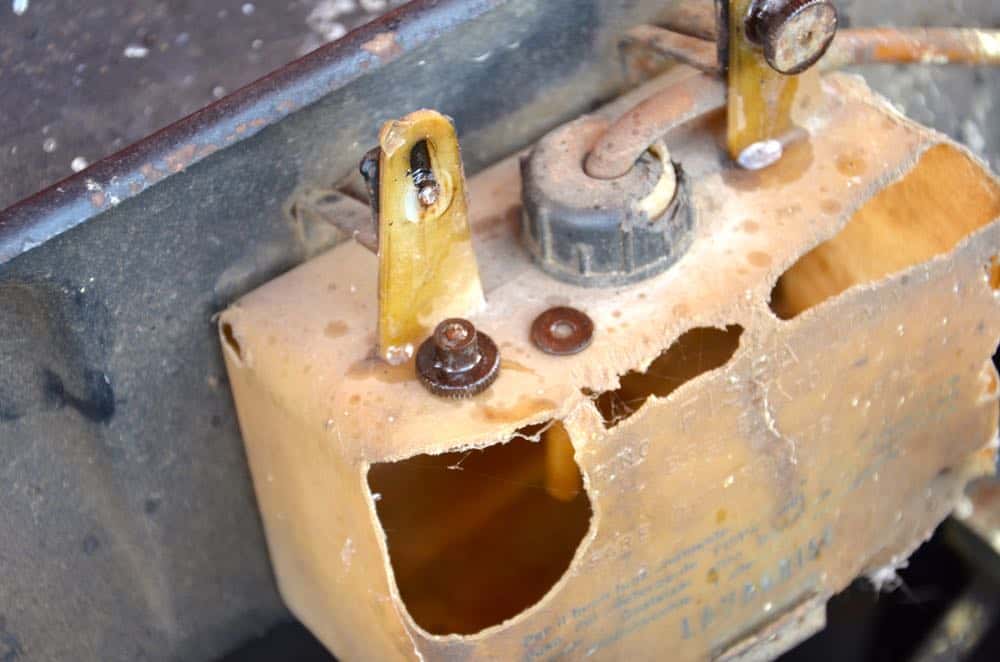
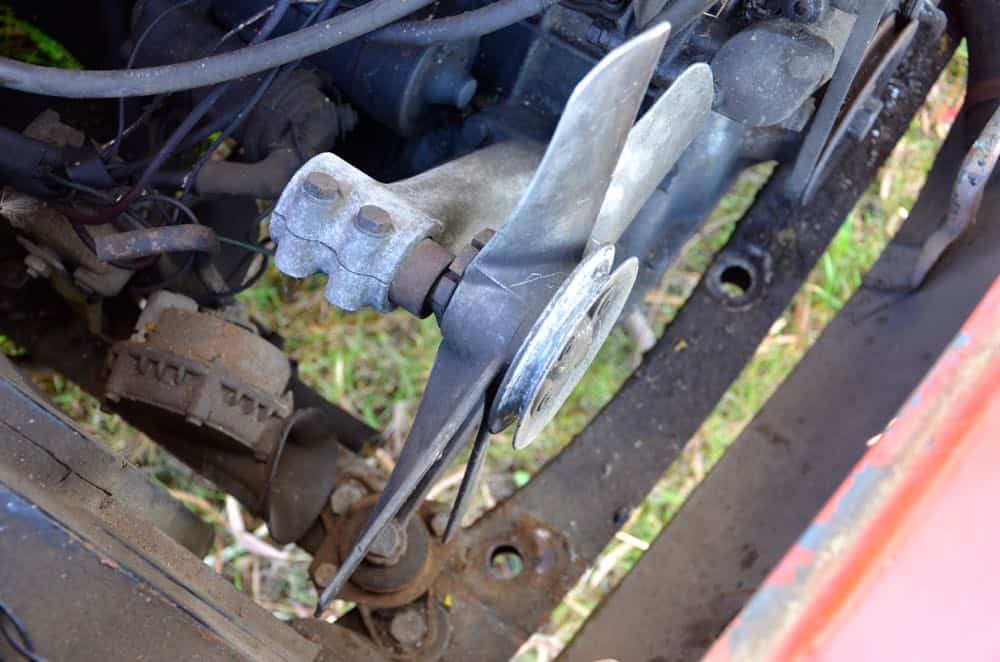
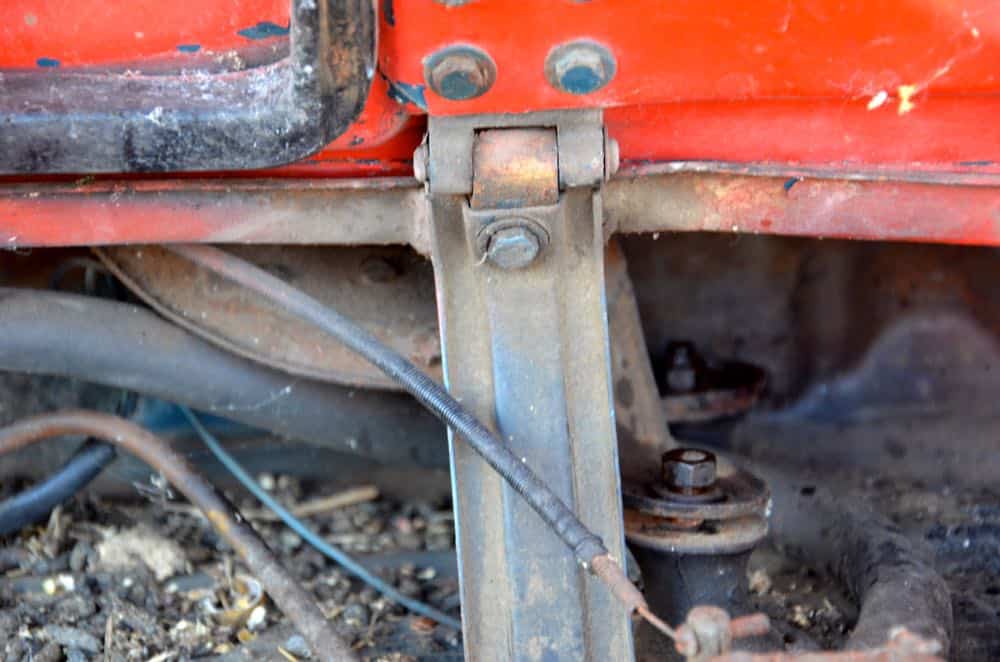
These came off fairly easily but the box was still stuck in place. There are a pair of hoses coming off the bottom so I un-clamped those (more on those in a minute) and it was then that I noticed one more fixture – a pivot mechanism that opens and closes the vent, attached to the interior by a cable.

It was tricky to get to as access was limited, but a couple of 11mm spanners saw it off.

And with that, the air intake box was free. The strange thing is the two pipes coming off the bottom, which seem to have flattened ends and go nowhere i.e. they’re just there, without being attached to anything else.

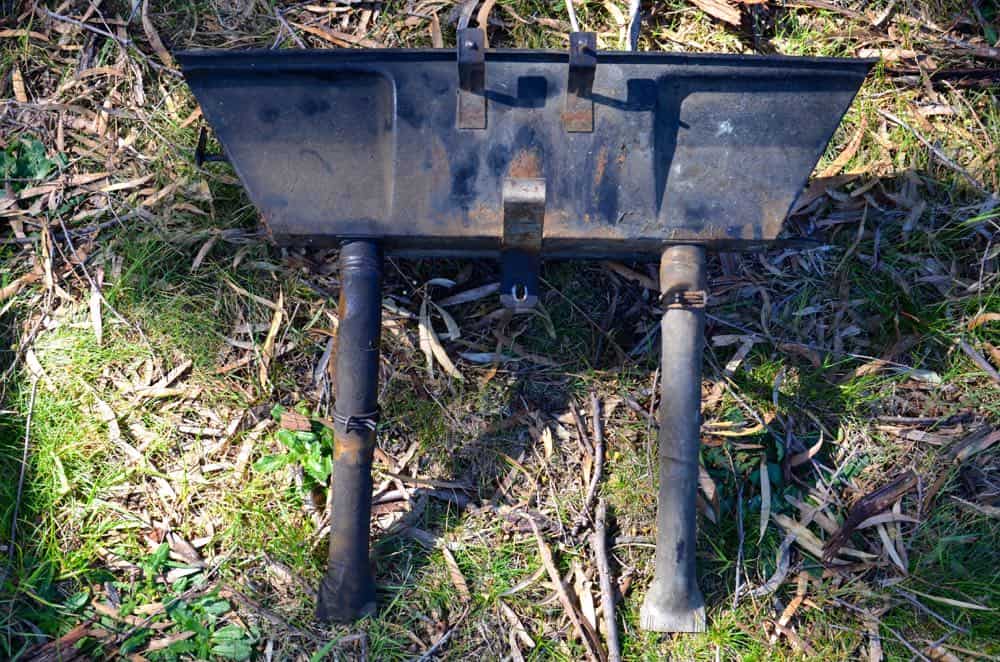
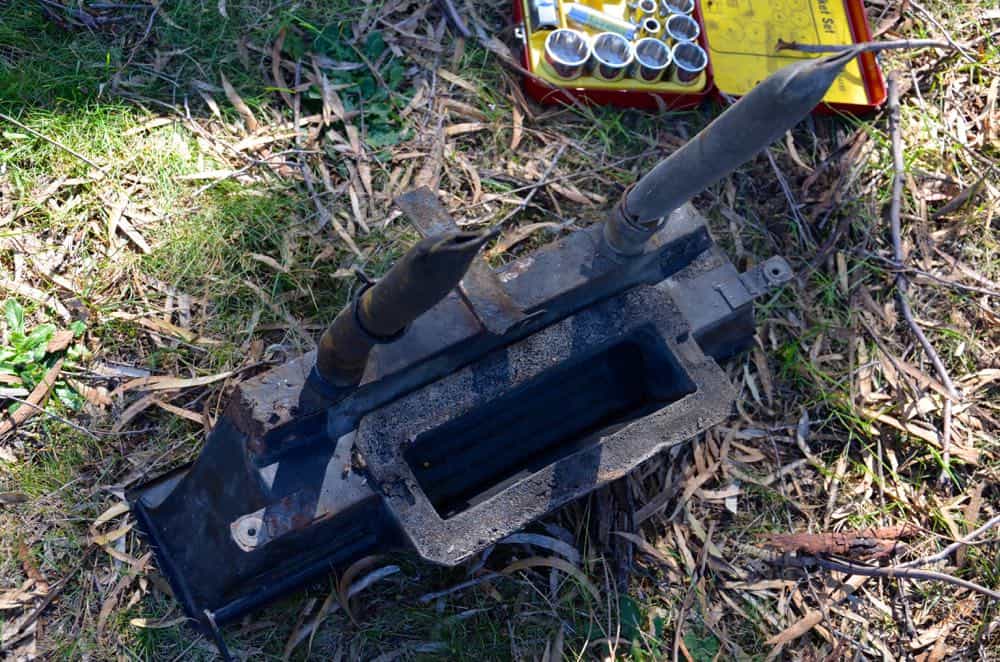
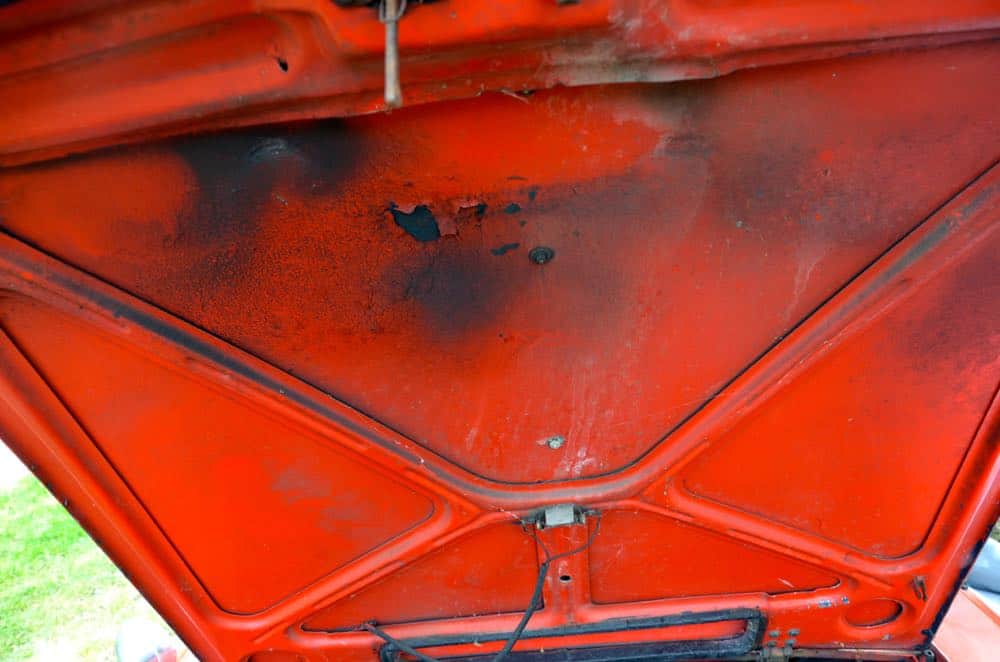
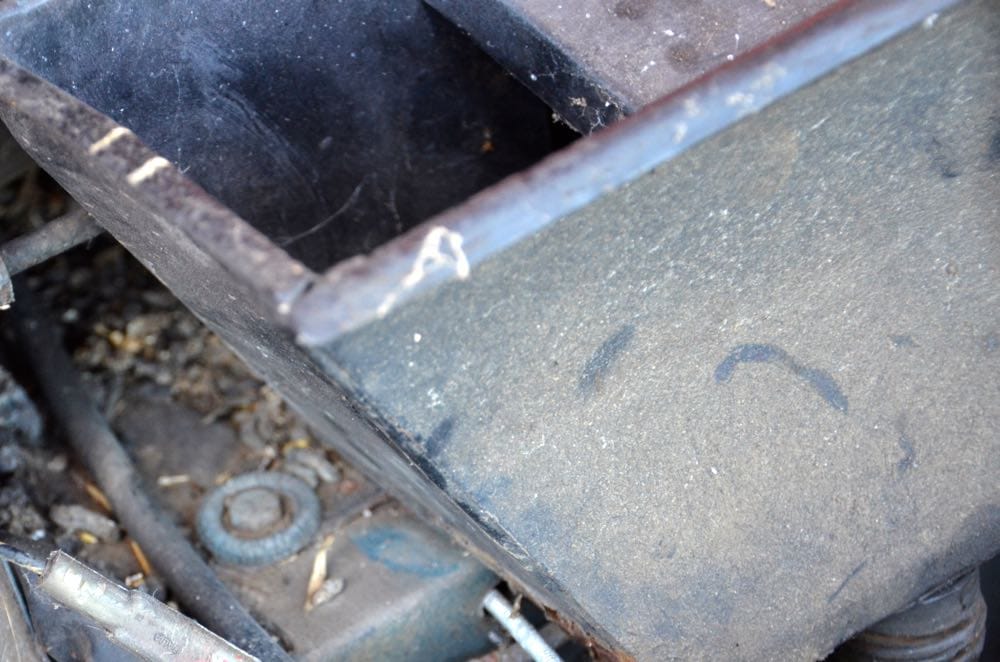
Removal of the box gave me a full view of the extent of the rat poo. They certainly had a good old time in there….

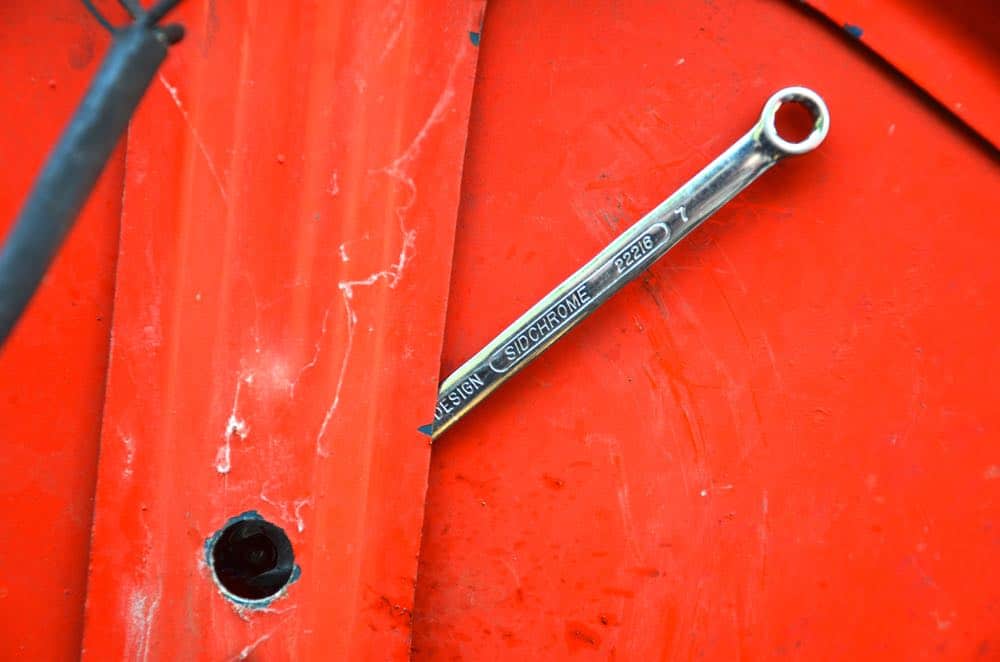
Removing that air intake finally allowed me access to the windscreen wiper mechanism, located under the cowl and attached by a couple of nuts on the passenger side of the car and a couple of wires.

Most things have been removed from the car with only a little bit of fuss. These two nuts proved to much more difficult, however. The bolts they attached two are housed in a rubber bushing and they don’t appear to be attached at the other end. That means whenever the slightest bit of rust caused the nut to stick, the whole rubber bushing would twist with the bolt. What kind of system is this? I managed to get the first one off OK, but the second was doing nothing-but-sticking so I’ve given it another bath in Penetrene and we’ll see how things go later in the week.

Indicators came off from the front, with one lens as a casualty.

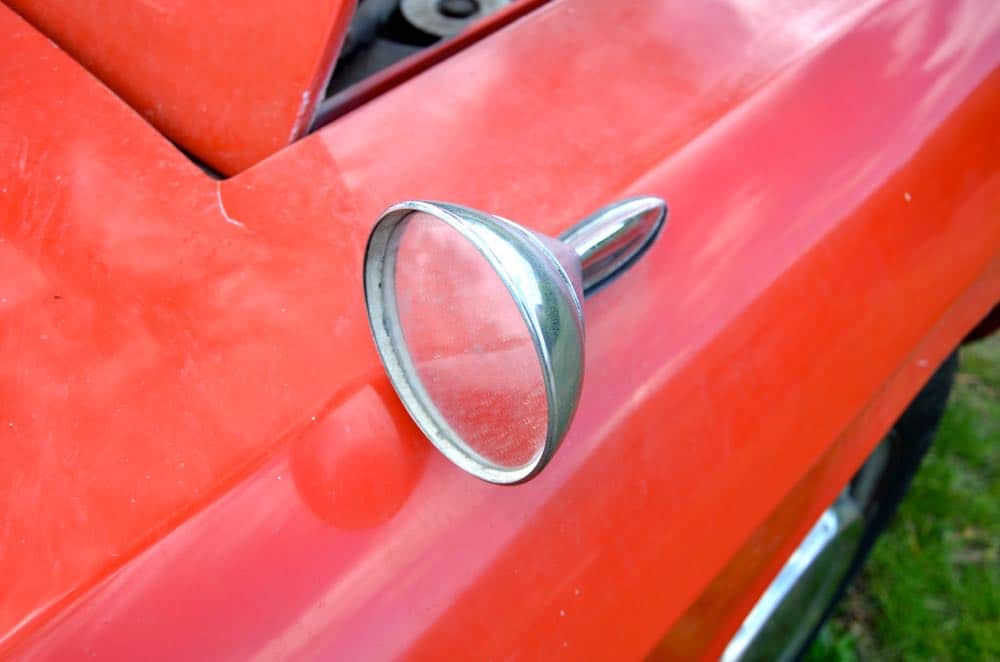
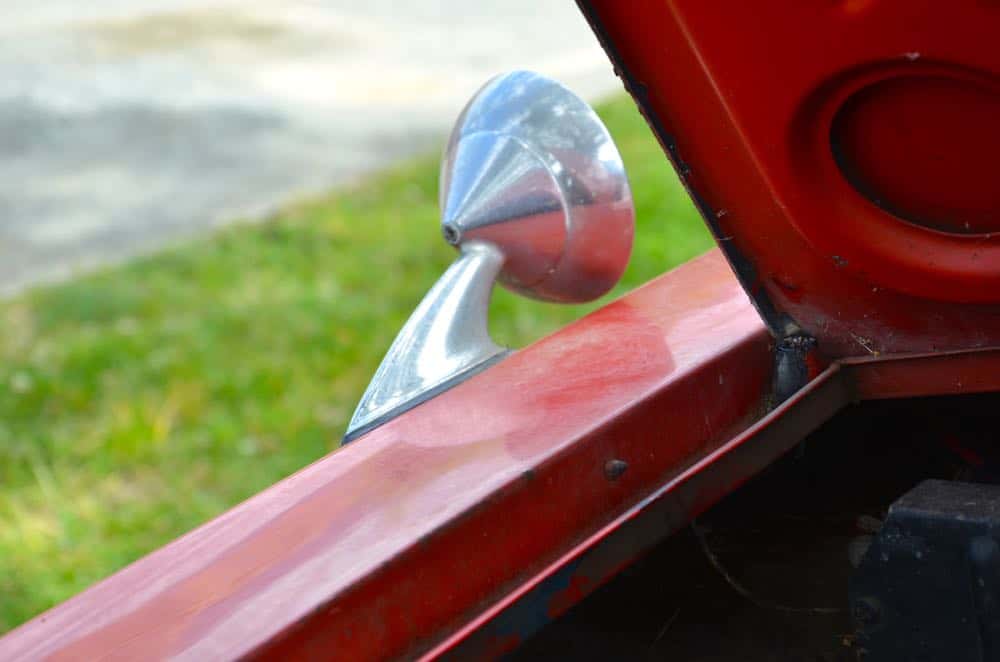
And out last job for the day was removing the stainless steel trim from around the front face of the car. This was secured by three small screws, one at each end above the headlamps and one in the middle-lower section.

It came off quite easily but I’m not sure it’s re-useable. Maybe one side is, but the passenger side has quite a few bumps where the car obviously had a bit of a front-ender at some point. The outer headlamp surround is suffering in the same way.
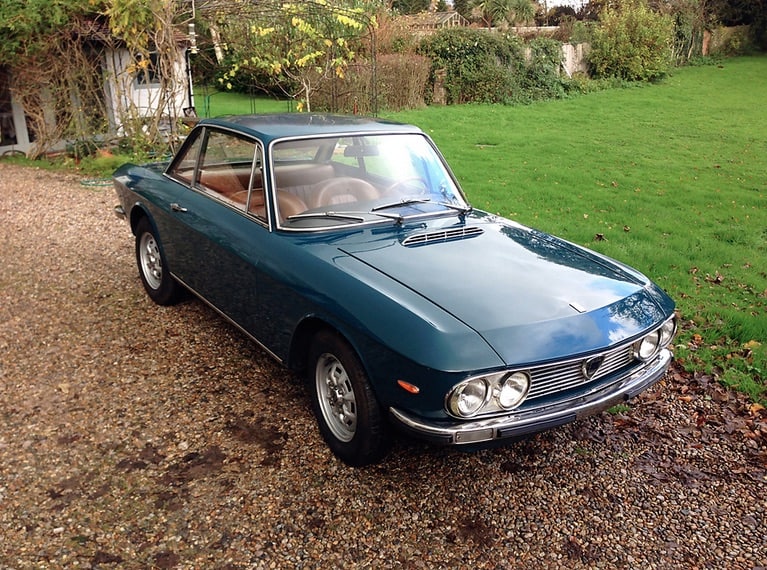
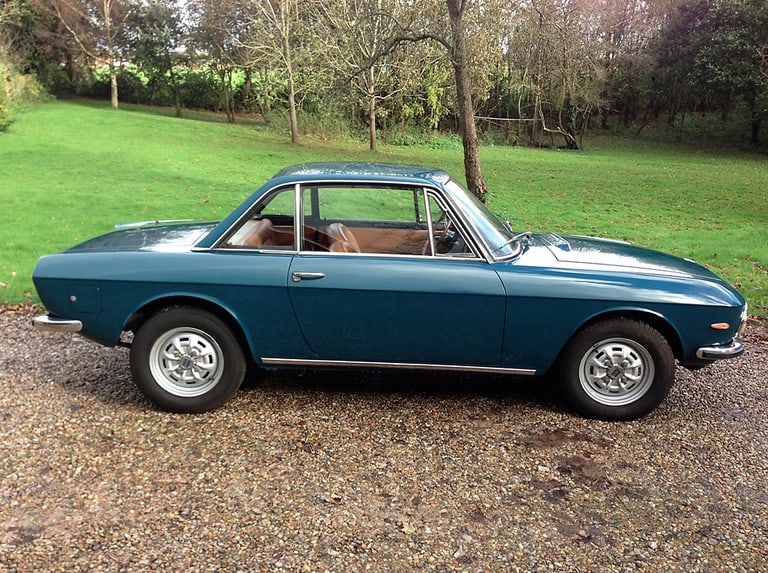
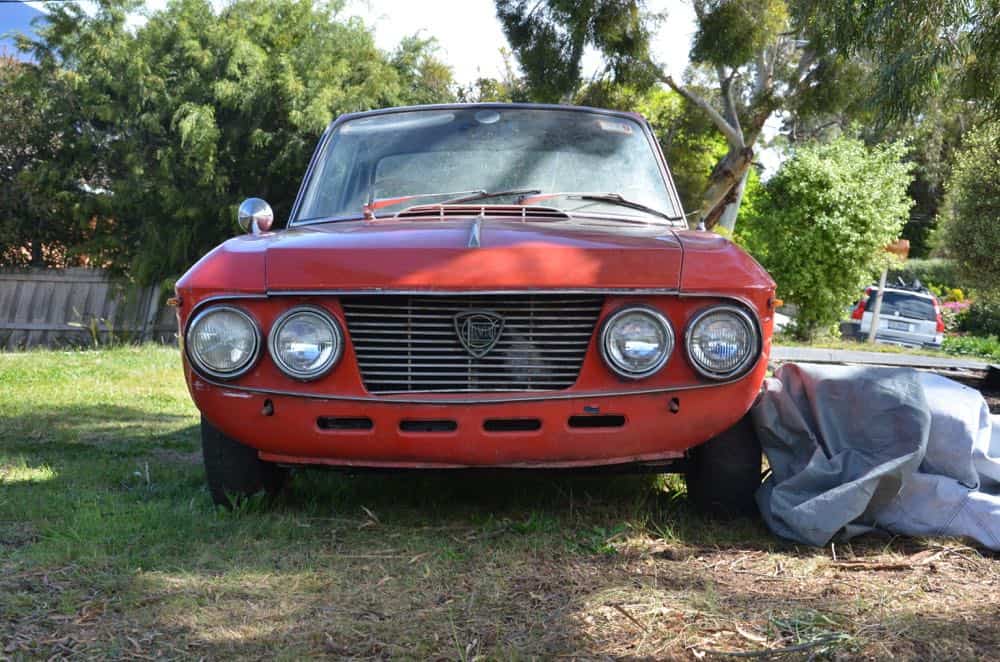
The end result?

The front end of my Lancia Fulvia is looking rather bare now. We’re on our way, for sure!

——

Thanks for visiting.

Here’s What BAIC are Doing With The Old Saab 9-3 SS

Recent imagery from the Ghangzhou Motor Show reveals the latest effort from Beijing Automotive, a sporty version of their Senova D60 sedan, which is a car based on the Saab 9-3 Sport Sedan technology they bought from Saab Automobile back when GM was still in charge.

This is the regular Senova D60, which has been on the Chinese market for just a few months:

The car shown at Ghangzhou is the sportier version with a tricked up body kit and some more interior accenting.

The standard D60 is only available with a 1.8 turbocharged petrol with 177hp and 240nm in the standard car. The 2.0 turbo delivers 204hp and 270nm. The fact that the engine now appears in this CC concept likely means that it will soon become available in the D60 range.

And here’s a sight to warm the heart of an old Saab fan. Somewhere in China is a factory cranking out DI cassettes even as we speak 🙂

——

What do you think?

Here’s an even bigger question – given the car’s heritage and inoffensive styling, would you buy one if it was available in your neck of the woods?

I, for one, don’t find this car exciting, but I definitely think it’s interesting. All credit to BAIC for taking the bones of the 9-3 and putting a remarkably different body on it. You wouldn’t know it’s a 9-3 unless someone like CarNewsChina told you.

Good luck to ’em. I hope they sell a shed load of them.

Friday Fulvia – Mendoza Blue

My Lancia Fulvia is red. But before the previous owner painted it red, it was Mendoza Blue. I’m still trying to decide what colour to paint mine and it’s very helpful to see some good photos of a Fulvia in my original colour.

The car shown below is currently for sale in the United Kingdom. It’s Mendoza Blue. This is a series 2 car as opposed to my series 1, so there are a few minor differences. Both have a tan interior, though.

So effectively what you see here is what my car would have looked like from the factory, save for the slightly different front end.

Nice.

Click to enlarge.

——

Now, all I need is someone with photoshop skills to take the bumpers off and add some Cromodora wheels to this shot…..

——

As a final note…..

This seller has four Fulvias for sale at the moment and it’s an interesting study in the market value of the various series cars.

1967 Series 1 Fulvia Rallye (amazing!) – £14,990
1969 Series 1 Fulvia Rallye S£15,990
1971 Series 2 Fulvia Rallye S£10,990
1975 Series 3 Fulvia 1.3S£12,990

The a-typical price there is the Series 3 car, which you’d normally expect to get for less than a Series 2. This Series 3 car has exceptionally low mileage, which might account for the higher price.

As mentioned before, mine is a Series 1 car and the higher values seem to apply quite consistently, which is encouraging.

Video: Gymkhana 7 is Wild In The Streets of Los Angeles

Occasionally I get tired of a formula, but Gymkhana 7 was a genuine and pleasant surprise when I woke up to it this morning.

The ‘new’ Ford Mustang is outstanding. The locations seem instantly familiar (even to me) and aside from obviously doing this very early in the morning, I’m amazed at the fact that there’s barely a soul to be seen on the streets or the surrounding areas for the whole shoot.

It’s pointless but it’s fun. Gymkhana 7.

Lancia Fulvia Update

So where were we with the Lancia Fulvia?

I’d been frustrated by the radiator and some headlamp surrounds…..

Well, the radiator is gone, but the headlamp surrounds remain….. for now.

As you can see, the grille isn’t in great shape. A few of the horizontal bars are no longer connected to their vertical companions and one of the corners was secured to the body by a twisted piece of wire. If it was complete then I’m pretty sure I could repair it but with that section missing along the top, I might be looking for a replacement.

The radiator probably needs a good clean but first impressions are that it might just be OK. It looks to be in remarkably better shape that nearly everything else under the hood.

My aim at the moment isn’t to disassemble the entire car. It’s to take off as much stuff as I need to in order to speed up the bodywork/painting process when I finally hand it over to the professionals. To that end, I’m picking off some of the low-hanging fruit at the moment. I guess it helps me feel like I’m making faster progress.

So I started working on a few bits of exterior trim. Small stuff, but fun stuff.

The mirror came off easy, secured by two screws hidden inside the front guard/fender. The mirror needs some of the aluminium foil treatment to remove pitting from the chrome.

Back to the radiator removal….

One of the reasons I had to take the radiator out was because I wanted to take the grille out. I wanted to take the grille out to get an idea of how skewed the front end is without the grille influencing the picture. It’s still out, of course, but doesn’t feel like it’s out by quite so much. Here’s the photo again, compared to an earlier one with the grill still in.

Actually, it still looks just as skew-iff. There’ll definitely be some straightening work for somebody in the coming months.

It’s interesting how the Lancia shield isn’t centered on the grille. I wonder why. I’m pretty sure it should be.

——

I have a mate in Sweden named Mats. He’s doing a bare-metal restoration of a Porsche 914 at the moment and he’s really, really good at this stuff. Mats sent me an email last week and he advised that I take my time when undoing old screws, etc. His advice was to hit the fixture with plenty of penetrating fluid (WD-40 in my case) and to do it a few days ahead of when you want to attack.

It was wise advice and I listened. I promise I did.

The problem was that I didn’t exactly act on it and I paid the price with two sheared (very thin) bolts.

The first of them came when I was taking off the stainless steel strip that runs down the middle of the bonnet/hood.

It was the second bolt from the top that sheared off. Luckily that piece is held in by four fixings so I don’t think it’ll be much of a loss.

The second bolt that sheared off was one of two securing the rat-eaten washer bottle. I only gave this one about 2 minutes on the penetrating fluid. I waited another 15 minutes on the second one and it came away with no trouble at all 🙁

——

Actually, I had a win with the stainless still bonnet strip, too. The last nut I had to get off was the one nearest the windscreen, which is actually behind a piece of metal that makes up the frame of the bonnet. There is a gap between this piece of metal and the bonnet itself so my first idea was to slide in my thin 7mm spanner and turn it from there.

This worked, but it was going to be a very time consuming and laborious process. It was hard to locate the spanner head on the tiny bolt and even when I did, I could only do a quarter-turn at a time before I had to take the spanner off and locate it again.

My fancy (read: expensive) Sidchrome socket set doesn’t have an 8mm socket, so that was out.

Fortunately, I still have the first el-cheapo socket set I ever bought. And fortunately, it does have smaller sockets, including a 7mm. It was a perfect fit into the little access hole, too.

It’s amazing how quickly things can happen when you have the right tool.

——

I took the wiper arms off the car, but getting the rest of the mechanism out is proving to be difficult.

The two wipers are controlled by a mechanism that spans between them but it’s located behind this fresh-air intake box that feeds the ventilation system.

I tried to get the box out but I think it’s secured from inside and getting to the fixings might involve removing the whole ventilation system. I was hoping I wouldn’t have to do that as it’s very delicate and will be very complex to reinstall later on. I might have to seek some advice.

——

Some happier notes to finish on…..

I’m not sure it’s the most efficient solution and I know it’s weird to say this, but I really love my radiator fan.

It’s not an electric fan attached to the radiator itself. It’s a belt drive metal fan that is bolted on to the front corner of the engine. It looks like a beautiful little sculpture sitting there.

And check out my dual horns!!

They both looked like the one on the right when I first pulled them out of the car. I gave one a quick blast with the remnants of a can of degreaser and it showed definite potential. In fact, it looked quite stunning. I’m not sure, but it looks and feels as if it’s made from bakelite.

——

So that was my few hours of tinkering on Sunday.

I spent another good portion of the afternoon helping Geoff tinker with the X1/9. We got the point where Geoff went and bought a battery and we tried to start the little bugger. Sadly, it didn’t want to start, which may or may not be down to the empty fuel tank.

We’ll try again soon. Fuel, air and spark.

There will be video when it finally happens.

The little Fiat still needs the brake and clutch master cylinders to be changed, but we’ll get to that eventually.

Friday Fulvia – Series 2 in Black + White

Welcome to the Friday Fulvia – a new (old) Lancia Fulvia photo every week!

This week it’s a series 2 car, not badged as an HF but dressed up in rally colours nonetheless.

My favourite bits on this car – the little mirrors (replicas available) and the blacked-out wheels. The blue Series 2 that lives here in Hobart has the same wheels in plain silver, which I’ve posted below for comparison.

And the photo for a wheel comparison….

Have a cracking weekend!!

Video: Jaguar Project 7 in Harry’s Garage

I’m offering up this video of the Jaguar Project 7 today for two reasons.

1. To show you why Jaguar seem to be doing so well at the moment. Proper quality.

2. To show you why Harry Metcalfe is quite possibly the best personality in motoring media.

Harry Metcalfe, for those who don’t know, was the founder and editor of EVO Magazine. He hosted a bunch of video diaries for EVO, which were always entertaining, and he owns a stable of outstanding cars, mostly Italian.

Metcalfe left EVO Magazine last year and has since joined Jaguar LandRover as a consultant. With his background, you’d think he might be consulting on PR and Media, but he’s actually joined them to help develop cars for the jewel in the JLR crown – the “Engineered To Order” division (ETO).

Metcalfe now has his own YouTube channel – Harry’s Garage – which is well worth subscribing to.

ETO will do all of JLR’s special edition cars, to which they add much more than just carbonfibre and rhinestones, as you’ll see below.

The following video shows you why Metcalfe is such good value. He’s the thinking man’s Jeremy Clarkson – entertaining but supremely knowledgeable at the same time and his enthusiasm for the cars he reviews is contagious.

The video also shows you why Jaguar LandRover seem to be doing so well at the moment – a commitment to proper quality. The one thing that will make you or break you in the car industry is the quality of your product and Jaguar seems to have quality in spades at the moment.

There are a lot of ex-Saab people at Jaguar now. I bet they’re having the time of their life!

The video goes for 14 minutes. The Jaguar Project 7 is a very exciting F-Type variation, as I’m sure you’ll appreciate once you’ve watched it. Check out the suspension!

Video: Porsche 968 ClubSport

I was watching a Harry’s Garage video last night and it prompted me to the fact that I hadn’t put together my video for my Porsche 968 CS yet. Bad me!

OK, I’m no Harry Metcalfe when it comes to enthusiastic presentation. I have to get a little more comfortable in front of a camera. But here it is: my Porsche 968 CS.

The video goes for about 8 minutes and I hope you enjoy it. Apologies in advance for the rattly audio during the driving sequence. It’s my GoPro housing. I need to find a solution for that.

——

One of the good things about living in Hobart – that winding hillside road is only about five or six minutes away from the city centre.

Good times are never far away! 🙂

Fulvia Update – How to Remove Pitting From Chrome

So…..

I didn’t just ponder the colour of my car on Sunday. I actually did a little work, too.

My first job was to remove the clock from the dashboard, something I couldn’t figure out initially but took all of about two minutes once I saw the fixings at the back of the bracket. The dashboard is now completely clear of instruments and is just a mess of wires. And heating stuff.

Remove Pitting From Chrome

While I was inside, I decided to have a crack at some of the pitted chrome. Most of the metalwork on the Fulvia – especially the outside trim – is actually stainless steel. No problems there. There are some old fashioned chrome pieces, however, and these have succumbed to pitting over time.

Here’s the housing for the indicator stalk, for example:

I looked up a few resources for advice on how to remove pitting from chrome and I was amazed at how quickly and easily you can treat this. It isn’t a permanent fix, of course. You’d probably need to get things re-chromed to have yourself a real long-term solution. But this quick fix will most likely last quite a while.

The solution I found: aluminium foil and a little bit of water.

I simply tore a strip of aluminium foil about 5 inches wide, folded it to make a suitable sized square, added a little bit of water and rubbed the piece until it looked almost like new.

It took all of about 10 minutes to clean the majority of it up. The grooves around the edges will need a little more work but it was good enough to screw back on for the photos above.

I found this handy tip here. Go there for a fuller explanation, but in short….

The aluminum oxide that is created by friction when you rub the surface of the chrome leeches the rust away and when combined with the water you added creates it’s own polishing compound so you end up with a clean, smooth, shiny surface.

I could still see evidence of the pitting after I’d done this so I’m sure it’ll get ugly again after a while but for the moment, it’s looking good.

——

Headlamp Covers

This was a small job that I couldn’t get finished. These headlamp covers are secured by just one screw each but three of the four screws were rusted on and attempt to get them off just rounded the hexagonal head of the screw. The headlamp surrounds are stainless but the fixings aren’t.

These screws are the first items I’ve come across that have been difficult to remove. I might have to get out the drill to get them off. The one on the left in the second photo is the only one that came off.

——

Radiator

While I was at the front of the car I figured I might remove the grille and take some more photos of the slanty front end. To get the fixings for the grille, however, I have to remove the radiator.

The top hose was very squishy but yielded eventually. The little strap bolts to the left came away easily enough. There are four more fixings at the bottom, however: Two bolts and two more hoses. I got the bolts out quickly but we had to go to the movies so the two hoses are still attached (we saw “Finding Vivian Maier” and it was good).

——

It feels like I got next-to-nothing done while I was tinkering on the Fulvia yesterday but I guess that’s the way it goes sometimes.

Lancia Fulvia Update – Colour

I found the following photos online. This car is for sale in England at the moment. It’s a 1967 Lancia Fulvia 1.3 Rallye.

I’m posting the pics because I’m pretty sure this is (close to) my Fulvia’s original colour.

——

It’s called Mendoza Blue. The pics above look a little green compared to the colour I see on my car, but I did a search for “Lancia Mendoza Blue” online and found this image, which looks spot on.

Here’s some of the blue I’ve uncovered on my car….

What do you think?

I wasn’t a fan when I first uncovered this blue but it’s growing on me. Quite a lot, in fact. I’m not sure how it would look bumperless, but still…..

I got to thinking about the original colour again over the weekend as I did some more stuffing around with the Fulvia in my front yard. I didn’t get much done, sadly. Just a few more items removed from the interior, some cleaning up of pitting on a few chrome bits (photos soon), I made a start on removing some more exterior trim (rusted on screws, be damned!) and a start on removing the radiator. I had a few fiddly connections to deal with on the radiator when I ran out of time last night, but it shouldn’t take long to finish off.

But back to colour…..

I have to paint the car. That’s a no-brainer.

Normally I’d prefer to keep the car in the colour that I bought it but the red that exists now is not original so I don’t feel bound to anything except my budget and my own free choice. Red is nice. Very nice, in fact, but then everyone who has a Lancia Fulvia seems to paint it red.

The original colour is this Mendoza Blue, which I do like, but I’ve always been more partial to the creatively named Lancia Blue, which is a dark navy blue colour. I think Lancia Blue will wear the bumperless look quite nicely, too.

Going Mendoza Blue would mean a (slightly) easier and less expensive job, but then there’s so much to do that going the extra mile for a complete change of colour shouldn’t be that big an issue.

I do like the Mendoza Blue but I have to say I’m a bigger fan of the bumperless look and either red or Lancia Blue will work better with that.

What do you think?

Exit mobile version